
Bangs can transform a look—adding softness, framing the face, or introducing edge—but when they grow out unevenly, split, or get accidentally over-trimmed, they quickly become a source of frustration. A trip to the salon isn’t always feasible, and growing them out takes time. The good news? You don’t need advanced tools or techniques to manage broken or awkward bangs. With a simple hairpin, some strategic styling, and a few clever tricks, you can turn messy fringe into a flattering feature.
This guide walks through practical, stylish solutions that require nothing more than what’s likely already in your bathroom drawer. Whether your bangs are too short, uneven, or frizzy, these methods offer instant fixes that look intentional and polished.
Why Hairpins Are the Ultimate Bang Fixer
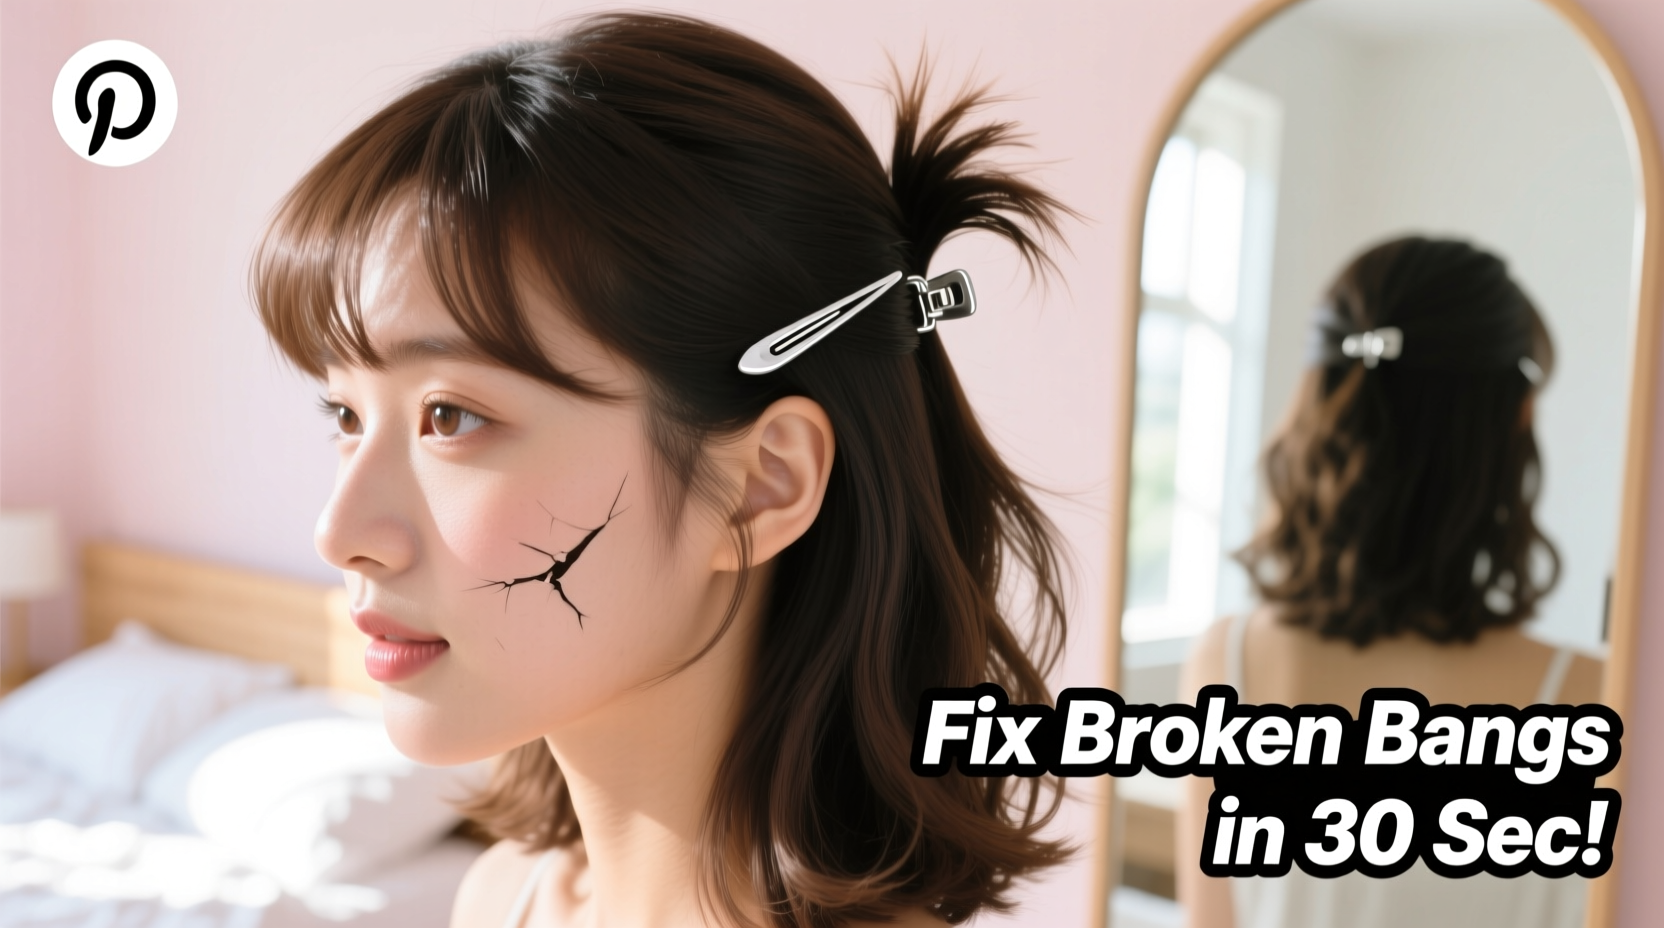
A hairpin is one of the most underrated styling tools. Unlike bobby pins, which grip by pressure and can slip, quality hairpins (especially U-shaped or spiral types) hold securely without snagging. They’re discreet, reusable, and ideal for manipulating small sections like bangs. When used correctly, they can lift, twist, pin back, or blend broken ends seamlessly into the rest of your hair.
According to stylist Maria Tran, who works with editorial and everyday clients in Los Angeles:
“Hairpins are my go-to for emergency bang fixes. They allow for subtle shaping without adding volume or stiffness. It’s all about control and invisibility.” — Maria Tran, Celebrity Stylist
The key is choosing the right type: opt for matte-finish, medium-thickness pins in a shade close to your hair color. Avoid plastic-coated pins—they tend to slide—and instead use metal or acetate ones with a slight texture for better grip.
5 Creative Ways to Fix Broken Bangs Using a Hairpin
These techniques work whether your bangs are slightly split at the ends, too blunt, or growing in patchy. Each method takes under five minutes and can be adjusted based on your hair length and texture.
1. The Twisted Side Tuck
Perfect for when one side of your bangs is shorter or uneven.
- Take a small section from the longer side of your bangs.
- Twist it tightly toward the shorter side.
- Angle the twist upward and slightly back, following your hairline.
- Slide a hairpin diagonally through the base of the twist to secure it behind the ear or into the crown.
- Tuck any loose ends under for a clean finish.
2. The Center Lift & Pin
Ideal for flat, broken mid-length bangs that lack shape.
Lift the center portion of your bangs where they part naturally. Gently backcomb the root area with a fine-tooth comb for subtle volume, then smooth the top layer. Position a U-shaped hairpin vertically under the lifted section and press it closed. This creates a soft arch that mimics a natural swoop and hides split ends beneath.
3. The Asymmetrical Sweep
When bangs break unevenly across the forehead, asymmetry can look intentional.
Part your hair deeply to one side. Gather all your bangs and sweep them diagonally across the forehead toward the opposite temple. Twist lightly as you go to blend in broken ends. Secure with a single hairpin tucked just behind the hairline. This style elongates the face and turns irregular lengths into a chic, lived-in look.
4. The Hidden Anchor Pin
For bangs that flip outward or won’t stay flat.
If your bangs curl up at the ends or resist lying flat due to damage, this technique stabilizes them without visible hardware. Place a small amount of lightweight pomade on your fingertips and smooth the bangs into place. Then, insert a slim hairpin horizontally beneath the inner corner of the bangs (near the nose), angling it into the adjacent hair. The pin acts as an anchor, keeping the front flat while remaining invisible.
5. The Layered Clip-In Effect
Useful when bangs are so short they stick straight up.
Take two tiny sections from the front of your side layers (just behind the bangs). Twist each slightly and cross them over the problematic front section. Use two small hairpins to lock them in a crisscross pattern. This adds coverage and creates the illusion of layered, grown-out bangs. Works especially well for thick or wavy textures.
Do’s and Don’ts of Hairpin Styling for Bangs
| Do’s | Don’ts |
|---|---|
| Use hairpins that match your hair color for invisibility | Overload with multiple visible pins—it looks messy |
| Apply light hairspray or serum before pinning for hold | Pull hair too tight—this causes tension headaches and bumps |
| Reposition throughout the day as needed | Leave pins in overnight regularly—risk of breakage and scalp irritation |
| Clean hairpins weekly to remove product buildup | Use bent or damaged pins—they won’t hold and may snag |
Real-Life Example: Fixing a Post-Trim Disaster
Sophie, a graphic designer in Portland, once trimmed her own bangs after a long week. She intended a soft curtain fringe but ended up with jagged, uneven pieces—one side barely reached her eyebrows. Panicked before a client Zoom call, she tried the twisted side tuck using a black hairpin from her drawer. She added a spritz of sea salt spray for texture, pinned the longer side back, and blended the rest with her fingers. The result? A stylish, asymmetrical look that her colleagues complimented as “intentional and artsy.”
She later shared: “I thought I’d have to wear hats for weeks. Instead, I discovered a new go-to style. Now I do it even when my bangs *aren’t* broken.”
Step-by-Step Timeline: Emergency Bang Repair (5 Minutes)
Follow this routine when you’re running late but want to look put together:
- Minute 0–1: Wash hands and gather one matching hairpin, texturizing spray, and a comb.
- Minute 1–2: Dampen bangs slightly or apply a drop of serum to tame frizz.
- Minute 2–3: Choose a style based on your bang condition (see above).
- Minute 3–4: Execute the twist, sweep, or lift and secure with the pin.
- Minute 4–5: Check in the mirror from different angles. Adjust if needed.
Done. No heat tools, no extensions, no panic.
Diy Hairpin Styling Checklist
- ✓ Identify the main issue with your bangs (too short, uneven, frizzy, etc.)
- ✓ Select the appropriate fix from the five methods above
- ✓ Choose a hairpin that matches your hair color and texture
- ✓ Prep hair with light product for better hold
- ✓ Style gently to avoid pulling or breakage
- ✓ Secure pin invisibly and test durability with a shake of the head
- ✓ Carry a spare pin in your bag for touch-ups
Frequently Asked Questions
Can I use bobby pins instead of hairpins?
Yes, but bobby pins are less ideal. They tend to slip in fine hair and create bulk. If you must use one, insert it with the wavy side down and press flat after insertion. Hairpins offer smoother, flatter holds, especially for delicate bang sections.
How do I stop my hairpin from slipping out?
Ensure your bangs aren’t too oily or overly smooth. Apply a light texturizing powder or dry shampoo at the roots for grip. Also, insert the pin at the correct angle—usually parallel to the direction of pull. Spiral or U-pins generally hold better than straight ones.
Is it safe to wear a hairpin all day?
Generally yes, but avoid wearing it tightly pulled for extended periods. Loosen or remove it during long breaks to prevent indentations or tension. Never sleep with pins in—they can cause breakage and scalp micro-tears.
Final Thoughts: Turn a Flaw Into a Feature
Broken bangs don’t have to mean bad hair days. With a little creativity and the humble hairpin, you can reinvent your fringe into something stylish and functional. These techniques aren’t just temporary fixes—they can evolve into signature styles. The beauty of DIY hair care lies in its adaptability: what starts as damage control often becomes personal expression.


 浙公网安备
33010002000092号
浙公网安备
33010002000092号 浙B2-20120091-4
Comments
No comments yet. Why don't you start the discussion?