
In modern homes, the living room coffee table often becomes a dumping ground for remote controls—TV, soundbar, streaming devices, air conditioner, even smart lights. The result? A chaotic tangle of plastic rectangles that detract from an otherwise thoughtfully designed space. While many invest in expensive organizers or drawer systems, a far simpler, more accessible solution exists: the humble multi-functional tissue box. Often overlooked, this everyday item can be repurposed into a stylish, functional hub for managing remotes. With minimal effort and no cost beyond what you already own, you can transform clutter into calm.
Why Remote Clutter Matters
Remote control clutter isn't just unsightly—it affects usability and household harmony. When remotes are scattered, family members waste time searching for them, leading to frustration. Misplaced remotes may end up under cushions or behind furniture, increasing the risk of damage or loss. Over time, this disorganization contributes to mental fatigue; studies show that visual clutter can elevate stress levels and reduce focus. A clean, organized space promotes relaxation—the very purpose of your living room.
The tissue box, with its open top and compact footprint, offers an ideal base for reimagining storage. Originally designed for easy access, it naturally supports the same principle for remotes: quick retrieval and consistent placement.
How a Tissue Box Transforms Into a Remote Organizer
A standard tissue box is typically made of cardboard or decorative paperboard, measuring around 5 x 3 x 5 inches—plenty of room for two to four remotes depending on size. Its upright design allows remotes to stand vertically, making labels visible and selection intuitive. But the real magic lies in its adaptability. By modifying or decorating the box, you can create a custom organizer that blends seamlessly into your décor.
Step-by-Step Guide: Repurposing Your Tissue Box
- Select the right box: Choose one with a sturdy structure. Cardboard boxes with textured or patterned exteriors work best for blending into shelves or side tables.
- Clean and reinforce (optional): If using a plain box, consider lining the interior with contact paper or glue fabric to prevent wear. Reinforce corners with tape if needed.
- Label or designate zones: Use small tags or stickers to mark which remote goes where—especially helpful in households with multiple users.
- Insert remotes vertically: Place them standing up, screen-side out, so buttons are visible at a glance.
- Position strategically: Place the box near your seating area, within arm’s reach but off main surfaces like the coffee table center.
Creative Variations and Upgrades
The basic tissue box setup is just the beginning. With a few modifications, it can evolve into a multi-functional command center.
1. Dual-Purpose Box: Tissues + Remotes
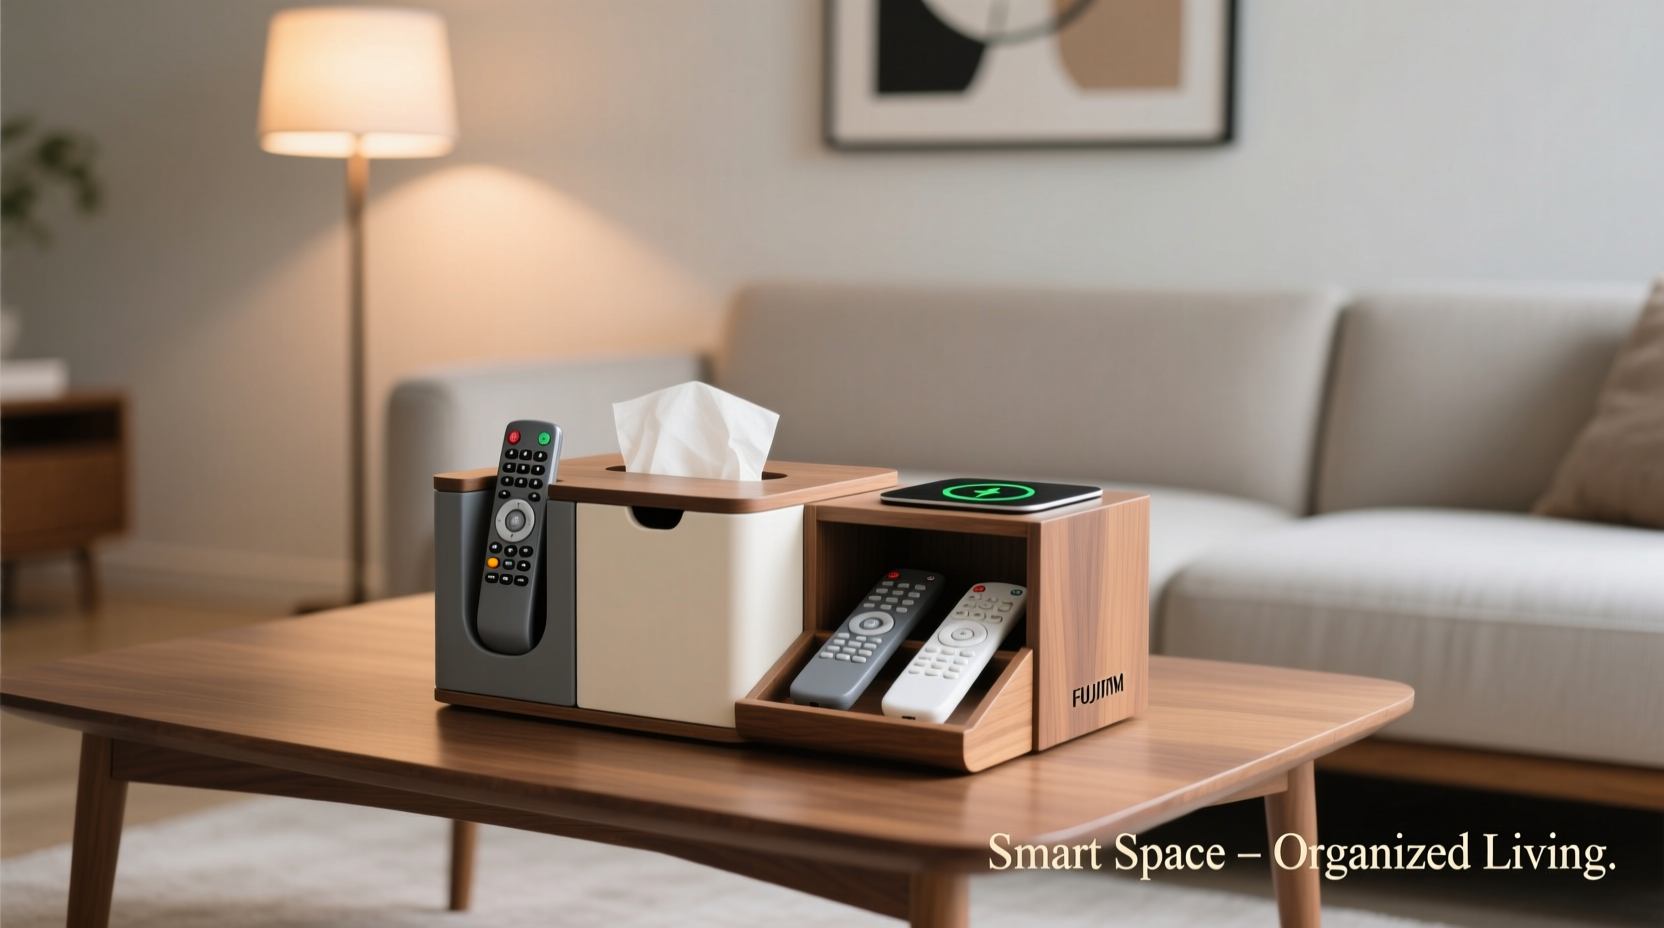
Keep tissues on top while storing remotes below. Simply cut a horizontal slit halfway down the front panel, creating two compartments. The top holds tissues (pull-through style), while the lower section stores remotes horizontally. This maximizes utility without increasing footprint.
2. Charging-Enabled Organizer
For rechargeable remotes (like those from Apple TV or Roku), drill small holes in the back to thread charging cables. Position the box near an outlet, feed USB cords through, and plug in remotes overnight. Label each cable with colored tape to avoid confusion.
3. Decorative Makeover
Wrap the box in washi tape, fabric, or wallpaper samples to match your room’s color scheme. Add stenciled letters or vinyl decals for labeling. For a luxury look, use faux leather contact paper and gold-edge detailing.
4. Stackable System
Use multiple tissue boxes on a tray or shelf, each dedicated to a different room or function (e.g., “Living Room,” “Bedroom,” “Gaming”). This creates a centralized docking station ideal for homes with numerous devices.
Real-Life Example: The Johnson Family Living Room Revamp
The Johnsons, a family of four in Portland, struggled with remote chaos. Their entertainment center had six devices, each with its own controller. Remotes were constantly lost, and arguments over \"who last used the Roku\" became routine. After reading about tissue box hacks, they repurposed three decorative boxes: one for daily-use remotes (TV, soundbar), one for guest devices (streaming sticks), and a third as a charging dock.
They labeled each box with adhesive icons (a TV, a speaker, a lightning bolt) and placed them on a woven tray next to the sofa. Within a week, search time dropped from minutes to seconds. “It’s silly how much peace a $2 box brought us,” said Sarah Johnson. “Now everyone knows exactly where to put them back.”
Do’s and Don’ts: Tissue Box Organizer Best Practices
| Do’s | Don’ts |
|---|---|
| Choose a box with a wide opening for easy access | Overfill the box—remotes should fit snugly but not jammed |
| Use non-slip pads underneath to prevent sliding | Place near heat sources or direct sunlight, which can warp cardboard |
| Label remotes or slots for quick identification | Forget to clean dust from inside the box monthly |
| Pair with a cord organizer if charging cables are involved | Use water-based adhesives on cardboard—they can cause warping |
“Simple interventions like repurposing everyday items can have an outsized impact on household organization. The tissue box remote holder is a perfect example of functional minimalism.” — Dr. Linda Tran, Environmental Psychologist & Home Efficiency Consultant
Maximizing Longevity and Functionality
To ensure your tissue box organizer lasts, consider durability upgrades. Replace cardboard with a plastic tissue box if available, or line the interior with a thin foam sheet to cushion remotes and prevent button wear. In high-humidity areas, apply a light sealant spray (like Mod Podge Matte) to protect against moisture.
For renters or those avoiding permanent changes, opt for removable adhesive hooks on the box’s side to hang headphones or glasses. Some users even attach a small whiteboard panel to track viewing schedules or device passwords.
Frequently Asked Questions
Can I use this method for large or irregularly shaped remotes?
Absolutely. If your remote doesn’t fit vertically, lay it flat inside the box. For oversized models, choose a larger decorative box (such as those sold for gift tissues) or use a half-cut shoebox as a hybrid alternative.
What if I have more than four remotes?
Scale the system. Use two tissue boxes side by side—one for primary devices, another for secondary ones like DVD players or fan controllers. Alternatively, stack boxes vertically using double-sided tape or a small shelf.
Is this safe for children or pets?
Yes, as long as the box is placed out of reach if necessary. To childproof, secure the box to furniture with Velcro strips. Avoid sharp decorations or loose parts that could become choking hazards.
Final Thoughts: Small Change, Big Impact
Organizing remote controls doesn’t require a high-tech solution. Sometimes, the most effective tools are already in your home. By rethinking the purpose of a tissue box, you gain more than storage—you reclaim space, reduce stress, and enhance daily convenience. This low-cost, eco-friendly hack proves that innovation doesn’t always mean buying new. It means seeing potential in the ordinary.


 浙公网安备
33010002000092号
浙公网安备
33010002000092号 浙B2-20120091-4
Comments
No comments yet. Why don't you start the discussion?