
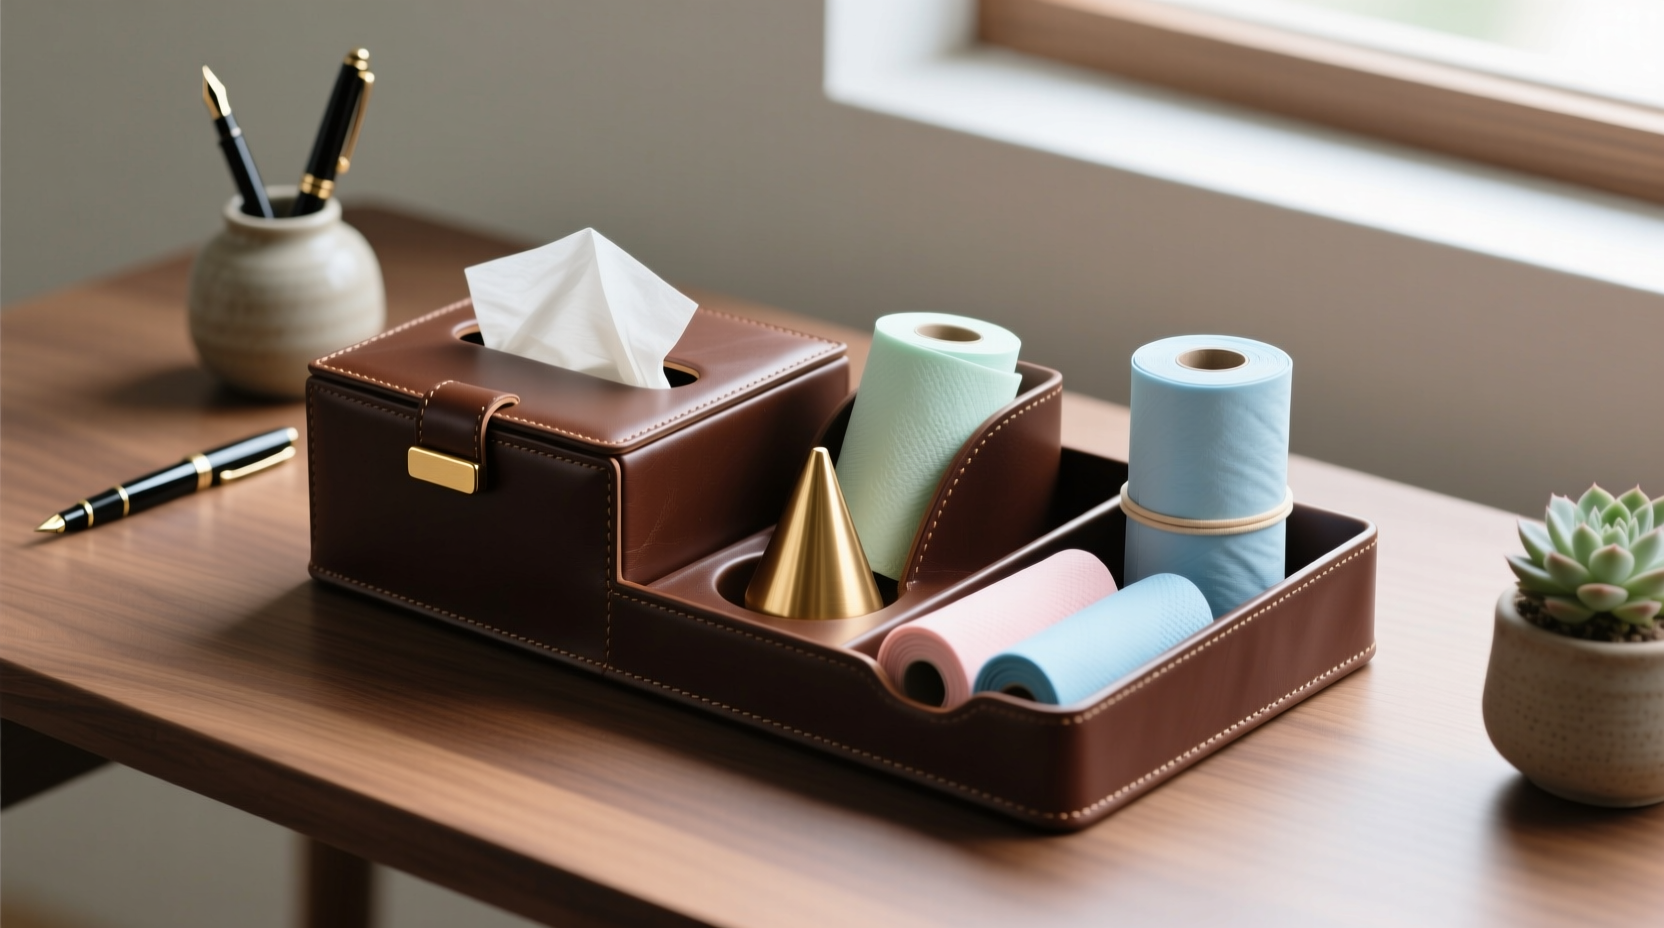
A well-organized desk isn’t just about efficiency—it’s a reflection of professionalism, clarity, and intentionality. Among the small but persistent sources of desktop clutter are tissue boxes: bulky, often unsightly, and prone to sliding around when only a few sheets remain. Leather desktop organizers offer both durability and sophistication, but their full potential is unlocked only when used creatively. Integrating tissue storage into these organizers isn’t just practical—it can elevate your workspace aesthetics while maximizing functionality.
Leather, with its natural texture and aging properties, lends warmth and refinement to any environment. When paired with thoughtful organization, even mundane items like tissues can be seamlessly incorporated. This guide explores innovative, elegant, and functional methods to store and access tissues within or alongside a leather desktop organizer—transforming a simple accessory into a central hub for daily essentials.
Why Use a Leather Organizer for Tissue Storage?
Leather desktop organizers are more than decorative pieces—they’re engineered for longevity and usability. Their structured compartments naturally lend themselves to customization. Unlike plastic or metal trays, leather molds slightly over time, adapting to the shape of frequently stored items. This makes it ideal for housing irregularly shaped objects like partially used tissue packs.
Additionally, leather absorbs less dust and static than synthetic materials, reducing the attraction of lint and debris—a subtle but meaningful advantage when storing tissues. The material also resists moisture better than fabric or cardboard, helping preserve tissue quality in humid environments.
“Integrating hygiene essentials into professional desk setups reduces visual noise and supports seamless workflow.” — Julian Reed, Workspace Design Consultant
Creative Ways to Store Tissues in Your Leather Organizer
The key to effective tissue integration lies in rethinking how tissues are accessed and replenished. Below are five proven strategies that balance accessibility, discretion, and design harmony.
1. Repurpose a Deep Compartment for Mini Tissue Packs
Many leather organizers feature one or two deeper slots designed for notebooks or tablets. These can accommodate travel-sized tissue packs (typically 10–25 sheets). Choose flat, foil-wrapped packs that lie horizontally without protruding. Stack two if needed, placing the open one on top for easy access.
2. Create a Pull-Out Tuck Pocket with a Fabric Sleeve
Add a removable fabric sleeve (in cotton or linen) that fits snugly into a wide compartment. Insert a standard pocket tissue box inside. The sleeve prevents the cardboard from fraying and adds a soft contrast to the leather. Slide it forward when pulling out tissues, then tuck it back flush when not in use.
This method works especially well in organizers with adjustable dividers. Position the sleeve at the back so pens and notepads sit in front, maintaining visual balance.
3. Use Fold-Over Leather Flaps as Concealed Holders
If your organizer has fold-over flaps or side loops (often meant for cables or sticky notes), repurpose them. Slide a slim, rigid tissue case—such as a vintage-style metal or acrylic holder—into the looped section. The flap gently holds it in place while allowing quick removal for refilling.
This technique keeps tissues visible yet restrained, adding an element of surprise and craftsmanship to your desk.
4. Convert a Pen Slot into a Vertical Dispenser
Narrow pen holders can double as upright tissue dispensers. Flatten a half-used tissue pack and insert it vertically, allowing individual sheets to be pulled from the top. This works best with firm packs that don’t crumple easily. For added stability, wrap the pack in a thin leatherette cover or slide it into a narrow cardholder sleeve.
This approach minimizes footprint and turns a passive slot into an active utility zone.
5. Attach a Magnetic Tissue Pouch (DIY Upgrade)
For advanced customization, attach a small magnetic leather pouch to the side or underside of the organizer. Sew or glue embedded magnets to both the pouch and the organizer base. Fill the pouch with folded tissues or pre-cut squares stored in a breathable paper liner.
When not in use, the pouch snaps closed, preserving cleanliness. This solution is ideal for minimalist desks where every item must serve multiple purposes.
Step-by-Step: Setting Up Your Tissue System
Follow this timeline to integrate tissues effectively into your leather organizer:
- Week 1 – Assess & Measure: Evaluate your organizer’s compartments. Note dimensions of each slot using a ruler. Identify which areas are underused.
- Day 2 – Select Tissue Format: Decide between travel packs, pocket boxes, or custom-cut tissues based on available space.
- Day 3 – Test Placement: Arrange sample tissue packs in different slots. Observe ease of access during work tasks.
- Day 4 – Customize (Optional): Add fabric sleeves, magnetic closures, or protective wraps to enhance fit and appearance.
- Day 5 – Finalize & Label (if needed): If sharing the desk, consider a discreet engraved tag indicating “Tissues” on the compartment edge.
- Ongoing – Maintain Weekly: Replace packs before they run out; wipe down leather edges monthly with a dry cloth.
Do’s and Don’ts: Tissue Organization Best Practices
| Do’s | Don’ts |
|---|---|
| Use flat, sealed tissue packs to prevent dust exposure | Store damp or used tissues in the organizer |
| Align tissue orientation with dominant hand for easier pull | Overfill compartments, causing leather stress or warping |
| Choose neutral-colored tissues to match leather tones | Use adhesive tapes or glues directly on leather surfaces |
| Rotate stock monthly to avoid drying or weakening sheets | Place near direct sunlight or heat sources that degrade leather |
Real Example: How a Freelance Designer Transformed Her Desk
Sophia Lin, a graphic designer working from home, struggled with a constantly messy desk. Her tissue box sat diagonally across her monitor stand, often tipping over during video calls. After purchasing a handmade Italian leather organizer with modular slots, she redesigned her layout.
She removed the middle divider to create a wider bay, inserted a navy-blue fabric sleeve holding a slim tissue box, and placed her stylus and notebook in front. Now, during client meetings, she accesses tissues smoothly without disrupting her setup. “It sounds minor,” she says, “but eliminating that little friction point made my entire workflow feel calmer.”
Checklist: Optimizing Tissue Integration
- ☐ Measure all compartments in your leather organizer
- ☐ Purchase sample tissue formats (travel, pocket, bulk)
- ☐ Test visibility and reach from seated position
- ☐ Clean leather surface before inserting new components
- ☐ Introduce a refill reminder system (e.g., calendar alert)
- ☐ Evaluate after one week and adjust placement if needed
Frequently Asked Questions
Can I use regular Kleenex boxes in a leather organizer?
Standard tissue boxes are usually too large for most leather organizers. However, you can cut down a partial box to fit snugly or transfer loose tissues into a smaller, flexible container that conforms to the slot dimensions.
Will tissues damage the leather over time?
Not if managed properly. Avoid storing moist tissues or leaving spills unattended. The slight humidity from dry tissues poses no risk, but always ensure the leather remains dry and ventilated.
How do I clean the organizer if it gets stained by tissue ink?
Use a slightly damp microfiber cloth to gently blot the area—never rub. For persistent marks, apply a small amount of pH-balanced leather cleaner with a cotton swab. Always condition afterward to restore moisture.
Final Thoughts: Elevate Function Through Design
Organizing tissues in a leather desktop organizer may seem like a minor detail, but it reflects a broader philosophy: intentional design enhances daily experience. By treating even the smallest item with care, you cultivate a workspace that supports focus, comfort, and confidence.
The fusion of utility and elegance isn’t reserved for high-end offices—it begins with choices like how you store your tissues. Whether you adopt a simple tuck-in method or build a custom magnetic pouch, the goal remains the same: reduce clutter, increase ease, and enjoy a workspace that feels truly yours.


 浙公网安备
33010002000092号
浙公网安备
33010002000092号 浙B2-20120091-4
Comments
No comments yet. Why don't you start the discussion?