
In an age where smartphones are both essential tools and personal style statements, the phone case has evolved from mere protection to a canvas for self-expression. Bling phone cases—those adorned with glitter, rhinestones, or metallic finishes—are already eye-catching, but true individuality comes from customization. By adding your own creative touch, you transform a mass-produced accessory into a wearable piece of art. Whether you're drawn to bold textures, meaningful symbols, or experimental materials, personalizing your bling case allows you to reflect your personality every time you reach for your phone.
Why Personalization Matters
A personalized phone case does more than stand out in a crowd—it fosters emotional connection. When you invest time in designing something uniquely yours, the object becomes an extension of your identity. This is especially powerful in today’s fast-paced digital world, where authenticity is increasingly valued. Customizing a bling case also encourages creativity, offering a low-risk, high-reward project that anyone can complete at home with minimal tools.
Moreover, a customized case can serve as conversation starter, mood booster, or even a subtle form of storytelling. For instance, embedding charms that represent hobbies, using colors tied to cultural heritage, or arranging stones into zodiac symbols all add layers of meaning beyond sparkle.
Materials That Elevate Your Design
The magic of a standout bling case lies not just in aesthetics but in material diversity. While most bling cases come pre-glittered or studded, upgrading them with unconventional elements can take your design to the next level.
- Rhinestones and Flatbacks: Available in various sizes and colors, these are ideal for creating patterns or accentuating edges. Use E6000 glue for maximum durability.
- Epoxy Resin: Perfect for encapsulating small items like dried flowers, glitter swirls, or handwritten notes under a glossy, protective dome.
- Foil and Metallic Leaf: Adds a luxe, reflective finish. Apply with adhesive and seal with a clear topcoat.
- Fabric Scraps: Denim, lace, or silk patches can be layered beneath transparent cases or used as backing for cut-out designs.
- Charms and Pendants: Attach tiny symbolic trinkets—music notes, stars, initials—with jump rings or strong glue.
- Glow-in-the-Dark Elements: Mix glow powder into resin or use pre-made stickers for a fun nighttime effect.
“Customization turns functional objects into emotional artifacts. A phone case isn’t just about protection—it’s about presence.” — Lila Nguyen, Product Designer & Lifestyle Blogger
Step-by-Step Guide: Creating a Layered Glitter Resin Case
This technique combines texture, depth, and durability for a truly unique result. Follow this timeline to craft a multi-dimensional bling case using epoxy resin.
- Day 1 – Prep & Base Layer: Clean the case with rubbing alcohol. Apply a thin layer of glitter using fabric glue or mod podge. Let dry overnight.
- Day 2 – Arrange Inclusions: Position small items like mini sequins, alphabet beads, or dried petals on the glittered surface.
- Day 3 – First Resin Pour: Mix two-part epoxy resin according to instructions. Carefully pour over the case, covering all elements. Use a toothpick to pop bubbles. Cure for 24 hours.
- Day 4 – Optional Second Layer: For added depth, repeat the resin pour. This seals raised elements and enhances gloss.
- Day 5 – Final Inspection: Check for smoothness and edge adhesion. Sand minor imperfections gently with fine-grit paper if needed.
Design Themes and Real-Life Inspiration
Choosing a theme gives your customization direction and cohesion. Here’s a real-world example of how one designer brought a concept to life.
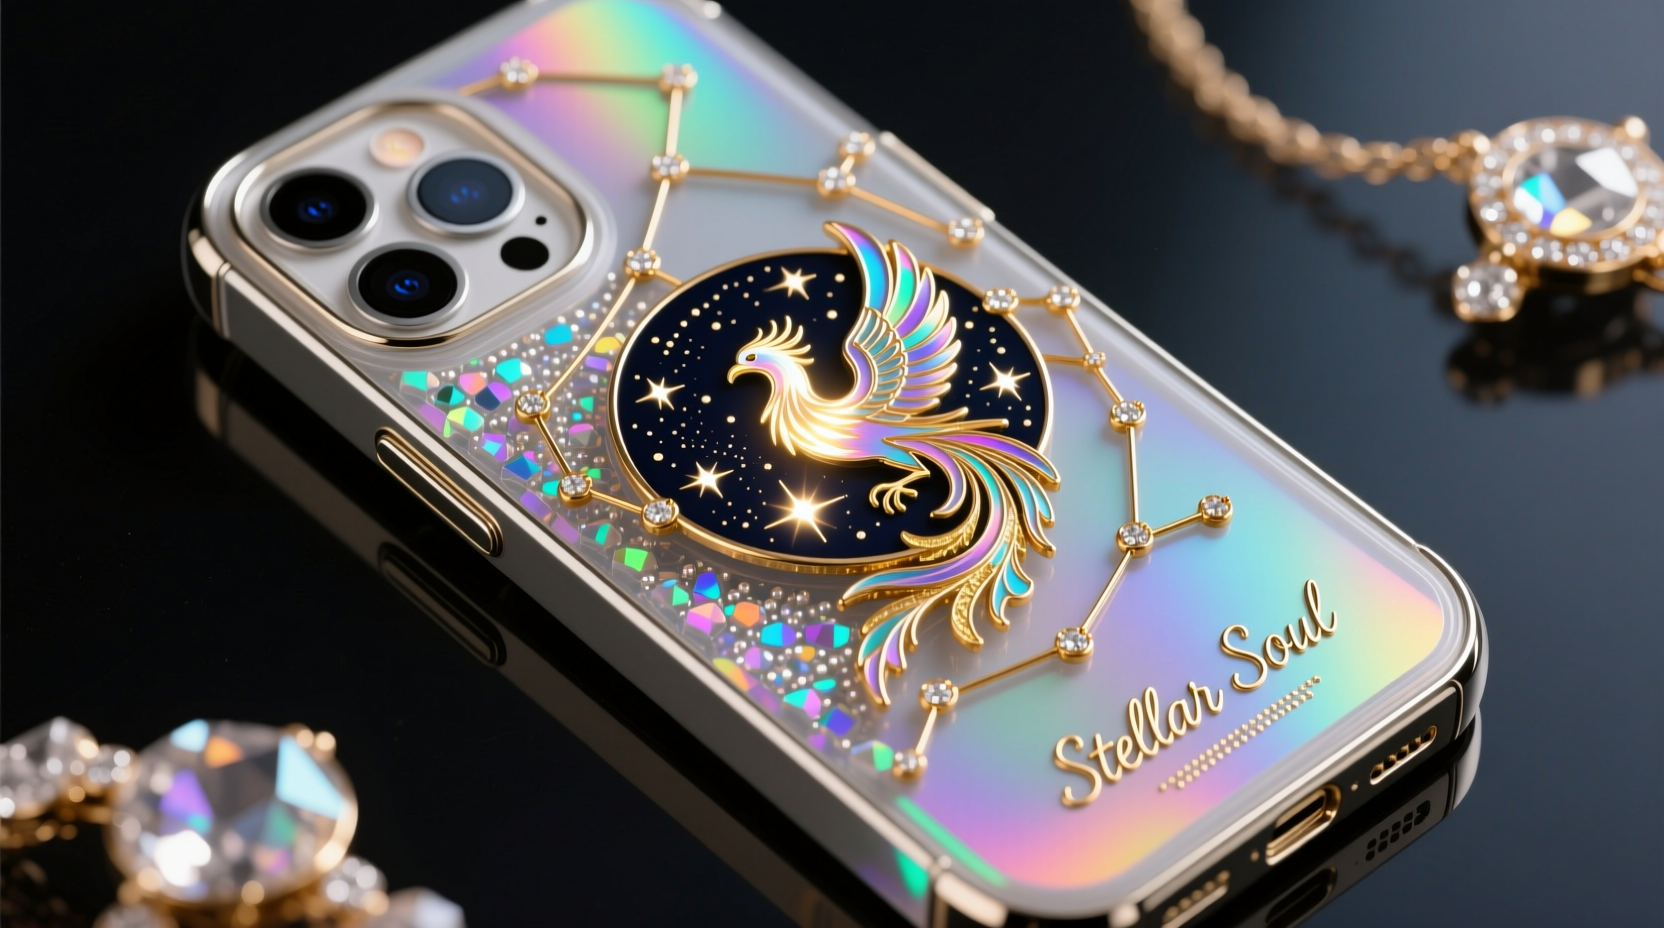
Mini Case Study: The Astrological Statement Case
Sophie, a freelance graphic artist, wanted her phone case to reflect her passion for astrology. She started with a clear silicone bling case and mapped out her birth chart symbols using gold micro-rhinestones. Each planet was represented by a different gemstone color—emerald green for Mercury, deep red for Mars. She outlined her rising sign (Leo) in amber crystals along the top edge. To make it interactive, she glued a small rotating charm labeled “Moon Phase” near the camera cutout. After sealing everything with UV resin, the result was both intricate and deeply personal. Colleagues regularly complimented it, and Sophie found herself sharing more about her creative process—and her beliefs—than ever before.
This illustrates how thematic personalization can go beyond decoration to become a quiet act of identity affirmation.
Do’s and Don’ts of Phone Case Customization
| Do | Don’t |
|---|---|
| Use strong adhesives like E6000 or UV-cured glues | Use water-based glue on porous surfaces without sealing |
| Work in layers to build depth | Overload the case with heavy embellishments that affect fit |
| Seal porous additions like paper or fabric | Expose resin-coated cases to direct sunlight during curing |
| Test placement with tape before permanent attachment | Forget about functionality—ensure buttons and ports remain accessible |
Frequently Asked Questions
Can I remove embellishments if I change my mind?
Most glued-on elements can be removed with careful use of acetone or rubbing alcohol, though this may leave residue or damage delicate surfaces. Rhinestones and resin layers are particularly difficult to reverse without altering the case. Consider semi-permanent options like magnetic overlays or clip-on charms if you prefer flexibility.
How do I keep my custom case from yellowing over time?
UV exposure is the main cause of yellowing, especially in clear plastics and resins. Choose UV-resistant resin formulas and avoid leaving your phone in hot cars or direct sunlight. Applying a clear anti-yellowing spray (designed for phone accessories) can also help preserve clarity.
Are there eco-friendly ways to personalize a bling case?
Absolutely. Use recycled beads, biodegradable glitter (made from cellulose), or sustainably sourced wood veneers. You can also repurpose materials from old jewelry or broken accessories. Opt for non-toxic adhesives and water-based sealants to reduce environmental impact.
Checklist: Preparing Your Personalized Bling Case
- Choose a base case (silicone, hard plastic, or clear TPU)
- Clean the surface with isopropyl alcohol
- Select a theme or color scheme
- Gather materials: gems, glue, tweezers, sealant
- Dry-fit all elements before gluing
- Apply embellishments in stages, allowing drying time
- Seal with a protective coating (resin, mod podge, or spray)
- Test fit on your phone—check port access and button function
Conclusion: Make It Unmistakably Yours
Personalizing your bling phone case isn’t just about standing out—it’s about aligning your everyday objects with your inner world. From embedding memories in resin to mapping constellations in crystals, each choice adds narrative weight to a simple accessory. With the right materials, a bit of patience, and a spark of inspiration, you can create something no store-bought case can replicate.


 浙公网安备
33010002000092号
浙公网安备
33010002000092号 浙B2-20120091-4
Comments
No comments yet. Why don't you start the discussion?