
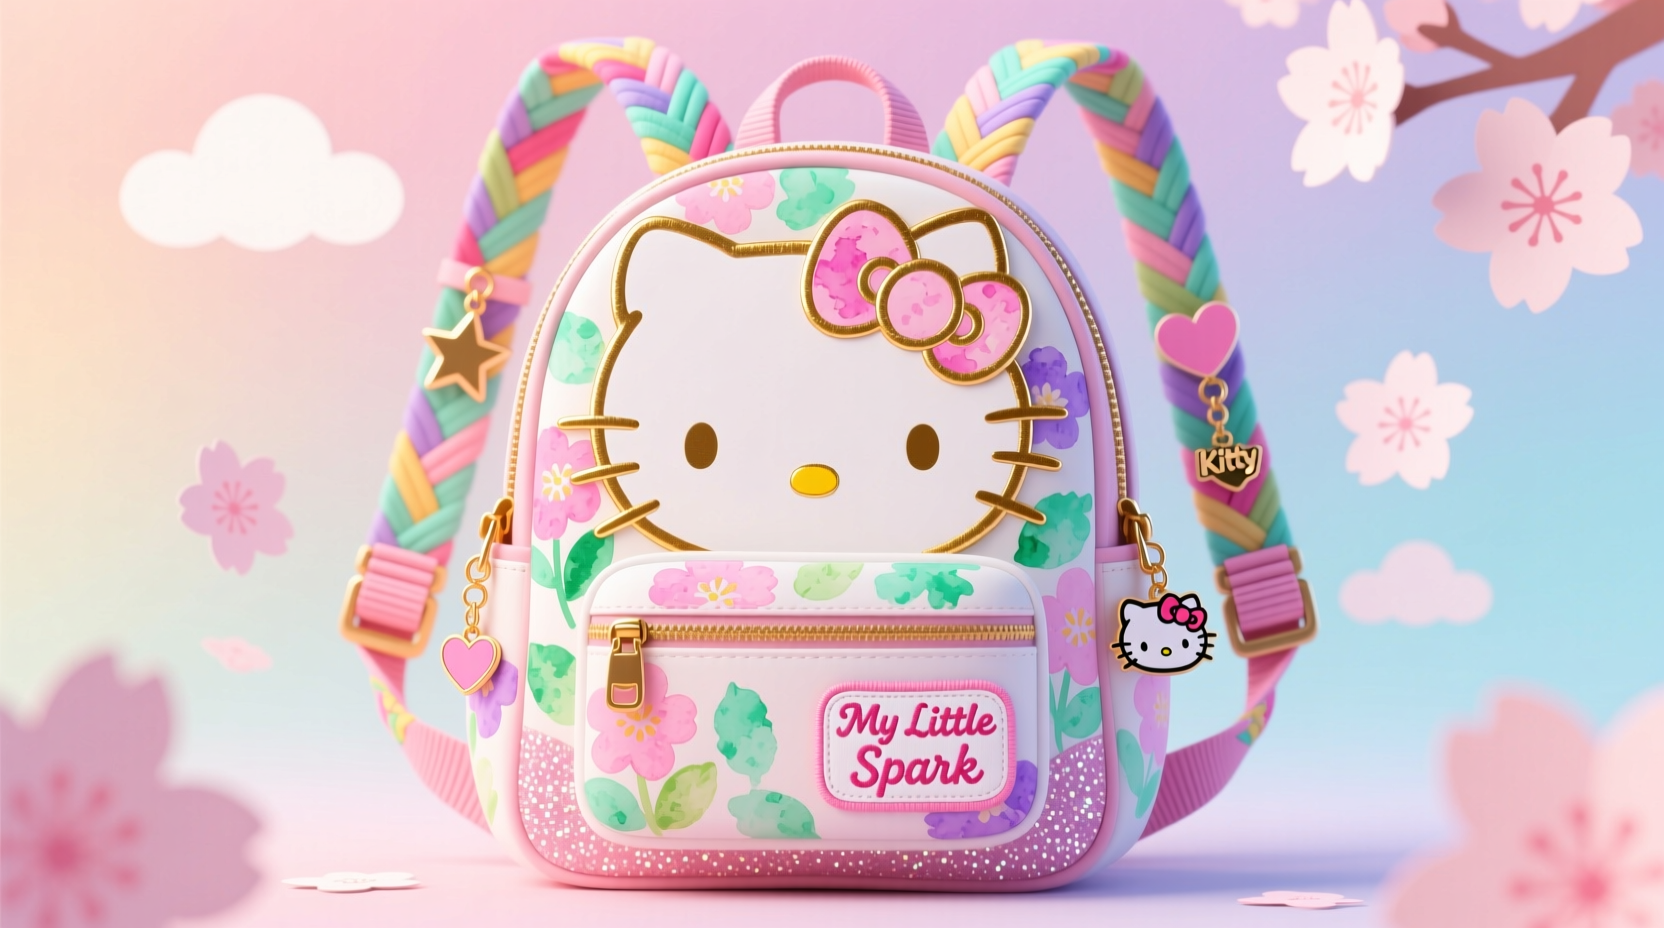
For decades, the Hello Kitty backpack has been a beloved accessory—cherished by kids, teens, and adults alike for its iconic charm and nostalgic appeal. But in a world where self-expression matters more than ever, why settle for generic when you can make it distinctly yours? Personalizing your Hello Kitty backpack transforms it from a mass-produced item into a wearable canvas of identity, creativity, and flair. Whether you're heading to school, commuting, or exploring a new city, a customized pack turns heads and sparks conversations.
The beauty of personalization lies not just in aesthetics, but in meaning. Each patch, doodle, or stitch tells a story—your story. With a few thoughtful additions, you can reflect your hobbies, passions, favorite colors, or even cultural roots while honoring the timeless cuteness of Sanrio’s most famous feline. This guide explores practical, stylish, and imaginative methods to elevate your backpack beyond the ordinary.
1. Patch It Up: Fabric and Iron-On Embellishments
Patches are one of the easiest and most impactful ways to customize any fabric-based bag. Available in countless designs—from anime characters to vintage band logos—you can mix and match themes that resonate with your personality. For a Hello Kitty backpack, consider balancing the existing cuteness with edgy, whimsical, or ironic patches to create contrast and depth.
Iron-on patches require no sewing and adhere quickly with heat, making them ideal for beginners. Sew-on patches offer greater durability and allow for creative stitching patterns around the edges. Placement matters: try clustering patches near the top flap, along the side pockets, or forming a trail down one strap.
Recommended Patch Themes for Hello Kitty Lovers
- Vintage Sanrio characters (My Melody, Keroppi, Cinnamoroll)
- Musical notes or band emblems if you play an instrument
- Nature motifs like mushrooms, clouds, or celestial symbols
- Text patches with phrases like “Kawaii Warrior” or “Sweet & Spicy”
- DIY handmade patches using felt or embroidered fabric scraps
2. Express Yourself with Fabric Paint and Markers
If you enjoy drawing or have artistic inclinations, fabric paint and permanent markers open up endless possibilities. Unlike stickers, which may peel over time, painted designs bond with the material and last through regular use—provided they’re sealed properly.
Start by sketching lightly in pencil. Outline your design with fine-tip fabric markers, then fill in with acrylic fabric paint. Popular additions include hand-drawn flowers, zodiac signs, speech bubbles with quotes, or even miniature comic strips featuring Hello Kitty in new adventures.
Once dry, set the paint according to manufacturer instructions—usually involving heat from an iron or a dryer cycle—to ensure longevity. Avoid painting over seams or high-friction zones like zipper pulls to prevent cracking.
“Personalization isn’t just about decoration—it’s about ownership. When someone paints their bag, they’re saying, ‘This is mine, and this is me.’” — Lena Tran, Textile Artist and DIY Fashion Educator
3. Add Dimension with Pompoms, Tassels, and Keychains
Accessories dangle, sway, and catch the light—adding movement and tactile interest to your backpack. Small details like tassels on zippers or oversized pompoms hanging from side loops instantly upgrade visual appeal.
Choose items that align with your aesthetic: pastel tassels for soft kawaii vibes, metallic chains for urban edge, or nature-inspired wooden keychains for boho flair. Attach them using split rings, zipper pulls, or secure knots. You can even attach a mini plushie of another Sanrio character for a playful crossover effect.
| Accessory Type | Style Effect | Durability Tip |
|---|---|---|
| Pompoms | Playful, youthful | Avoid frequent washing; spot clean only |
| Leather Tassels | Sophisticated, retro | Condition occasionally to prevent drying |
| Resin Keychains | Vibrant, collectible | Check for sharp edges that could snag fabric |
| Beaded Charms | Elegant, detailed | Use strong jump rings to prevent loss |
4. Stitch Your Story: Hand Embroidery and Appliqué
For those who appreciate craftsmanship, hand embroidery adds a refined, handmade touch. You don’t need expert skills—simple stitches like backstitch, satin stitch, or French knots can create stars, initials, hearts, or tiny animals. Choose contrasting thread colors to make your work pop against the backpack’s base fabric.
Appliqué involves sewing a piece of contrasting fabric onto the surface, then stitching around the edges. This method works well for creating larger shapes—like a rainbow behind Hello Kitty or a floral wreath framing her face.
Step-by-Step Guide: Adding Initials via Embroidery
- Clean the area where you’ll stitch and let it dry completely.
- Print or draw your desired letter in the size you want.
- Transfer the outline using a water-soluble fabric pen or basting stitches.
- Select embroidery floss in your preferred color (2–3 strands work best).
- Use a backstitch to trace the letter neatly and securely.
- Knot the thread inside the lining and trim excess.
- Set the embroidery with a light press (using a cloth barrier) to flatten any puckering.
5. Real-Life Inspiration: How Mia Transformed Her Backpack
Mia, a college student and longtime Sanrio fan, inherited her younger sister’s classic red Hello Kitty backpack. While she loved the silhouette, she found it too juvenile for her evolving style. Over two weekends, she reinvented it.
She began by adding black-and-white gingham patches in geometric arrangements, creating a modern twist. Using fabric paint, she painted a moon and stars constellation near the top, symbolizing her love for astronomy. She replaced the original zipper pull with a cat-shaped resin charm and added a subtle cursive “M” in silver thread above the front pocket via embroidery.
The result? A backpack that honored nostalgia while reflecting her individuality. Classmates started asking where she bought it, unaware it was a DIY project. Mia now leads a campus craft group teaching others how to upcycle accessories.
Checklist: How to Begin Your Personalization Project
- ☐ Clean your backpack thoroughly before starting
- ☐ Gather materials: patches, fabric paint, needles, thread, charms
- ☐ Sketch your design ideas on paper first
- ☐ Test paint or marker on an inconspicuous area
- ☐ Work in a well-lit, ventilated space
- ☐ Allow adequate drying or curing time between steps
- ☐ Take progress photos to track your transformation
Frequently Asked Questions
Can I wash my personalized backpack?
Spot cleaning is safest. If machine washing is necessary, remove detachable accessories and place the backpack in a pillowcase. Use cold water and mild detergent. Air dry—never tumble dry—as heat can damage adhesives and cause paint to crack.
What if I make a mistake while painting or drawing?
For minor errors, let the paint dry and paint over it with a base layer. For marker mistakes, some brands offer fabric erasers. Alternatively, cover slip-ups with a small patch or embroidered flower to turn the error into part of the design.
Will iron-on patches damage my Hello Kitty backpack?
Most polyester-based backpacks tolerate low-to-medium heat. Always check care labels and test on a hidden area first. Use a pressing cloth and avoid holding the iron in one spot for too long to prevent scorching or melting.
Final Touches, Lasting Impressions
Personalizing your Hello Kitty backpack is more than a craft—it’s a celebration of individuality. In a culture saturated with fast fashion and identical accessories, taking the time to modify something by hand reclaims authenticity. Every patch sewn, every brushstroke applied, becomes a signature of who you are right now—and who you’re becoming.
Don’t wait for perfection. Start small: add one charm, paint one tiny star, stitch your initial. Let your backpack evolve as you do. And when someone compliments it, smile knowing you didn’t just buy it—you made it yours.


 浙公网安备
33010002000092号
浙公网安备
33010002000092号 浙B2-20120091-4
Comments
No comments yet. Why don't you start the discussion?