
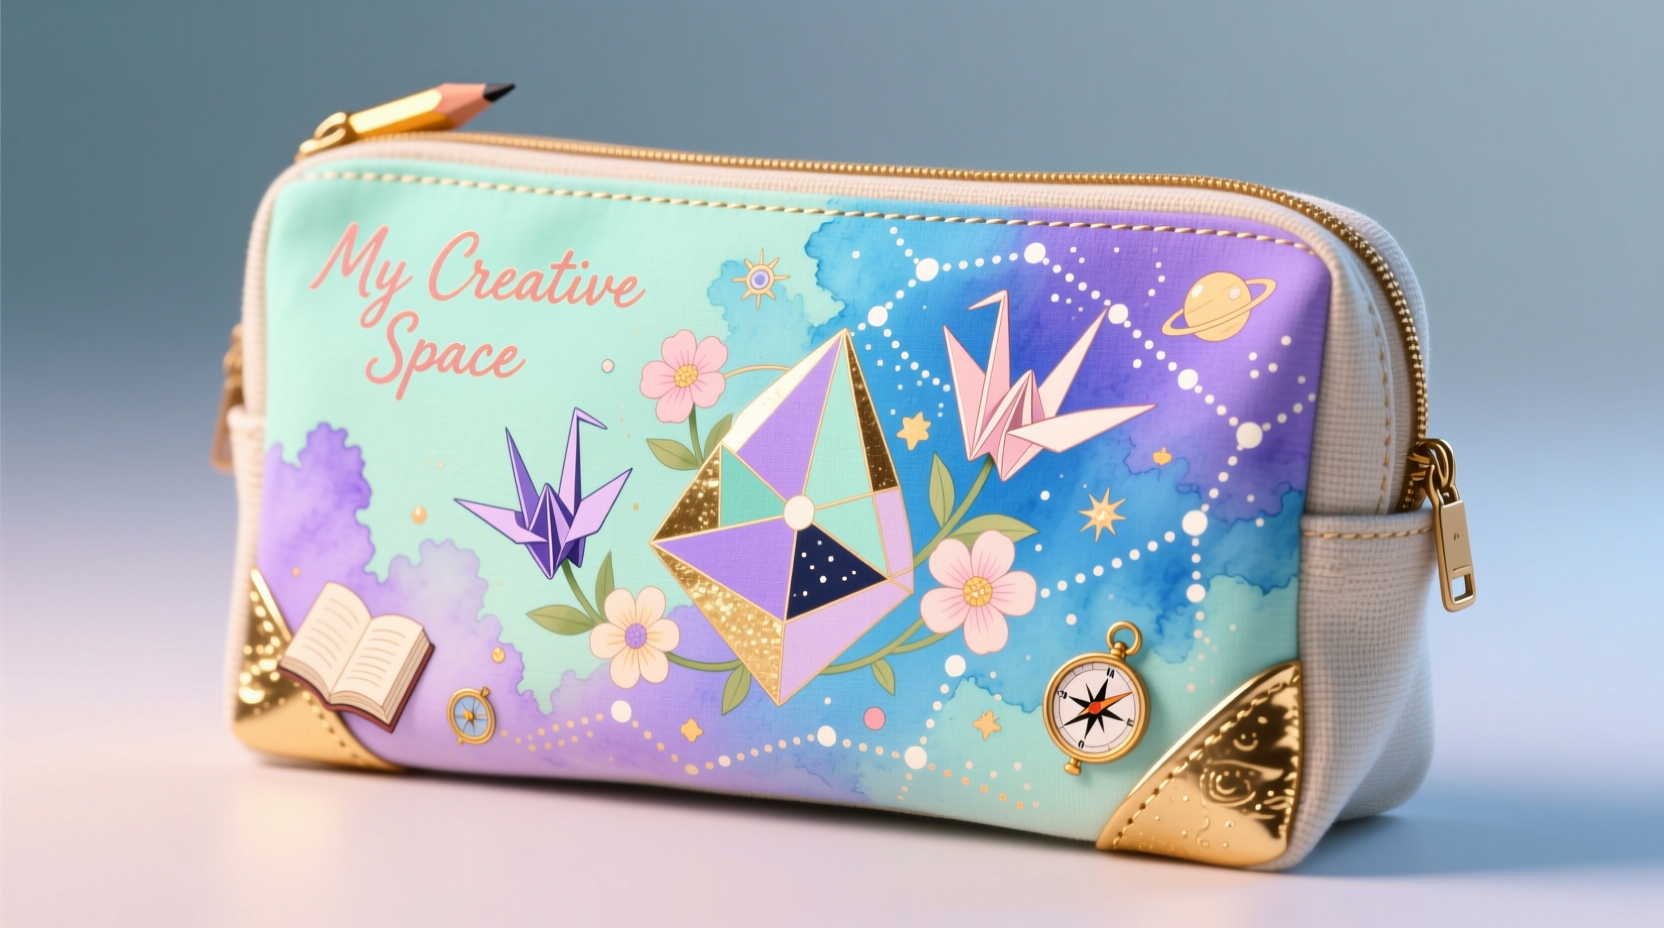
Personalizing a pencil bag is more than just a fun craft—it’s an opportunity to express individuality, boost creativity, and make everyday school or office supplies feel uniquely yours. Whether you're a student, artist, teacher, or remote worker, a customized pencil case can add joy to routine tasks and inspire confidence in your personal style. With the right techniques, even the most basic fabric or vinyl pouch can become a wearable piece of art. From hand-drawn illustrations to transfer prints and textured embellishments, there are countless ways to transform a plain container into a statement accessory.
Choose Your Canvas: Understanding Pencil Bag Materials
The first step in personalization is knowing what kind of surface you’re working with. Different materials react differently to various decorating methods. Common pencil bag types include:
- Cotton canvas – Absorbs fabric paint well and holds embroidery.
- Nylon or polyester – Best for iron-on transfers; resists paint unless treated with a bonding agent.
- Vinyl or PU leather – Smooth surface ideal for permanent markers and decals, but not suitable for heat-based customization.
- Felt – Easy to cut, glue, and embroider, making it perfect for layered designs.
Selecting the right tools based on material ensures longevity and prevents peeling, cracking, or fading over time.
Create with Confidence: 5 Unique Design Techniques
Once you’ve identified your bag’s material, explore these five proven techniques to bring your vision to life.
1. Fabric Paint and Freehand Art
Using fabric paints and fine-tipped brushes allows for full creative control. Sketch your idea lightly with chalk or a washable marker before painting. Popular themes include abstract patterns, zodiac signs, favorite quotes, or miniature landscapes. Allow each layer to dry completely before adding details.
2. Iron-On Transfers
Digital printing services and home printers with transfer paper let you turn photos, digital illustrations, or typography into professional-looking prints. Print your design in reverse, position it on the bag, and apply firm heat with an iron (following manufacturer instructions). This method works best on cotton or cotton-blend fabrics.
3. Stenciling for Precision
For clean shapes and repeating patterns, stencils offer consistency. You can buy pre-cut stencils or create your own from cardstock or acetate sheets. Hold the stencil firmly in place and dab paint gently with a sponge to prevent bleeding under the edges.
4. Embroidery and Stitched Details
Hand embroidery adds texture and elegance. Simple stitches like backstitch, satin stitch, or French knots can outline names, draw flowers, or spell out initials. Use embroidery hoops to keep fabric taut during stitching. For synthetic materials, consider attaching a fabric patch first and embroidering onto that.
5. Decoupage and Collage
Cut out images from magazines, printed tissue paper, or washi tape strips and layer them using decoupage medium. Seal the entire design with 2–3 coats of clear varnish for durability. This approach works especially well on rigid or semi-rigid cases.
“Customization isn’t just about aesthetics—it fosters emotional connection. A personalized item is less likely to be lost or discarded.” — Dr. Lila Nguyen, Behavioral Designer & Craft Psychology Researcher
Step-by-Step Guide: Designing a Name-Initial Pencil Case
This timeline walks through creating a durable, stylish monogrammed pencil bag using fabric paint and stenciling.
- Day 1 – Prep Work: Clean the bag surface with mild soap and water. Let it air dry completely. Choose a bold font for your initials and print or draw them at desired size.
- Day 2 – Create Stencil: Trace the letters onto stencil plastic or heavy cardstock. Carefully cut them out with a craft knife. Secure the stencil on the bag with low-tack tape.
- Day 3 – Apply Paint: Use a stencil brush or sponge to dab fabric paint evenly. Remove the stencil carefully while paint is still wet to avoid tearing. Let dry for 24 hours.
- Day 4 – Seal the Design: Apply a flexible fabric sealant spray in a well-ventilated area. Two light coats are better than one thick one.
- Day 5 – Final Touches: Add small painted dots, stars, or metallic accents around the initials for flair.
Do’s and Don’ts of Pencil Bag Customization
| Do’s | Don’ts |
|---|---|
| Use fabric-specific paints and sealants | Use regular acrylic paint without setting medium |
| Wash the bag before starting (if machine-safe) | Iron directly on painted or glued areas |
| Let each layer dry fully before adding more | Rush the curing process with a hairdryer |
| Add a protective topcoat for high-use areas | Overload the bag with sharp objects that scratch surfaces |
| Sketch designs in pencil first | Start painting without a plan |
Real Example: Maya’s Eco-Art Pencil Case
Maya, a high school environmental science student, wanted her supplies to reflect her passion for sustainability. She repurposed an old denim jacket sleeve into a roll-up pencil case. Using natural dyes made from onion skins and avocado pits, she stained sections of the fabric with earthy tones. Then, she stenciled endangered animal silhouettes—snow leopard, sea turtle, and monarch butterfly—along the length of the case. To finish, she stitched recycled buttons as closures. Her classmates were so inspired that they started a monthly “Upcycled School Supplies” workshop at school.
This example shows how personal values can shape design choices—and spark broader impact.
Checklist: Prepare Your Personalization Project
- ☐ Choose your pencil bag material
- ☐ Gather tools: paints, brushes, stencils, or transfer paper
- ☐ Wash and dry the bag (if applicable)
- ☐ Sketch your design on paper first
- ☐ Test materials on a corner or scrap fabric
- ☐ Work in a clean, well-lit space
- ☐ Allow 24–48 hours drying time after completion
- ☐ Apply a protective sealant if needed
FAQ
Can I wash a personalized pencil bag?
Yes, but with caution. Hand-washing in cold water is safest. Turn the bag inside out and avoid scrubbing the decorated side. Air dry flat. If machine washing, place it in a mesh laundry bag and use a gentle cycle.
How do I fix a smudged fabric paint design?
If the paint is still wet, blot gently with a clean cloth. Once dry, you can either paint over it with a base coat and reapply the design or incorporate the smudge into a new element—like turning a blob into a cloud or a flower center.
Are permanent markers safe for all pencil bags?
Permanent markers like Sharpies work on many synthetic surfaces but may fade or smear over time. Set the ink by heating with an iron (on parchment paper) or using a commercial fixative. Avoid using them on porous fabrics without sealing.
Make It Yours, Make It Last
A personalized pencil bag is more than a container for pens and pencils—it becomes a companion through exams, creative sessions, and daily routines. When you invest time in designing something unique, you build a deeper appreciation for the object and are more likely to care for it. These creations also make heartfelt gifts. Imagine gifting a friend a case adorned with their favorite lyrics, inside jokes, or shared memories.
The techniques outlined here are accessible to beginners and adaptable for advanced crafters. No formal art training is required—just curiosity, patience, and a willingness to experiment. As trends shift and seasons change, you can always refresh your design, making personalization a dynamic, evolving practice.


 浙公网安备
33010002000092号
浙公网安备
33010002000092号 浙B2-20120091-4
Comments
No comments yet. Why don't you start the discussion?