
PVC backpacks have surged in popularity thanks to their durability, water resistance, and sleek, modern appearance. But while they’re functional, many find them too generic—especially when the same designs appear across campuses, commutes, and coworking spaces. The solution? Personalization. Transforming a standard clear or solid-colored PVC backpack into a one-of-a-kind statement piece allows you to express individuality, creativity, and personal flair. With the right techniques, tools, and imagination, your backpack can become an extension of your identity.
Why Personalize Your PVC Backpack?
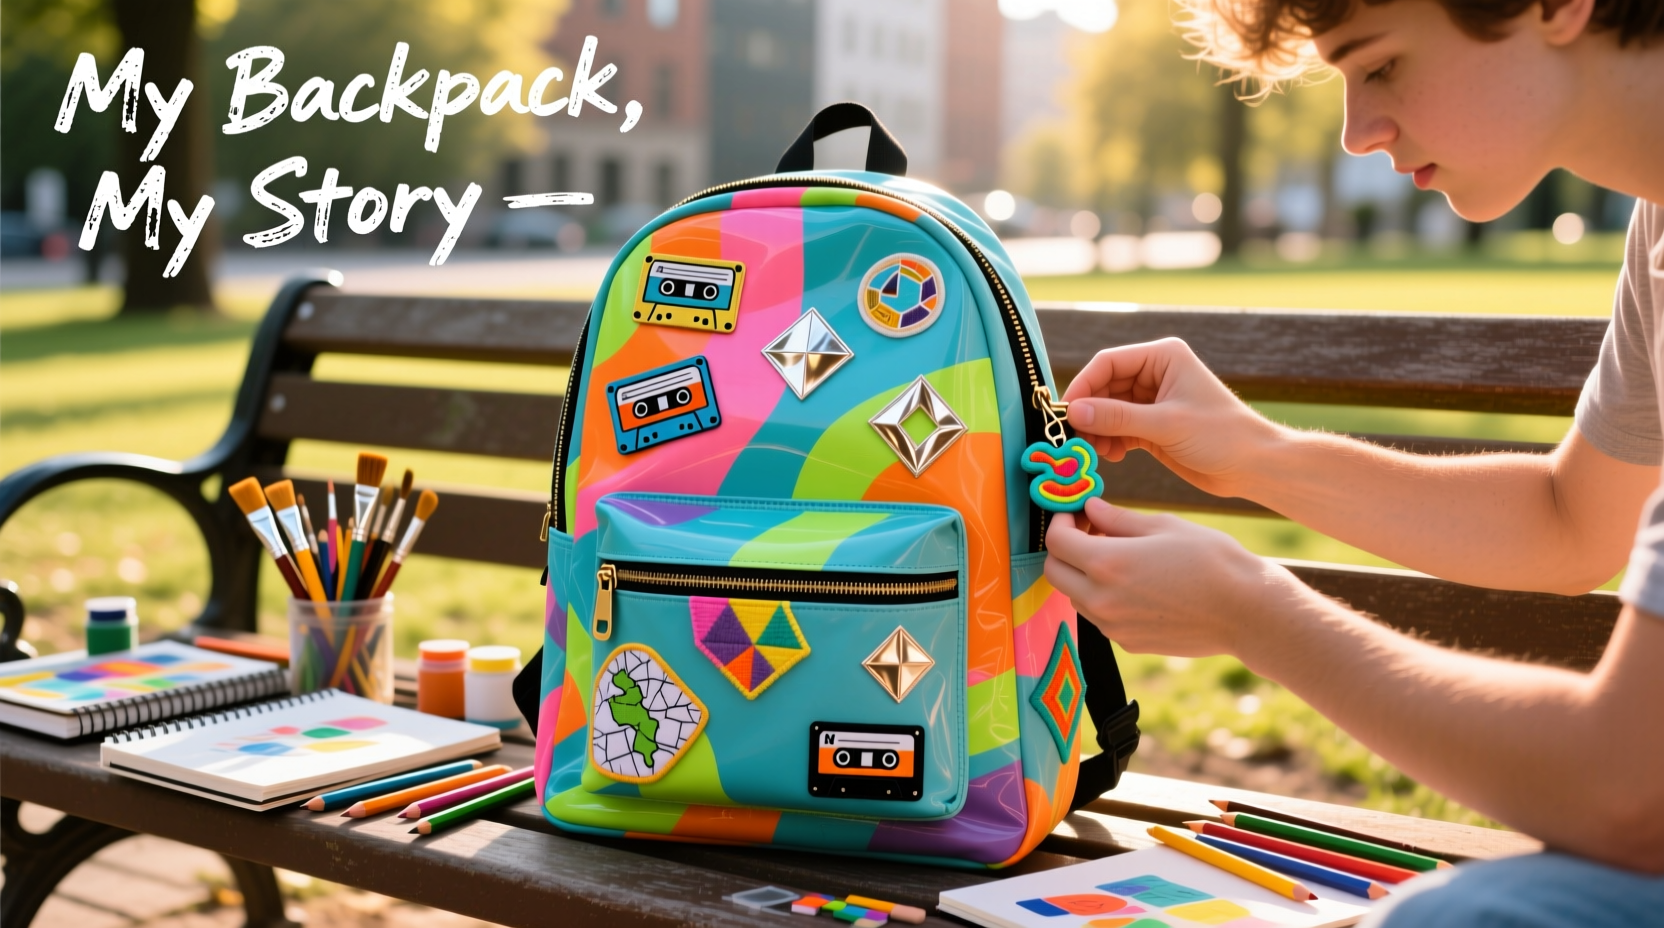
Personalizing isn’t just about aesthetics—it’s about ownership and identity. A customized backpack reflects who you are: your interests, mood, artistic taste, or even your values. It also makes your bag instantly recognizable, reducing mix-ups in shared environments like schools or offices. Beyond self-expression, customization adds emotional value. When you invest time and creativity into your belongings, you're more likely to care for them and feel attached to them.
“Customization turns mass-produced items into personal artifacts. That shift from commodity to keepsake is powerful.” — Lena Torres, Product Design Consultant
Materials and Tools You’ll Need
Before diving into creative techniques, gather essential supplies. Most materials are affordable and widely available at craft stores or online.
- Permanent markers or paint pens: Ideal for drawing directly on clear or colored PVC.
- Acrylic paint (with fabric medium): Use for opaque designs on solid-colored surfaces.
- Stickers and decals: Removable or permanent options, including holographic, glow-in-the-dark, or vinyl cutouts.
- Fabric patches and iron-on adhesives: Best for textured or matte-finish PVC.
- Washi tape or decorative tapes: Non-damaging, repositionable, and perfect for temporary flair.
- Clear nail polish or sealant spray: Protects artwork from smudging or peeling.
- Sewing kit or fabric glue: For attaching fabric elements or charms.
- Scissors, stencils, masking tape: For clean lines and precise patterns.
Creative Techniques to Customize Your Backpack
1. Hand-Drawn Artwork with Markers
Use oil-based paint pens or permanent markers to create illustrations, quotes, or abstract patterns. Clear PVC acts like a canvas—designs placed inside the bag will be protected from wear, while exterior drawings make bolder statements. Consider themes like celestial patterns, botanical sketches, or pop culture references.
2. Layered Sticker Collages
Build depth by layering stickers of varying sizes and textures. Mix vintage band logos with minimalist symbols or anime icons. For a curated look, stick to a color palette or theme—such as “ocean life” or “retro tech.” Position stickers asymmetrically for visual interest.
3. Insertable Art Panels
For clear PVC backpacks, slide printed photos, drawings, or magazine cutouts between the inner lining and outer shell. Change them seasonally or monthly to keep your style fresh. Use laminated sheets for durability and moisture resistance.
4. Fabric Patches and Embellishments
Sew or glue embroidered patches onto matte-finish PVC areas. Choose patches that reflect hobbies—music notes, hiking symbols, or language flags. Add tassels, pom-poms, or keychains via D-rings for dynamic movement and texture.
5. Washi Tape Geometry
Create geometric patterns using colorful washi tape. Triangles, stripes, or chevrons add structure without permanence. This method is ideal for renters or students who want frequent style changes without residue.
Step-by-Step Guide: Designing a Themed Backpack
Follow this timeline to build a cohesive, professional-looking design over a weekend.
- Day 1 – Concept & Sketch (1 hour): Decide on a theme—e.g., “cyberpunk cityscape” or “botanical journal.” Sketch ideas on paper or digitally.
- Day 1 – Gather Supplies (30 mins): Buy required materials based on your sketch.
- Day 2 – Prep Surface (20 mins): Clean the backpack with a damp cloth and let dry completely. Use masking tape to mark borders or sections.
- Day 2 – Apply Base Design (1–2 hours): Start with stickers, tape, or paint outlines. Let layers dry before adding details.
- Day 3 – Final Details & Seal (1 hour): Add fine lines, signatures, or glitter. Once complete, apply a clear sealant to protect the artwork.
Do’s and Don’ts of PVC Customization
| Do’s | Don’ts |
|---|---|
| Use alcohol-based markers for better adhesion on slick surfaces | Apply excessive water-based glue that may warp PVC |
| Seal painted or drawn designs to prevent smudging | Expose decorated areas to direct sunlight for long periods |
| Balance design elements—leave some negative space | Overload the bag with heavy attachments that strain seams |
| Rotate removable decor to extend material life | Use permanent modifications on rented or shared bags |
Mini Case Study: From Plain to Personal
Jamie, a college student majoring in environmental science, owned a plain transparent PVC backpack that looked identical to half her classmates’. To stand out and reflect her passion for conservation, she inserted hand-drawn illustrations of endangered animals between the layers. She added removable washi tape borders in earth tones and attached a small recycled fabric patch labeled “Protect Our Oceans.” Within days, peers began asking where she bought such a unique bag. Jamie hadn’t bought it—she’d made it, and the confidence boost led her to start a campus workshop on sustainable fashion hacks.
Checklist: Your Personalization Roadmap
- ☐ Choose a theme or mood (minimalist, bold, nostalgic, etc.)
- ☐ Clean the backpack surface thoroughly
- ☐ Test materials on a small area
- ☐ Lay out design elements before permanent application
- ☐ Apply base layers (stickers, tape, paint)
- ☐ Add fine details and personal touches (initials, quotes)
- ☐ Seal artwork if using paint or ink
- ☐ Attach lightweight accessories (charms, patches)
- ☐ Evaluate balance and adjust if needed
- ☐ Share your creation online or with friends!
FAQ
Can I remove stickers from PVC without damaging the surface?
Yes, especially if you use removable vinyl stickers. Gently peel from a corner and use a soft cloth with rubbing alcohol to remove residue. Avoid sharp tools that could scratch the material.
Will paint crack or peel on a flexible PVC bag?
Pure acrylic paint may crack. Always mix it with a fabric medium to increase flexibility. After drying, apply a flexible sealant spray to lock in the design and maintain elasticity.
Is it safe to wash a decorated PVC backpack?
Spot clean only. Submerging the bag can loosen adhesives and damage artwork. Use a damp microfiber cloth with mild soap for stains, avoiding decorated zones when possible.
Conclusion
Your PVC backpack doesn’t have to blend into the crowd. With thoughtful customization, it can become a mobile canvas for your personality, passions, and creativity. Whether you prefer subtle elegance or bold statements, the methods above offer accessible, lasting ways to make your bag uniquely yours. The best part? These changes cost little but yield high impact—both in visibility and personal satisfaction.


 浙公网安备
33010002000092号
浙公网安备
33010002000092号 浙B2-20120091-4
Comments
No comments yet. Why don't you start the discussion?