
Integrating images into your projects isn’t just about decoration—it’s about storytelling, clarity, and engagement. Whether you're designing a presentation, crafting a handmade journal, building a website, or compiling a report, the way you insert and present pictures can dramatically affect how your audience receives your message. Done well, visuals enhance understanding and emotional connection. Done poorly, they distract or confuse. This guide walks through innovative, practical methods to embed images effectively, with real-world applications and expert-backed techniques.
1. Choose the Right Format for Your Medium
The first step in incorporating pictures creatively is matching the image format and style to your project’s purpose. A digital portfolio demands different treatment than a scrapbook or classroom poster. Understanding the medium helps determine resolution, layout, and interactivity.
For print-based projects—like brochures or photo albums—high-resolution JPEGs or PNGs are ideal. For web use, consider compressed formats like WebP to balance quality and load speed. Always keep original files archived separately.
Digital vs. Physical: Key Differences
| Medium | Best Image Format | Placement Tip |
|---|---|---|
| Websites | WebP or compressed PNG | Use alt text for accessibility |
| Presentations | PNG with transparent background | Avoid overcrowding slides |
| Print Projects | 300 DPI JPEG or TIFF | Leave bleed margins for trimming |
| Handmade Crafts | Printed photos or Polaroids | Use acid-free glue to prevent yellowing |
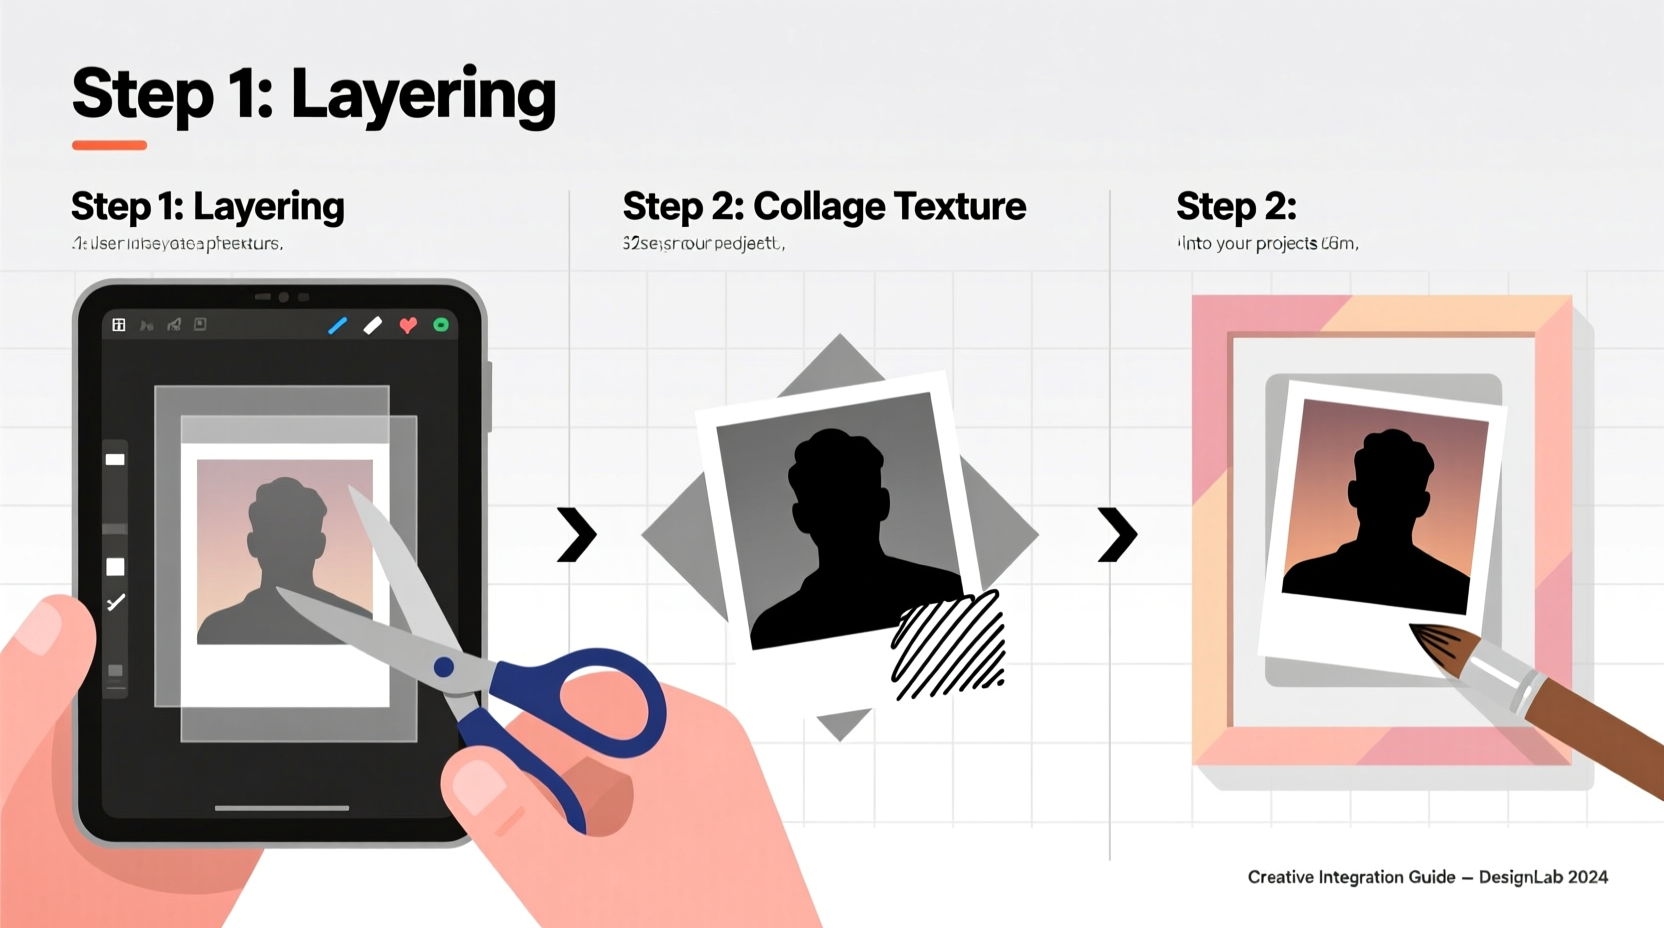
2. Layer Images for Depth and Narrative Flow
One of the most underused yet powerful techniques is layering. Instead of placing a single image flatly on a page or slide, stack multiple visuals to create depth and context. This works especially well in digital design tools like Canva, Adobe InDesign, or physical collages.
Start with a background image—perhaps a subtle texture or blurred scene—then overlay a sharper focal photo. Add text boxes or icons above that to complete the hierarchy. The result is a dynamic composition that guides the viewer’s eye naturally.
“Layering transforms static images into immersive experiences. It mimics how we see the world—through overlapping layers of focus.” — Lena Torres, Visual Storytelling Coach
Step-by-Step Guide: Creating a Layered Digital Layout
- Select a base image with low contrast or apply a blur filter.
- Import your main photo and position it off-center using the rule of thirds.
- Add a semi-transparent shape (rectangle or circle) behind text for readability.
- Incorporate small icon accents or secondary thumbnails around the edges.
- Adjust opacity levels so no single element overwhelms the others.
3. Use Creative Embedding Techniques in Physical Projects
Physical projects—such as journals, greeting cards, or exhibition boards—offer tactile opportunities digital media can’t replicate. Try these hands-on methods to make pictures stand out literally and figuratively.
- Fold-out flaps: Attach photos beneath paper tabs so viewers lift them to reveal hidden images.
- Photo pockets: Create small envelopes from vellum or washi tape to hold interchangeable prints.
- Pop-up elements: Cut and fold photo corners so they rise when the page opens.
- String & clip displays: Run twine across a board and use mini clothespins to hang multiple photos, allowing easy updates.
Mini Case Study: Community Memory Board at Oakwood Library
The Oakwood Public Library wanted to celebrate 50 years of service. Instead of a standard timeline, staff built a walkable memory corridor using string-and-clip photo displays. Residents contributed personal snapshots from past events, attaching handwritten notes on index cards. The interactive design encouraged visitors to rearrange or add photos during the exhibit. Attendance increased by 40% compared to previous static displays, proving that participatory image integration deepens engagement.
4. Automate and Enhance with Digital Tools
If your project lives online, leverage automation to streamline picture integration. Dynamic galleries, image sliders, and AI-assisted layouts save time while boosting professionalism.
Tools like Notion, Airtable, or WordPress allow you to link image folders directly to pages. When updated, the visuals refresh automatically. For storytelling platforms like StoryMapJS, each photo becomes a waypoint on an interactive map, perfect for travel logs or historical timelines.
Checklist: Optimizing Digital Image Integration
- ✅ Compress images without sacrificing clarity
- ✅ Add descriptive alt text for SEO and accessibility
- ✅ Use consistent aspect ratios for a clean grid
- ✅ Test image loading speed on mobile devices
- ✅ Enable lightbox effects for clickable enlargements
5. Blend Pictures with Text Creatively
Words and images shouldn’t compete—they should complement. One of the most elegant ways to integrate pictures is through text wrapping and inline embedding.
In word processors or design software, experiment with text wrap settings: square, tight, or behind text. For blogs or newsletters, place small thumbnails within paragraphs to illustrate key points without breaking flow. In printed reports, use full-bleed images as section dividers, with overlaid headings in high-contrast fonts.
Avoid common pitfalls like placing light-colored text over bright image areas. Always add a dark overlay or text box background to ensure readability.
“Great visual communication doesn’t shout—it whispers with precision and purpose.” — Malik Greene, UX Design Lead at Studio Verve
FAQ
How do I make sure my images don’t pixelate in print?
Ensure your images are at least 300 dots per inch (DPI) at the size you plan to print them. Avoid stretching small digital photos beyond their native resolution. Use vector-based software like Adobe Illustrator for scalable graphics when possible.
Can I use Instagram photos in professional projects?
Only if you have explicit permission from the photographer or owner. Even if a photo is public, copyright law protects its use. For safe alternatives, source royalty-free images from platforms like Unsplash, Pexels, or Adobe Stock, filtering by license type.
What’s the best way to organize images for large projects?
Create a structured folder system: separate directories for raw files, edited versions, final exports, and backups. Use consistent naming and version control (e.g., “projectX_photo1_final_v2.jpg”). Cloud storage with shared access—like Google Drive or Dropbox—helps teams stay aligned.
Conclusion
Embedding pictures into your projects goes far beyond dragging and dropping files. With thoughtful formatting, strategic layering, tactile innovation, and digital efficiency, you transform static visuals into compelling narratives. Whether you’re assembling a school assignment, launching a brand campaign, or preserving family memories, the techniques outlined here empower you to work smarter and create deeper impact.


 浙公网安备
33010002000092号
浙公网安备
33010002000092号 浙B2-20120091-4
Comments
No comments yet. Why don't you start the discussion?