
Keychain charms are more than just decorative accents—they’re personal statements. Whether it’s a tiny enamel cat, a vintage locket, or a handmade bead, attaching a charm to your bag instantly elevates its character. But too often, these small treasures fall off, tangle, or damage the bag itself. The challenge isn’t just about style; it’s about security, longevity, and thoughtful integration. With the right techniques, you can showcase your personality while ensuring every charm stays put through daily wear and tear.
Why Secure Attachment Matters
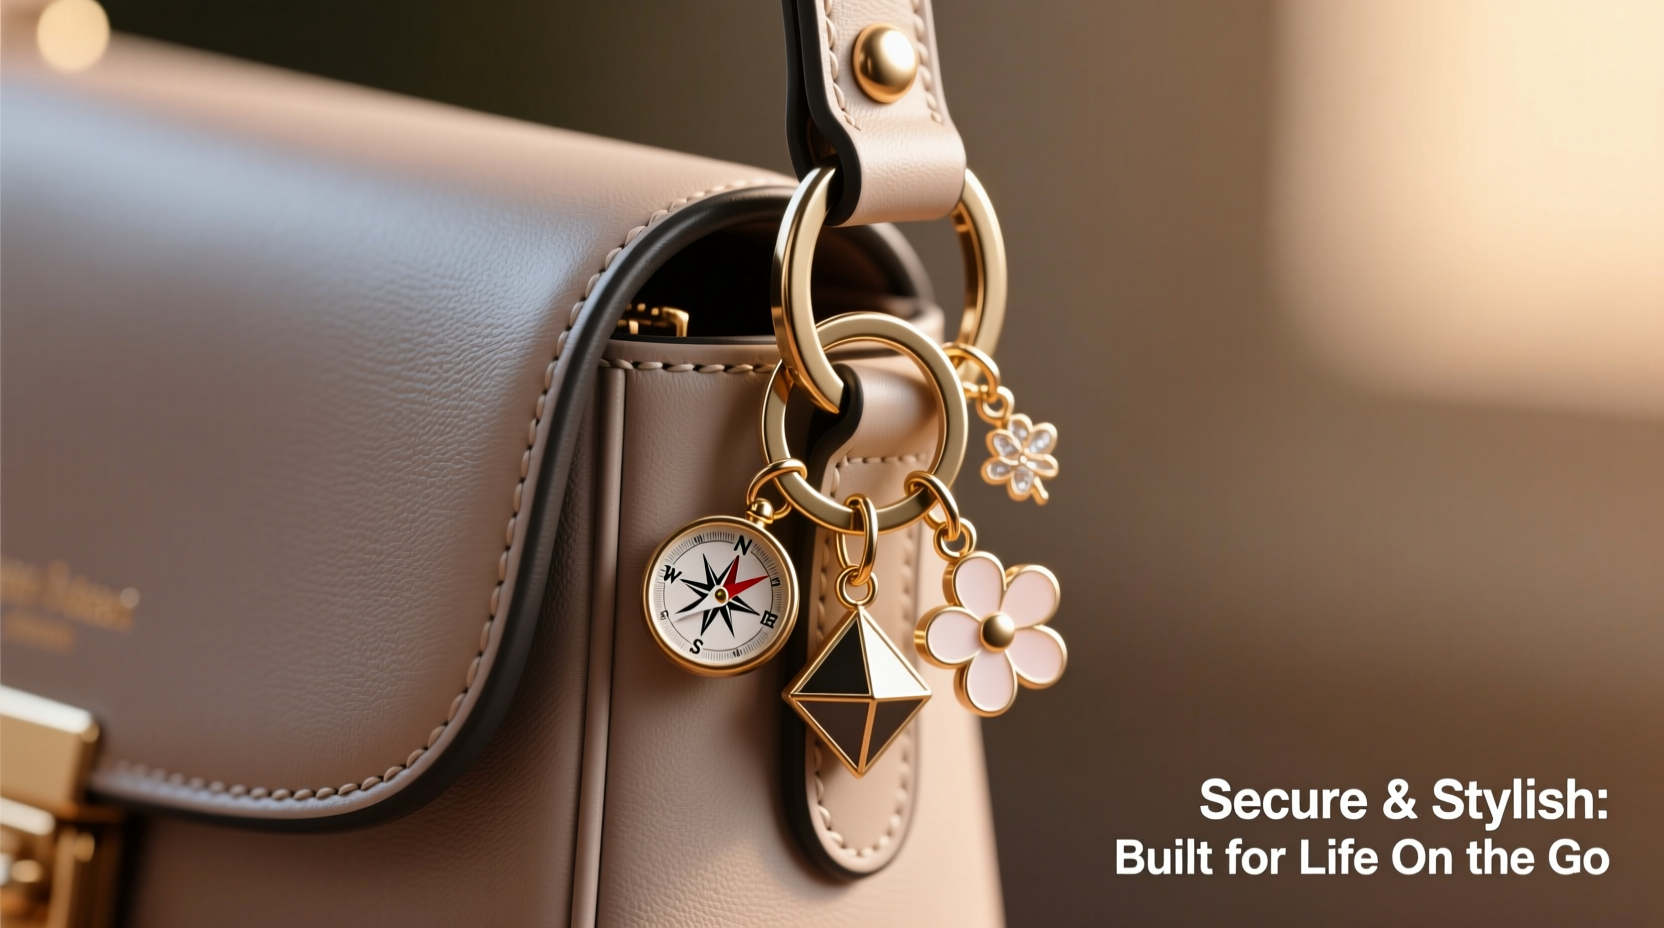
A loose charm may seem harmless until it vanishes from your tote during a commute or snags on fabric, pulling stitches apart. Beyond loss, poorly attached charms can compromise the structural integrity of zippers, straps, or delicate materials like silk or vegan leather. A secure attachment doesn’t just protect your accessories—it protects your investment in the bag itself.
Durability and style don’t have to be mutually exclusive. In fact, the most stylish attachments are often the most functional: clean lines, balanced weight distribution, and materials that complement rather than clash with your bag’s design.
“Charms should enhance a bag, not endanger it. The best attachments are invisible in their engineering but obvious in their impact.” — Lena Torres, Accessory Designer & Founder of Urban Tassel Co.
Creative & Secure Attachment Methods
Forget flimsy lobster clasps prone to snapping. Modern solutions blend craftsmanship with practicality. Below are five innovative methods that prioritize both aesthetics and resilience.
1. Double-Loop Bead Spacer Technique
This method uses two silicone bead spacers threaded onto a durable nylon cord loop. One end attaches to the charm, the other to a fixed point on the bag—like a zipper pull or D-ring. The double-loop design prevents slippage and distributes tension evenly.
2. Interlocking Toggle System
Inspired by modular jewelry, this system uses a small metal toggle bar inserted through a reinforced leather tab sewn discreetly onto the bag’s strap. Charms hang from the bar via micro-carabiners. The beauty lies in interchangeability—swap charms daily without rethreading.
Best suited for structured bags with thicker straps, this method requires minor customization but pays off in long-term versatility.
3. Magnetic Snap Integration
Embed miniature rare-earth magnets into custom charm backings and corresponding anchor points on the bag. When snapped together, they hold firmly yet detach cleanly under strong pull—protecting stitching from strain. Ideal for lightweight charms under 1.5 ounces.
Caution: Avoid near electronics or credit cards. Always test magnet strength before full installation.
4. Braided Paracord Lanyard with Knot Locks
Paracord is known for strength and flexibility. Braid a 6-inch lanyard using three strands, terminating one end with a charm ring and the other with a series of locking knots (e.g., double fisherman’s knot). Loop the lanyard around a sturdy part of the bag—like a backpack buckle—and tighten.
The braid adds visual texture, turning function into fashion. Choose paracord in colors that match your bag’s trim for a cohesive look.
5. Rivet-Mounted Charm Plate
For permanent flair, install a small metal plate (brass or stainless steel) onto the bag flap or side panel using rivets. Drill tiny holes in the plate to thread jump rings or micro-chains. This industrial-chic solution supports heavier charms and resists tampering.
Common in custom motorcycle gear, this method works best on canvas, denim, or leather bags where riveting won’t cause cracking.
Do’s and Don’ts: Attachment Best Practices
| Do | Don't |
|---|---|
| Use weight-appropriate hardware (micro-clasps for light charms, heavy-duty rings for larger pieces) | Attach heavy charms directly to zipper pulls not rated for extra load |
| Inspect connections monthly for fraying or loosening | Ignore signs of wear—replace cords or clasps at first sign of fatigue |
| Match metal finishes (e.g., gold-tone with gold-tone accents on bag hardware) | Mix reactive metals (like silver and brass) that may corrode when touching |
| Balance charm placement symmetrically for visual harmony | Cluster too many charms in one area, creating bulk and stress points |
| Choose non-abrasive charm backs (felt-lined or smooth resin) | Allow rough-edged charms to rub against delicate fabrics |
Step-by-Step: Installing a Rivet-Mounted Charm Plate
Ideal for DIY enthusiasts, this guide walks through adding a permanent charm anchor.
- Select Location: Choose a flat, high-visibility area like the front flap center or side pocket corner.
- Mark & Drill: Use a center punch to mark hole positions. Drill pilot holes slightly smaller than rivet diameter.
- Insert Rivet: Place rivet shaft through hole, then hammer setting tool over anvil to flare the back.
- Attach Plate: Slide charm plate onto rivet post and secure with cap nut or peen the end.
- Add Charms: Thread jump rings through plate holes and attach charms.
- Test: Gently tug each charm to confirm stability.
Real Example: Travel Blogger’s Charm Survival Story
Sophie Chen, a full-time travel blogger, wanted to personalize her carry-on luggage without risking damage during flights. She used a combination of magnetic snaps and paracord lanyards to attach four charms representing cities she loved. Each magnet was tested for pull strength (minimum 3 lbs), and cords were knotted with marine-grade precision.
After 14 months and 27 flights—including baggage handling mishaps—only one charm detached (due to passenger interference), and the rest remained intact. “I got compliments in Tokyo, questions in Lisbon,” she said. “But more importantly, my suitcase still looks brand new.”
Checklist: Secure Charm Attachment Prep
- ✅ Assess bag material and structural weak points
- ✅ Weigh each charm to determine appropriate mounting method
- ✅ Select non-corrosive, color-matched hardware
- ✅ Test attachment strength before daily use
- ✅ Schedule monthly maintenance checks
- ✅ Keep spare cords, clasps, and tools in a repair kit
Frequently Asked Questions
Can I attach charms to a silk or satin bag?
Yes, but avoid direct sewing or piercing. Instead, use a removable ribbon lanyard tied around the handle or strap. Choose ultra-light charms (<0.5 oz) and soft backing to prevent snagging.
How do I clean charms without detaching them?
Use a soft toothbrush dipped in mild soapy water. Gently scrub, then wipe with a microfiber cloth. For metal, apply a jewelry polishing cloth sparingly. Never soak or use ultrasonic cleaners while attached.
Will strong magnets affect my phone or wallet if attached to the same bag?
Potentially. Rare-earth magnets within 2 inches of electronics or magnetic strips can interfere. Keep charm magnets on the opposite side of compartments holding devices or cards. Test with your specific items before regular use.
Final Thoughts: Style That Stays Put
Your bag is a canvas. Charms are brushstrokes of identity. But artistry means nothing if it doesn’t endure. By choosing intelligent attachment methods—whether magnetic, knotted, or riveted—you preserve both form and function. These techniques aren’t just about keeping trinkets from falling off; they reflect a deeper respect for craftsmanship, intentionality, and personal expression.
Start small. Pick one charm, one proven method, and apply it thoughtfully. Over time, build a collection that tells your story—one that survives rain, travel, and time.


 浙公网安备
33010002000092号
浙公网安备
33010002000092号 浙B2-20120091-4
Comments
No comments yet. Why don't you start the discussion?