
Instagram’s visual format prioritizes aesthetics and consistency, often at the cost of image integrity. Whether you're a photographer, artist, marketer, or everyday user, you've likely faced the frustration of having your full composition cropped or compressed when posting. The platform's default aspect ratios—especially in feed posts—can cut off crucial parts of an image, while automatic compression dulls detail and color fidelity. But with strategic techniques and a bit of creativity, it’s entirely possible to preserve both the completeness and quality of your visuals.
The goal isn’t just to get the whole image seen—it’s to maintain its original clarity, color depth, and emotional impact. This guide explores practical, tested approaches that go beyond standard workarounds, empowering you to share your vision exactly as intended.
Understanding Instagram’s Image Limitations
Before solving the problem, it helps to understand the constraints. Instagram supports several formats: square (1:1), portrait (4:5), and landscape (1.91:1). However, even within these ratios, there are subtle variations depending on where the post appears—feed, Stories, Reels, or carousels. When an image exceeds these dimensions, Instagram automatically crops or adds padding. Additionally, all uploads undergo compression, which can reduce file size but also degrade fine details, especially in high-resolution photography or digital art.
According to Adam Mosseri, head of Instagram, “We compress images to ensure fast loading across devices, but we’re always working to improve quality retention.” While optimization is necessary for performance, users should not have to sacrifice artistic intent.
“We compress images to ensure fast loading across devices, but we’re always working to improve quality retention.” — Adam Mosseri, Head of Instagram
Smart Composition and Pre-Planning
One of the most effective—and often overlooked—strategies is designing your image with Instagram’s limitations in mind from the start. Instead of trying to fit a wide panorama into a single post, consider how the core subject can be framed within acceptable ratios without losing meaning.
This doesn’t mean compromising creativity. Think of it as adapting your presentation for the medium, much like filmmakers adjust shots for different screen sizes. For example, if you’re capturing a sweeping landscape, position the horizon lower in the frame to allow room for vertical expansion later. Alternatively, use leading lines or symmetry to draw attention to the center, where content is least likely to be cut off.
Step-by-Step Guide: Optimizing Before Upload
- Shoot or create with aspect ratio guidelines in mind (e.g., 4:5 for optimal feed display).
- Use grid overlays in your camera or editing app to align critical elements within the safe zone.
- Export at a resolution of 1080px on the shortest side, up to 1350px on the longest (Instagram’s sweet spot).
- Avoid exporting above 1080px width, as this triggers more aggressive compression.
- Save in JPG format with high quality (90–100%) to balance clarity and file size.
Using Carousels to Display Full Scenes
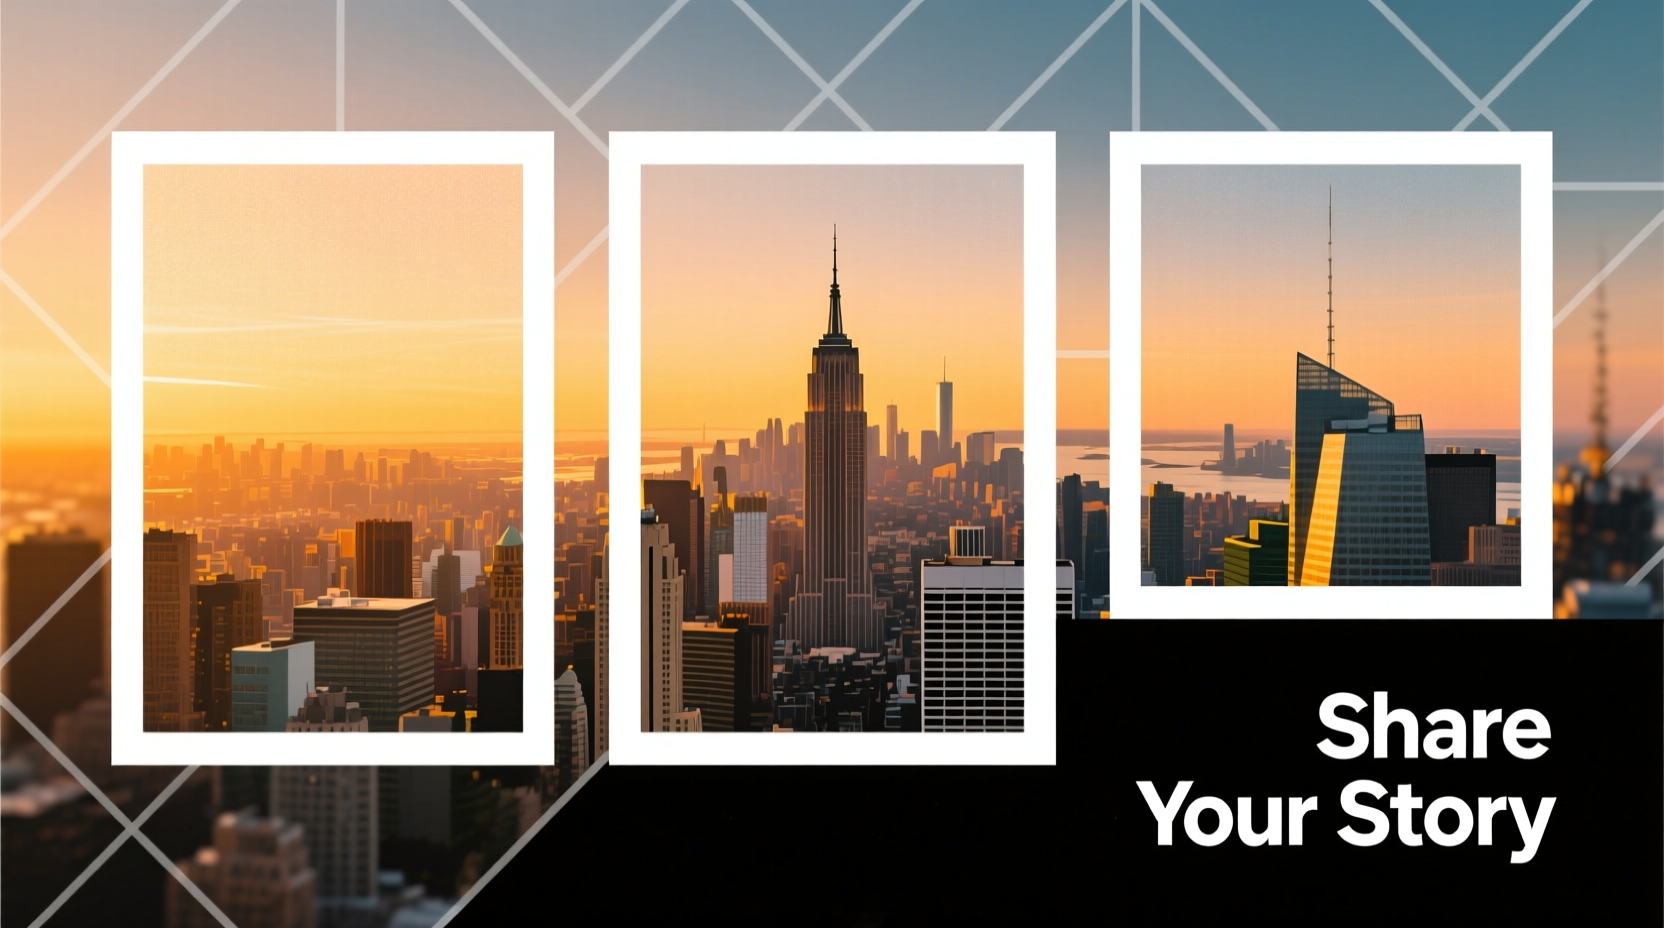
One of the most powerful tools Instagram offers is the carousel post—allowing up to 10 images in a single swipeable unit. Rather than fighting the crop, split your full image into segments and present them as a sequence.
For instance, a panoramic cityscape can be divided vertically into three overlapping panels. When viewed together, they reconstruct the complete scene. Viewers engage more deeply by swiping, turning passive observation into interaction.
To execute this cleanly:
- Use photo editing software (like Photoshop or free tools such as GIMP or Photopea) to slice the image evenly.
- Ensure slight overlap between sections so alignment is intuitive.
- Add subtle text cues like “Swipe →” or numbering (1/3, 2/3, 3/3) to guide navigation.
| Method | Pros | Cons |
|---|---|---|
| Single Image Post | Simple, immediate | Limited aspect ratio; likely cropping |
| Carousel Split | Full image shown; interactive | Requires planning; some users may not swipe |
| Story Series | Full control over framing | Ephemeral; low discoverability |
| Link-in-Bio Redirect | No quality loss; full resolution | Extra step for viewer; breaks flow |
Sharing High-Resolution Versions via External Links
When absolute fidelity is non-negotiable—such as for portfolios, fine art, or product photography—the best solution is to host the full-quality image elsewhere and direct users to view it.
Platforms like Imgur, Google Drive, or dedicated portfolio sites (Behance, ArtStation, or personal websites) allow lossless uploads. In your Instagram caption, include a clear call-to-action: “View full-resolution version via link in bio.” You can even use UTM parameters to track engagement from Instagram to your external site.
Mini Case Study: Artist Maria Tran Expands Reach Without Sacrificing Quality
Maria Tran, a digital illustrator based in Vancouver, struggled with her intricate artwork being compressed and cropped on Instagram. Her pieces often featured detailed borders and corner motifs that disappeared in standard posts. She began uploading a central cropped preview to her feed and linking to a full-resolution gallery on her portfolio site.
Within two months, time-on-site from Instagram referrals increased by 67%, and she received inquiries from galleries impressed by the clarity of her online work. “I realized Instagram isn’t the final destination—it’s the doorway,” she said. “Now I treat each post as a teaser for the real experience.”
Alternative Formats: Reels and Guides for Contextual Sharing
Instagram Reels offer another avenue for showcasing full compositions creatively. By animating a slow zoom or pan across a high-res image (a technique known as the Ken Burns effect), you can reveal the entire picture over time. This method preserves quality because Reels support higher bitrate video uploads, and the motion keeps viewers engaged.
Similarly, Instagram Guides—often used for recommendations—can compile multiple images with captions into a scrollable article-like format. While less visual than the main feed, Guides display images in a larger, less cropped layout, making them ideal for curating series or behind-the-scenes content.
Checklist: How to Share Full Images on Instagram Without Quality Loss
- ✅ Plan composition around 4:5 or 1:1 ratios to minimize cropping
- ✅ Slice panoramic images into carousel-friendly panels
- ✅ Export images at 1080–1350px on the long edge, high quality
- ✅ Host full-resolution versions on an external platform
- ✅ Use the bio link to direct followers to complete versions
- ✅ Create Reels with pans or zooms to reveal full image dynamically
- ✅ Add subtle cues (arrows, numbers) to encourage carousel swiping
Frequently Asked Questions
Can I prevent Instagram from compressing my photos?
You cannot stop compression entirely, but you can minimize its impact. Upload JPEGs at 1080px to 1350px on the longest side, with high quality settings (90–100%). Avoid PNG unless necessary, as it may trigger heavier compression. Also, refrain from uploading files larger than 1MB unnecessarily—larger files are compressed more aggressively.
Why does my image look blurry after posting?
Blurriness usually results from either excessive file size triggering heavy compression, or upsampling a low-resolution image. Always start with a sharp original, resize appropriately, and avoid enlarging small images. Test by uploading a sample and viewing it on a desktop browser—this reveals compression artifacts more clearly than mobile.
Is there a way to show a full widescreen image in one post?
Not natively without letterboxing (adding white or black bars). If you upload a wide image, Instagram will either crop the sides or add padding. To keep the full width, accept the padded look or use a carousel. Some creators stylistically embrace the bars, using them to frame the image or add text.
Conclusion: Share Your Vision, Not Just a Snapshot
Preserving the full picture on Instagram doesn’t require technical wizardry—just intentionality. Whether through smart cropping, carousels, external links, or dynamic Reels, the tools exist to honor your creative vision. The key is to see Instagram not as a constraint, but as a gateway to deeper engagement.


 浙公网安备
33010002000092号
浙公网安备
33010002000092号 浙B2-20120091-4
Comments
No comments yet. Why don't you start the discussion?