
Using a mirrored tray as a cake plate is more than just a decorative choice—it’s a transformative design decision that elevates the presentation of any cake. Whether you're hosting a wedding, birthday party, or an elegant afternoon tea, a mirrored surface adds depth, brightness, and modern sophistication. Unlike traditional cake stands, mirrored trays reflect light and surroundings, creating the illusion of space and drawing attention to the centerpiece: your cake. With thoughtful styling, this simple switch can turn an ordinary dessert table into a show-stopping display.
Why Choose a Mirrored Tray?
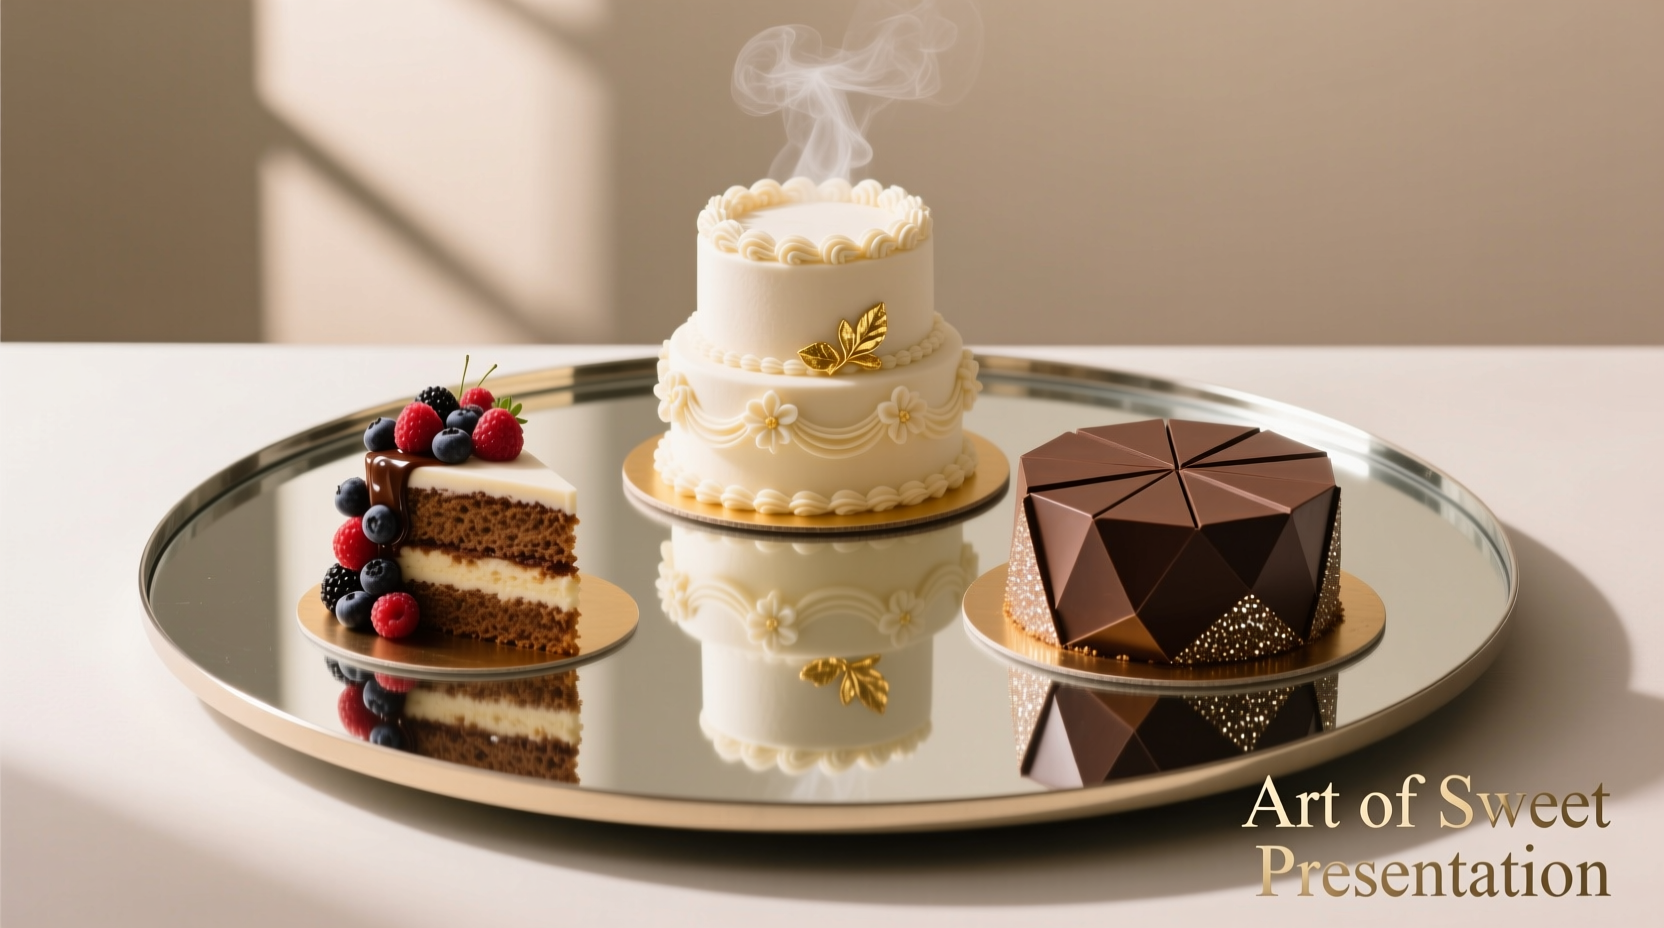
Mirrored trays are not just functional—they’re strategic. Their reflective surface amplifies ambient lighting, making them ideal for dimly lit venues or intimate indoor settings. They complement minimalist, modern, boho, and glam themes alike. Because they don’t compete with intricate cake designs, mirrored trays allow the confection itself to remain the star while subtly enhancing its visual impact.
Additionally, mirrored trays are often larger and more versatile than standard cake stands. This allows room for artistic plating, layered arrangements, or even multiple desserts displayed together. Their sleek finish pairs well with metallic accents, floral garlands, candles, and textured linens—making them a favorite among professional stylists and event planners.
Styling Techniques for Maximum Impact
The key to using a mirrored tray effectively lies in intentional composition. Since the reflection doubles what’s on the surface, symmetry and balance become essential. Here are several proven techniques:
- Centered Elevation: Place your cake on a clear acrylic or glass pedestal in the center of the tray. This lifts it slightly, preventing direct contact with the mirror while adding dimension.
- Floral Frames: Arrange small blooms, eucalyptus sprigs, or dried botanicals around the base of the cake. The reflection creates a halo effect, doubling the greenery.
- Candle Clusters: Use pillar or taper candles at varying heights around the cake. The mirrored surface multiplies their glow, producing a romantic ambiance perfect for evening events.
- Color Contrast: Pair the mirror with bold-colored runners or cloths underneath—deep navy, blush pink, or emerald green—to ground the look and prevent it from feeling too cold or sterile.
- Themed Accents: For seasonal events, add miniature figurines (like pinecones for winter or seashells for beach weddings). Their reflections enhance the theme without overcrowding the tray.
“Mirrors create visual expansion. When used under a cake, they make the dessert feel grander and more luxurious—even if it’s a single-tier creation.” — Lila Monroe, Event Stylist & Founder of Luminary Tables
Step-by-Step Guide: Assembling a Show-Stopping Display
Follow this sequence to build a polished, photogenic cake presentation:
- Prep the Surface: Wipe the mirrored tray thoroughly. Lay it on a stable, level surface to avoid tilting.
- Add Texture Beneath: Place a fabric runner, lace doily, or velvet mat partially under the tray for contrast and grip.
- Elevate the Cake: Use a tiered stand or footed pedestal. Avoid placing the cake directly on the mirror unless it has a non-slip base.
- Arrange Complementary Elements: Position flowers, candles, or decorative stones around the cake, leaving breathing room for serving access.
- Test the Reflection: View the setup from multiple angles. Adjust asymmetrical elements so their reflections don’t appear unbalanced.
- Final Touches: Add a small sign with the cake flavor or couple’s initials. Ensure all items are food-safe and won’t contaminate the dessert.
Do’s and Don’ts: A Quick Reference Table
| Do’s | Don’ts |
|---|---|
| Use non-slip pads under the tray to prevent sliding | Place the tray on an uneven or wobbly table |
| Pair with soft lighting for a glowing effect | Expose the mirror to direct sunlight, which can cause glare |
| Incorporate height variation with stands and props | Overcrowd the tray—keep negative space for elegance |
| Style with metallic or glass accents for cohesion | Use adhesive materials that could damage the surface |
| Protect the mirror with a cover when transporting | Handle the tray with bare hands; oils leave smudges |
Real-World Example: A Minimalist Wedding Dessert Table
Sophie and James hosted a garden wedding with a neutral color palette. Instead of a towering wedding cake, they opted for a modest two-tier vanilla bean cake adorned with fresh white roses. Their stylist placed it on a large rectangular mirrored tray atop a reclaimed wood table. Around the cake, she arranged scattered rose petals, three matte gold candle holders, and small jars of macarons—all spaced evenly.
The mirrored tray reflected the canopy of trees above, blending nature into the display. Guests consistently remarked on how “expensive” the setup looked, despite its simplicity. Photographs captured the doubled greenery and soft candlelight, making the dessert table one of the most shared visuals from the event.
Combining Cakes and Confections: Multi-Tiered Serving Ideas
A mirrored tray doesn’t have to hold only one cake. Its spacious surface lends itself to curated dessert spreads:
- Dessert Trios: Center a small cake and flank it with cupcakes and mini tarts. Use matching wrappers or frosting colors for cohesion.
- Seasonal Rotations: In autumn, pair a spiced pumpkin cake with apple hand pies and caramel-dipped apples. The mirror enhances the warm tones.
- Interactive Stations: Set up a “build-your-own-cupcake” bar with toppings in small bowls around a central cake. The reflection makes the station feel abundant.
- Mini Dessert Gallery: Use cake pops, éclairs, and panna cotta in glass jars arranged in a grid pattern. The mirrored surface turns the layout into a symmetrical art piece.
Frequently Asked Questions
Can I use a mirrored tray outdoors?
Yes, but with caution. Avoid direct sunlight to prevent harsh glare and potential heat damage to the cake. Secure the tray against wind, especially if lightweight, and consider using a tent or shaded area.
How do I transport a cake on a mirrored tray safely?
Use a non-slip liner between the cake base and tray. Transport the cake separately if possible, then assemble on-site. If moving together, secure the tray in a flat box or container with padding on all sides.
Are mirrored trays safe for food service?
Most high-quality mirrored trays are coated with a food-safe sealant. However, always ensure the cake is on a separate stand or board to avoid direct contact with the mirror surface, especially if the coating is unknown or worn.
Checklist: Preparing Your Mirrored Cake Display
- ☐ Clean the mirror thoroughly with glass cleaner and a lint-free cloth
- ☐ Choose a stable, level surface for placement
- ☐ Select a complementary cake stand or pedestal
- ☐ Gather decorative elements (flowers, candles, signage)
- ☐ Test the arrangement and reflection before guests arrive
- ☐ Have serving tools ready (cake server, plates, napkins)
- ☐ Protect the mirror during transport with a soft cover
Conclusion
A mirrored tray is more than a cake plate—it’s a design tool that transforms how desserts are perceived. With careful styling, it introduces elegance, depth, and modern flair to any gathering. Whether you're a home baker, event planner, or host looking to impress, this simple upgrade offers maximum visual return with minimal effort. By balancing aesthetics with practicality, you can create a dessert display that’s both beautiful and functional.


 浙公网安备
33010002000092号
浙公网安备
33010002000092号 浙B2-20120091-4
Comments
No comments yet. Why don't you start the discussion?