
Dorm rooms are often small, utilitarian spaces with limited customization options. Between strict housing rules and tight budgets, making your space feel like home can be a challenge. But one overlooked item holds surprising potential: the humble bed sheet. Beyond their intended use, bed sheets—especially flat ones—are versatile, affordable, and easy to work with. With a little creativity, they can transform sterile walls, dull furniture, and uninspired corners into a warm, expressive retreat. Whether you're aiming for bohemian charm, minimalist elegance, or eclectic flair, repurposing bed sheets offers a flexible, renter-friendly way to personalize your space.
Why Bed Sheets Work Wonders in Dorm Decor
Most students already own at least one set of bed sheets, making them a cost-effective starting point for decor. Unlike paint or permanent fixtures, fabric solutions are temporary and damage-free—perfect for lease-restricted environments. Cotton, linen, or microfiber sheets come in endless patterns, colors, and textures, allowing for bold statements or subtle enhancements. Their lightweight nature makes them ideal for hanging, draping, or layering without putting stress on walls or furniture.
Interior designer Maya Tran notes:
“Textiles are the fastest way to add warmth and identity to a space. A well-placed fabric element can shift the entire mood of a room.” — Maya Tran, Sustainable Interior Designer
In compact dorms where every square foot counts, soft materials help reduce echo and create visual softness, contributing to a more restful atmosphere.
5 Creative Ways to Use Bed Sheets Beyond the Bed
1. Statement Wall Coverings
Instead of hanging posters or tapestries, use a large flat sheet as a wall backdrop. Pick a design that reflects your personality—a floral print for romantic vibes, geometric patterns for modern energy, or deep navy with stars for a celestial theme. Secure it with push pins, double-sided tape, or adhesive hooks at each corner. For a polished look, stretch the sheet over a DIY frame made from PVC pipes or wooden dowels.
2. Ceiling Canopy or Room Divider
Create a cozy nook by draping a sheet from the ceiling above your bed. Use Command hooks or tension rods in corners to anchor the fabric. Let it cascade down one side for a dreamy canopy effect. Alternatively, hang a sheet between two furniture pieces—like your desk and closet—to form a soft room divider that adds privacy without blocking light.
3. Furniture Makeover
Revamp outdated dressers, shelves, or storage bins by covering them with fabric. Cut the sheet to size and secure it with spray adhesive or Mod Podge. This works especially well on flat surfaces. Add trim or washi tape along the edges for a finished look. When exam season ends and you want a fresh start, simply peel it off and switch to a new pattern.
4. Curtains Without Hardware
If your dorm lacks curtain rods or natural privacy, turn a twin flat sheet into makeshift window coverings. Attach adhesive hooks above the window frame and thread a tension rod through the hemmed edge of the sheet. Choose sheer or light-filtering fabrics during the day and darker tones for nighttime coziness. Bonus: You can swap them out seasonally—florals for spring, plaids for winter.
5. Floor Rug or Reading Nook Mat
Layer multiple sheets (or sew them together) to create a soft floor mat. Place it beside your bed or under a study chair to define zones within your room. To prevent slipping, back it with non-slip rug padding cut to size. This is especially useful on tile or hardwood floors that amplify cold and noise.
Step-by-Step Guide: Installing a Sheet Wall Feature
Follow this timeline to install a stylish fabric wall feature in under an hour:
- Choose your sheet: Select a clean, wrinkle-free flat sheet with a bold or calming design, depending on your goal.
- Measure your wall: Note the height and width where the sheet will go.
- Cut if needed: Trim excess fabric with fabric scissors, leaving 1–2 inches extra on all sides for tucking.
- Prepare the surface: Wipe the wall to remove dust. Avoid damp areas.
- Hang securely: Use four Command Picture Hanging Strips—one in each corner. Press firmly for 30 seconds.
- Smooth and adjust: Gently pull the fabric taut and reposition if needed.
- Optional framing: Add washi tape or thin molding around the edges for a framed art effect.
Do’s and Don’ts of Sheet Styling
| Do’s | Don’ts |
|---|---|
| Use iron-on hem tape to create clean edges | Wash sheets before use to prevent shrinkage later |
| Layer sheets for depth—try a sheer over a solid | Overload walls; one statement piece is often enough |
| Match sheet colors to existing decor accents | Use nails or permanent adhesives that damage walls |
| Store spare sheets folded in vacuum bags to save space | Leave loose fabric near heaters or outlets |
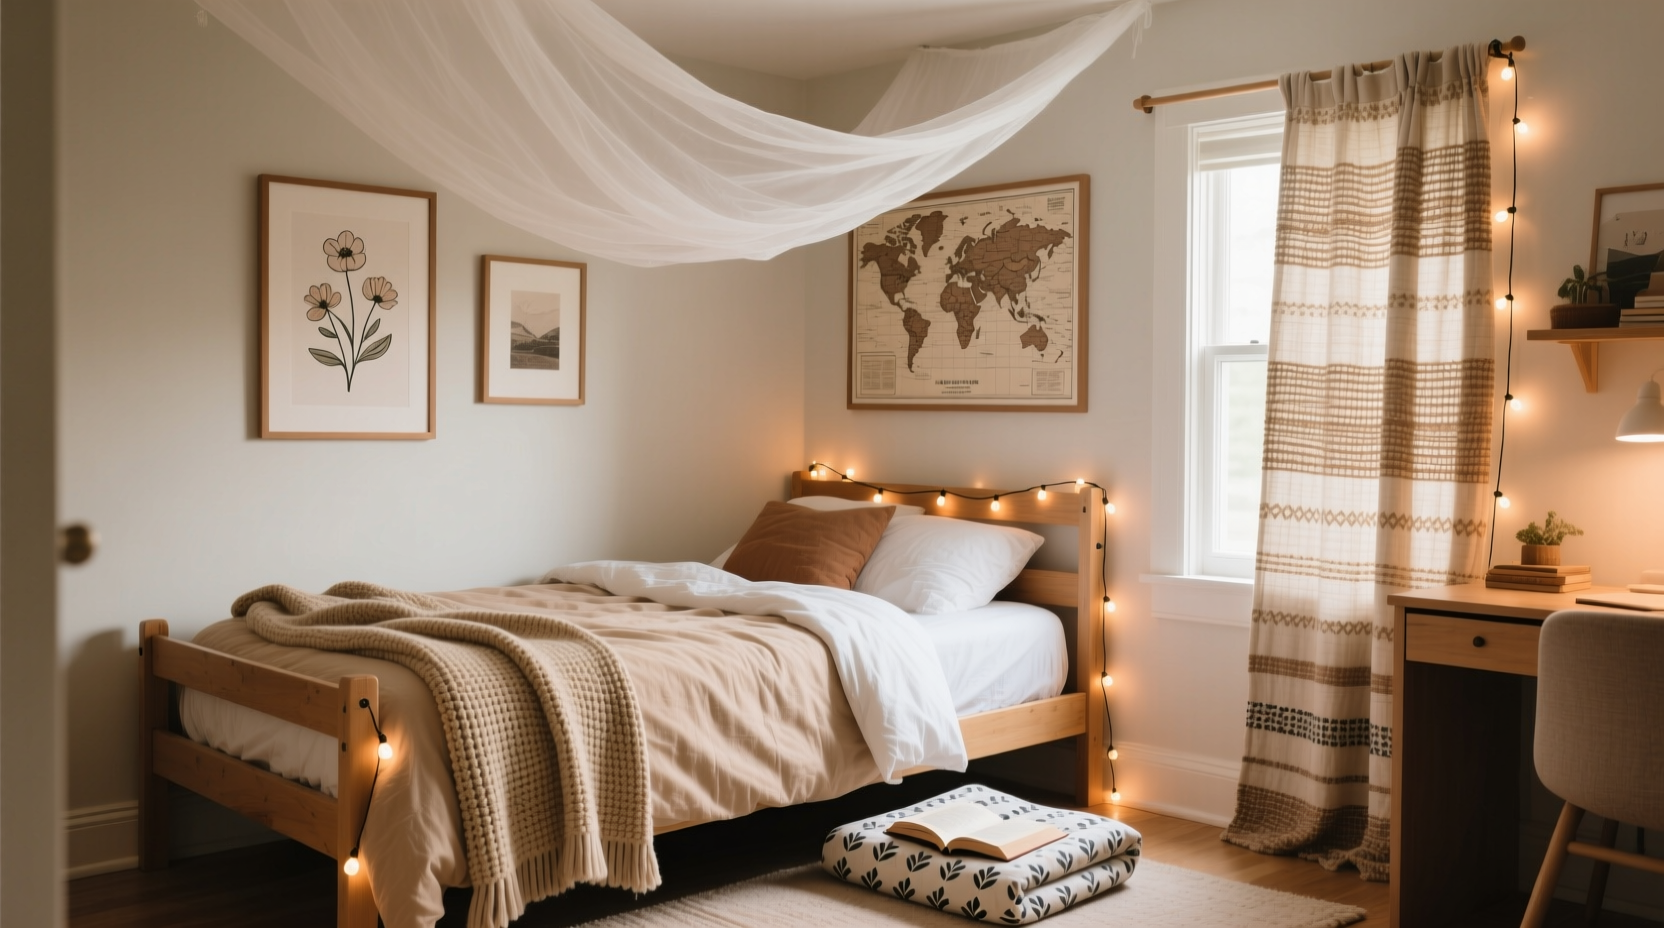
Real-Life Inspiration: Chloe’s Cozy Corner Makeover
Chloe, a sophomore at State University, felt her dorm lacked comfort. Her room had beige walls, fluorescent lighting, and standard-issue furniture. She decided to try a bed sheet project using a vintage-inspired floral flat sheet she already owned. She hung it behind her bed as a headboard alternative, added fairy lights across the top, and layered a second neutral-toned sheet as a ceiling drape. The result transformed her space into a serene reading and relaxation zone. “It feels like my own little apartment now,” she said. “People stop by just to see how I did it.”
Checklist: Your Dorm Sheet Styling Project
- ☐ Assess your current bed sheets—pick one with a design you love
- ☐ Identify the area you want to enhance (wall, ceiling, furniture)
- ☐ Measure dimensions and choose hanging method (pins, tape, rods)
- ☐ Prepare the sheet (wash, iron, cut if necessary)
- ☐ Install with care, ensuring even alignment
- ☐ Style around it—add pillows, lights, or plants to complement the fabric
- ☐ Take photos and share your transformation!
Frequently Asked Questions
Can I wash bed sheets used as wall decor?
Yes, but only if they’re removable. If you’ve used adhesive or tape, carefully detach the sheet and machine-wash it according to the care label. Rehang once fully dry to prevent mold or warping.
Will hanging sheets damage my dorm walls?
Not if you use proper products. Command Strips, adhesive hooks, or tension rods are designed for temporary use and remove cleanly. Always follow manufacturer instructions and test on a small area first.
What if my RA says no to wall coverings?
Focus on freestanding uses: drape sheets over furniture, use them as tablecloths, or create a fabric room divider on a clothes rack. These are often considered personal items rather than permanent alterations.
Make Your Space Uniquely Yours
Your dorm doesn’t have to be generic to be functional. With a simple bed sheet and a few basic tools, you can craft a space that reflects who you are and supports how you live. The beauty of fabric-based decor lies in its impermanence—you’re not locked in. As your tastes evolve, so can your room. Try one technique this weekend. Then another next month. Small changes accumulate into meaningful comfort. Turn your dorm from a place you sleep into a place you thrive.


 浙公网安备
33010002000092号
浙公网安备
33010002000092号 浙B2-20120091-4
Comments
No comments yet. Why don't you start the discussion?