
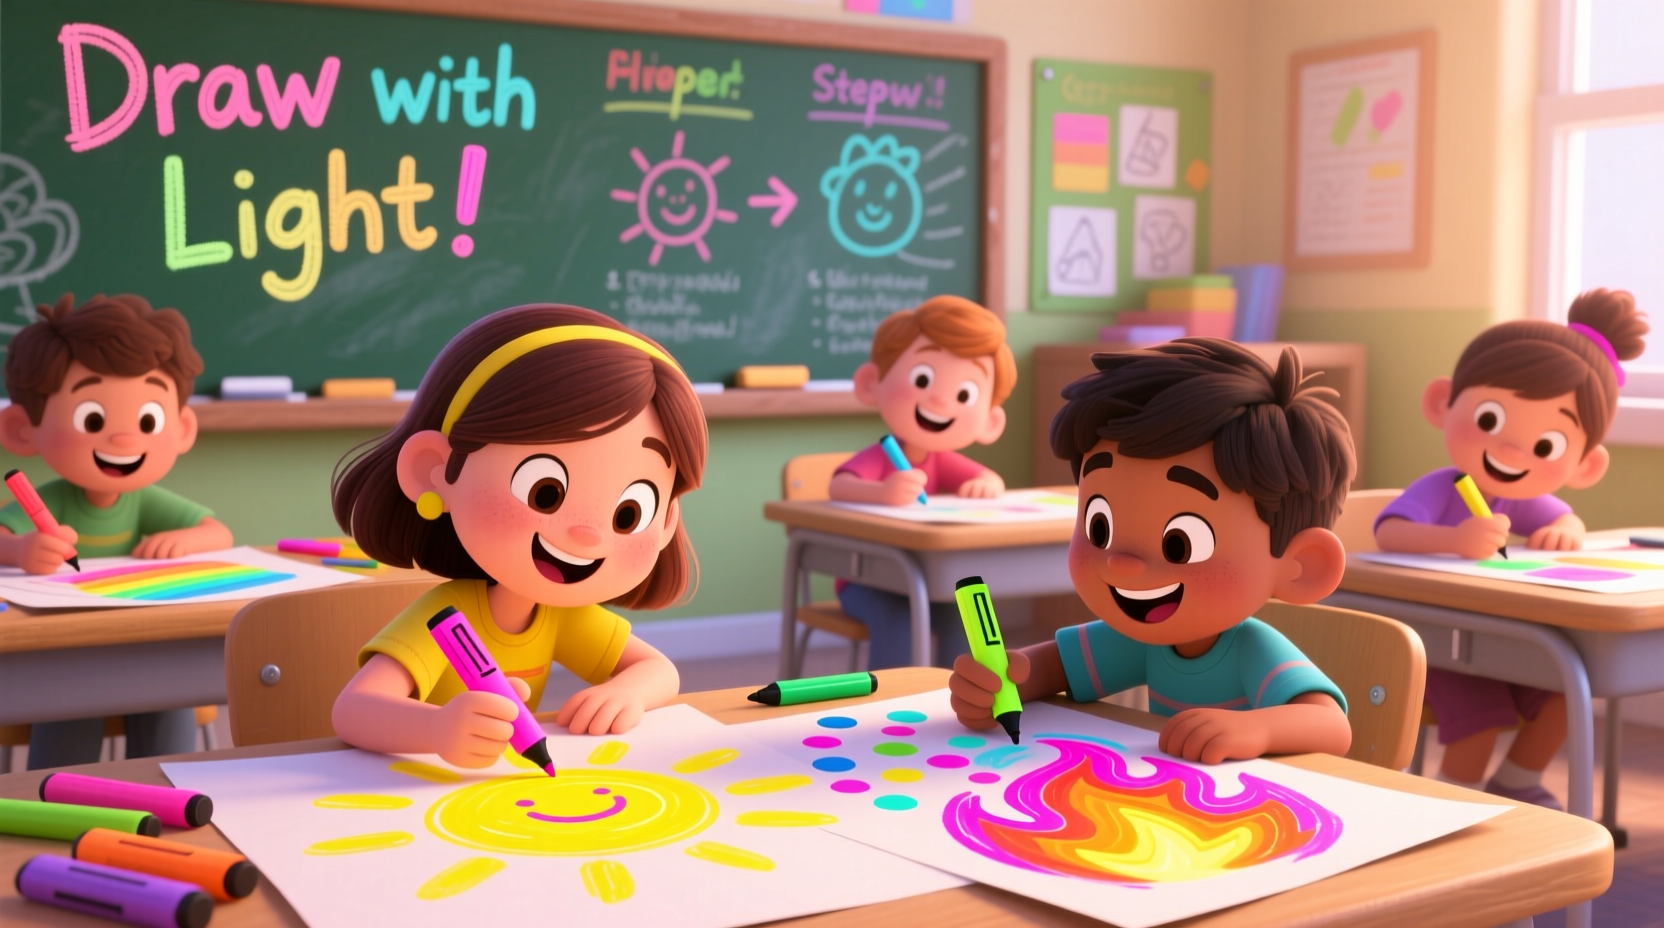
Highlighters are often seen as tools for underlining important text, but they hold surprising potential in the world of children's art education. Their bold, translucent colors and smooth glide make them ideal for introducing young learners to fundamental drawing techniques in a playful, low-pressure way. When used creatively, highlighters can help children explore color theory, layering, contrast, and composition—while building confidence through vibrant, eye-catching results. This guide explores practical, imaginative methods educators and parents can use to turn highlighters into powerful tools for artistic development.
Why Highlighters Work for Teaching Kids Art
Unlike traditional markers or pencils, highlighters offer unique properties that benefit early art instruction. Their semi-transparent ink allows for color blending and overlapping effects, helping children understand how hues interact. The wide chisel tip supports both broad strokes and fine details, encouraging versatility in line work. Most importantly, their bright, cheerful colors naturally engage children’s attention and spark enthusiasm for creating.
Art educators note that highlighters reduce the fear of \"making mistakes.\" Because the colors are bold and forgiving, children feel less pressure to achieve perfection. This freedom fosters experimentation—a key ingredient in developing creativity and technical skill.
“Highlighters level the playing field. A child who struggles with pencil control can still create something stunning with bold swaths of color.” — Dr. Lena Torres, Art Education Specialist, National Children’s Arts Initiative
Step-by-Step Guide: Introducing Drawing Techniques with Highlighters
Teaching drawing doesn’t have to begin with complex shading or perspective. Start with foundational concepts that highlighters can illustrate beautifully. Follow this structured approach to guide young artists from basic marks to expressive compositions.
- Line Exploration (Ages 4–6): Give children a single highlighter and ask them to draw different kinds of lines—wavy, zigzag, dotted, thick, thin. Discuss how lines can represent movement, emotion, or texture.
- Color Layering (Ages 5–7): Provide two highlighters of different colors and let children overlap strokes on white paper. Observe how new colors form where they intersect. This introduces the basics of color mixing without paint.
- Shape Building (Ages 6–8): Challenge kids to create recognizable objects (a house, a sun, a fish) using only geometric shapes filled with highlighter color. Emphasize how shapes combine to form complex images.
- Contrast & Backgrounds (Ages 7–9): Have children draw a dark background using colored pencils or crayons, then add highlighter elements on top. The neon pop against dark tones teaches visual contrast and focal points.
- Themed Story Drawings (Ages 8+): Ask students to illustrate a short story using only highlighters. Encourage narrative sequencing across multiple panels or pages.
Creative Projects That Build Real Art Skills
Beyond technique drills, project-based learning keeps children engaged while reinforcing artistic principles. These activities blend fun with skill development.
1. Neon Nature Journals
Take children outdoors with sketchbooks and highlighters. Ask them to observe plants, insects, or sky patterns and record them using bold, simplified forms. This builds observational drawing skills while embracing abstraction.
2. Mood Maps
Have kids assign emotions to colors (e.g., yellow = happy, pink = excited). Then, guide them to create abstract “maps” of their day using highlighter strokes. This integrates emotional intelligence with expressive mark-making.
3. Collaborative Mural Grids
Create a large grid on poster paper and assign each child a square. Provide a theme (ocean life, space, cityscape) and challenge them to fill their section with highlighters. When assembled, the mural demonstrates unity and variety—core design principles.
4. Highlighter Stencil Art
Cut simple shapes (stars, hearts, animals) from index cards to use as stencils. Children trace around them with highlighters, then fill in with patterns like stripes, dots, or radiating lines. This improves hand-eye coordination and pattern recognition.
Do’s and Don’ts of Using Highlighters in Art Instruction
| Do’s | Don’ts |
|---|---|
| Use thicker paper to prevent bleed-through | Use on glossy or coated paper (ink won’t adhere) |
| Pair with fine liners or pencils for detail work | Expect precise erasing (highlighter doesn’t erase cleanly) |
| Store caps tightly to prevent drying out | Leave uncapped for more than 5 minutes |
| Rotate colors intentionally to teach harmony | Allow random color selection without discussion |
Real Example: The Rainbow Classroom Experiment
In a third-grade classroom in Portland, Oregon, an art teacher introduced a two-week highlighter-only drawing unit. Students began by practicing basic strokes, then progressed to illustrating scenes from folktales. One student, Maya, who typically avoided drawing, became deeply invested when she discovered she could layer pink and green to create a shimmering effect for a magical forest. By the end of the unit, her confidence had visibly grown, and she presented her work at the school art show. The teacher noted that the accessibility of the materials allowed every child to produce artwork they were proud of—regardless of prior skill level.
Checklist: Setting Up a Successful Highlighter Art Session
- ✔ Choose non-toxic, water-based highlighters
- ✔ Use heavyweight drawing paper or cardstock
- ✔ Limit color selection to 3–4 per activity
- ✔ Pair with pencils or fine-tip markers for outlining
- ✔ Prepare a drying rack or flat surface to avoid smudging
- ✔ Include a clean-up routine: cap check, wipe tips, store upright
- ✔ Display finished work in natural light to showcase vibrancy
Frequently Asked Questions
Can highlighters be used alongside other art media?
Absolutely. Highlighters work well over pencil sketches, beneath washi tape, or layered with watercolor pencils. Avoid combining with oil-based markers, as they may repel the water-based highlighter ink.
How do I prevent paper from warping or bleeding?
Use paper with a weight of at least 90 lb (190 gsm). Encourage light, even pressure when coloring. Let layers dry briefly before adding more ink on top.
Are there educational standards supported by this approach?
Yes. Highlighter-based drawing aligns with National Core Arts Standards, particularly in Creating (VA:Cr), Presenting (VA:Pr), and Connecting (VA:Cr). It supports fine motor development, color theory understanding, and creative problem-solving.
Conclusion: Empower Young Artists with Bold Color
Highlighters are more than office supplies—they’re gateways to artistic exploration for children. By reimagining them as serious yet playful art tools, educators and caregivers can unlock new dimensions of creativity in young minds. The techniques outlined here don’t just produce colorful drawings; they build foundational skills in observation, composition, and self-expression. Best of all, they make art accessible to every child, regardless of experience or ability.


 浙公网安备
33010002000092号
浙公网安备
33010002000092号 浙B2-20120091-4
Comments
No comments yet. Why don't you start the discussion?