
Crocheting flat circles seems simple, but many crafters struggle with a common frustration: the edges curl up or ruffle outward. Whether you're making amigurumi bases, doilies, or trendy mandalas, maintaining a flat, even shape is essential for both aesthetics and function. Curling can ruin the symmetry of your work and make seaming or joining nearly impossible. The good news? Most curling issues stem from predictable causes—and are entirely fixable with the right approach.
Why Crochet Circles Curl: The Science Behind the Shape
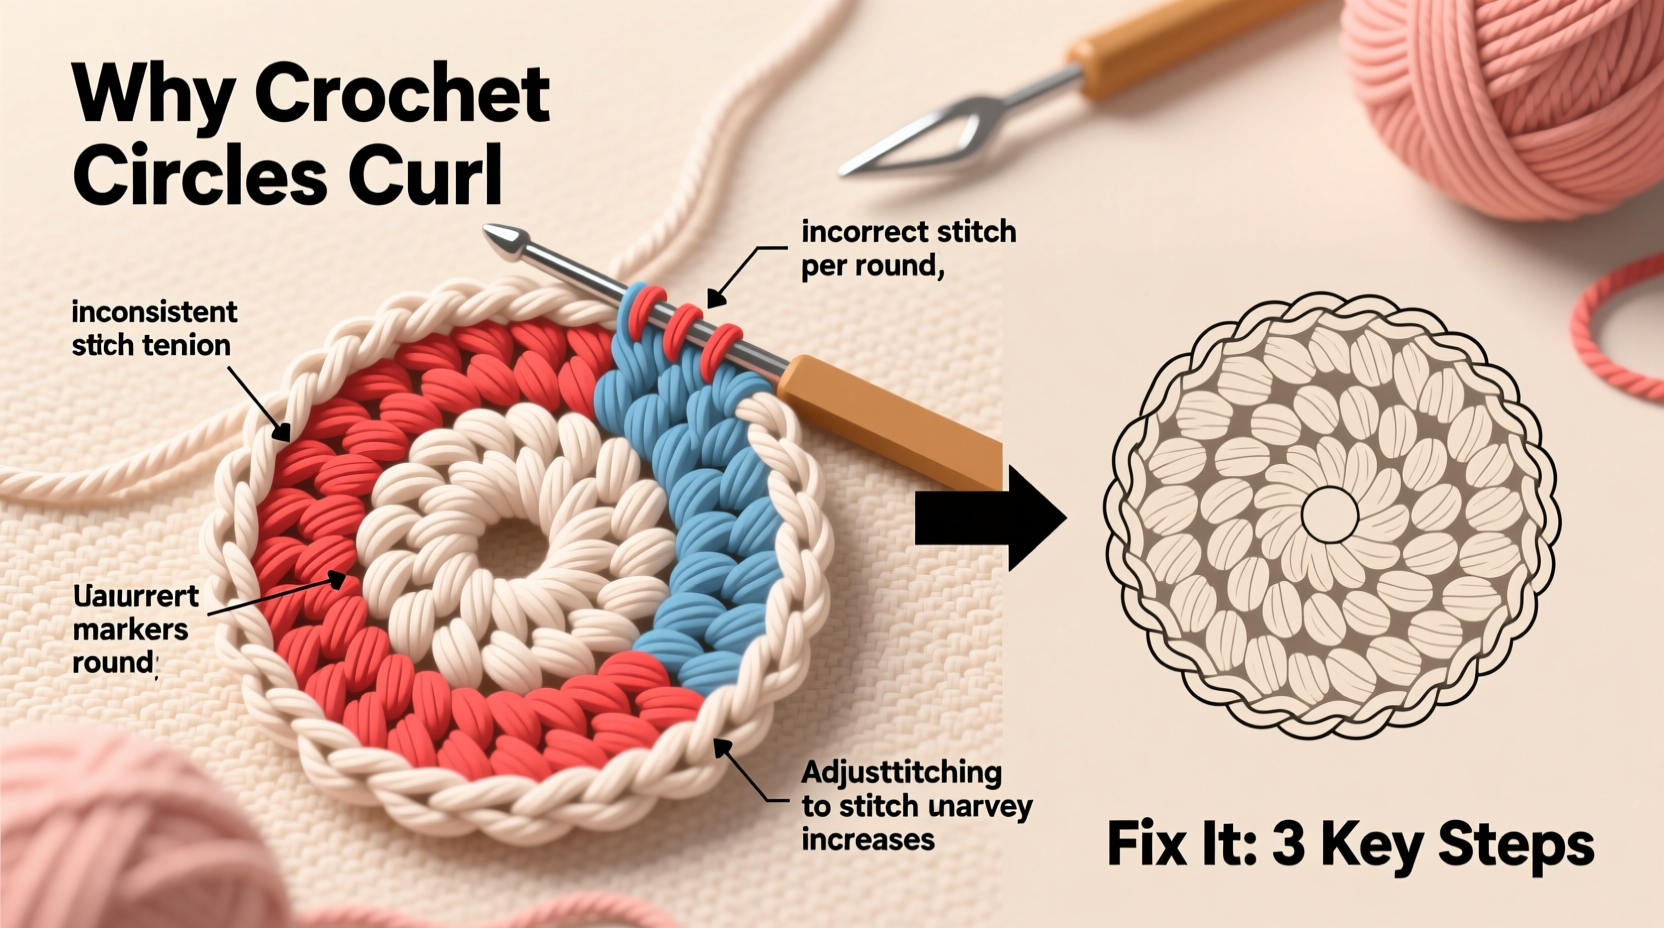
Curling occurs when there's an imbalance in stitch tension, count, or distribution across rounds. A flat circle relies on precise increases placed at regular intervals. When those rules are disrupted—even slightly—the fabric responds by distorting. There are two primary forms of curling:
- Upward curling (like a bowl): Happens when too few stitches are worked, causing the fabric to tighten and pull inward.
- Downward ruffling (like a frilly doily): Occurs when too many stitches are added, forcing the fabric to flare outward.
The root cause often lies in inconsistent increase placement, incorrect stitch counts, or gauge mismatch between yarn and hook. Understanding these dynamics is the first step toward control.
“Even experienced crocheters can fall into the trap of miscounting increases. A single misplaced stitch in round three can compound into major distortion by round eight.” — Lila Monroe, Textile Designer & Craft Educator
Common Causes of Crochet Circle Curling
Before fixing curling, identify what’s causing it. Here are the most frequent culprits:
1. Incorrect Increase Count
Flat circles grow using a standard increase pattern—typically doubling the stitch count every round or following a consistent formula (e.g., 6 sc in magic ring, then 2sc in each stitch around = 12). Skipping or adding extra increases disrupts geometry.
2. Poor Increase Placement
Increases must be evenly spaced. Clustering them in one area creates stress points that lead to warping. For example, working all double crochets together in one section will cause that side to flare while the opposite tightens.
3. Tension Inconsistencies
If your tension varies between loose and tight rows, the fabric contracts unevenly. This is especially common when switching between rounds with and without increases.
4. Hook Size Mismatch
Using a hook too small for your yarn creates over-tensioned stitches that pull the center inward. Conversely, a hook too large may stretch foundation rings and lead to early ruffling.
5. Yarn Weight and Fiber Behavior
Some fibers—like cotton—have less elasticity than acrylic or wool. They resist shaping and may hold curl if not blocked properly. Heavier yarns also exert more gravitational pull as the piece grows.
Step-by-Step Guide to Fixing and Preventing Curling
Follow this methodical process to diagnose and correct curling issues during or after crocheting.
- Pause and Assess: Stop crocheting when you notice curling. Lay the piece flat without stretching. Observe whether it cups upward, flares outward, or twists asymmetrically.
- Count Your Stitches: Compare your current round’s stitch count to the pattern. Even a difference of 2–3 stitches can cause distortion.
- Check Increase Spacing: Ensure increases are distributed evenly. Use stitch markers to divide the round into equal sections (e.g., four markers for quadrants).
- Evaluate Tension: Are your increase rounds noticeably tighter or looser than plain rounds? Practice consistent hand pressure.
- Adjust Hook Size: If the center is pulling up, try going up one hook size. If ruffling occurs, go down a size or switch to a smaller hook for increase rounds only.
- Frog if Necessary: If the issue started early (rounds 2–4), consider unraveling back to a stable round. It’s better than fighting distortion later.
- Block the Piece: Wet blocking can reshape mildly curled work. Soak, gently squeeze, pin flat on towels, and let dry completely.
Do’s and Don’ts: Best Practices for Flat Circles
| Do’s | Don’ts |
|---|---|
| Use stitch markers every 6–8 stitches to track increases | Work increases randomly without planning placement |
| Choose a smooth, medium-weight yarn for beginners | Start with slippery silk or fuzzy yarn that hides stitches |
| Check stitch count at the end of every round | Assume you’re on track without verifying |
| Practice the “magic ring” technique for a tight center | Chain-2 and work into the first chain, which often leaves a hole |
| Block finished pieces for a professional finish | Iron acrylic directly—use steam instead to avoid melting |
Real Example: From Frustration to Flawless
Sarah, a hobby crocheter from Portland, spent weeks trying to make matching coasters for her sister’s wedding gift. Each circle started flat but began cupping dramatically by the fifth round. After three failed attempts, she recorded her stitch counts and discovered she was accidentally skipping increases in one quadrant due to poor marker use. She restarted with color-coded stitch markers and counted aloud at each increase. The result? Eight perfectly flat, identical circles ready for blocking. A minor adjustment saved hours of rework.
Tips for Long-Term Success
Essential Checklist: Prevent Curling Before It Starts
- ✅ Start with a magic ring for a secure, adjustable center
- ✅ Use stitch markers to divide each round into equal sections
- ✅ Count stitches at the end of every round
- ✅ Match hook size to yarn weight (check label recommendations)
- ✅ Maintain consistent hand tension—avoid gripping too tightly
- ✅ Test your technique with a small swatch before beginning a large project
- ✅ Block finished pieces for a polished, flat result
FAQ: Common Questions About Crochet Circle Curling
Can I fix curling without unraveling my work?
Yes, mild curling can often be corrected through wet blocking. Pin the piece flat while damp and allow it to dry fully. Severe distortion usually requires frogging back to a stable round.
Why does my circle curl after being flat for several rounds?
This often happens when the rate of increases doesn’t match the growing circumference. After a certain diameter, too few increases cause inward curling. Revisit your pattern’s math—most flat circles follow a 6, 12, 18, 24… stitch progression in single crochet.
Does yarn fiber affect curling?
Absolutely. Cotton holds structure well but resists reshaping. Acrylic is more forgiving and blocks easily. Wool has natural memory and elasticity, helping it lie flat. Choose fiber based on your project needs.
Mastery Through Practice
Creating perfectly flat crochet circles isn't about perfection on the first try—it's about learning to read your fabric and respond intelligently. Every curl tells a story: too tight here, too loose there, an increase missed two rounds ago. With attention to stitch count, spacing, and tension, you’ll develop an intuitive sense for balance in your work. Blocking becomes not a rescue tool, but a finishing touch that elevates your craftsmanship.
Don’t let curling discourage you. Some of the most beautiful crochet pieces began as wrinkled experiments. What matters is persistence, observation, and the willingness to adjust mid-project.


 浙公网安备
33010002000092号
浙公网安备
33010002000092号 浙B2-20120091-4
Comments
No comments yet. Why don't you start the discussion?