
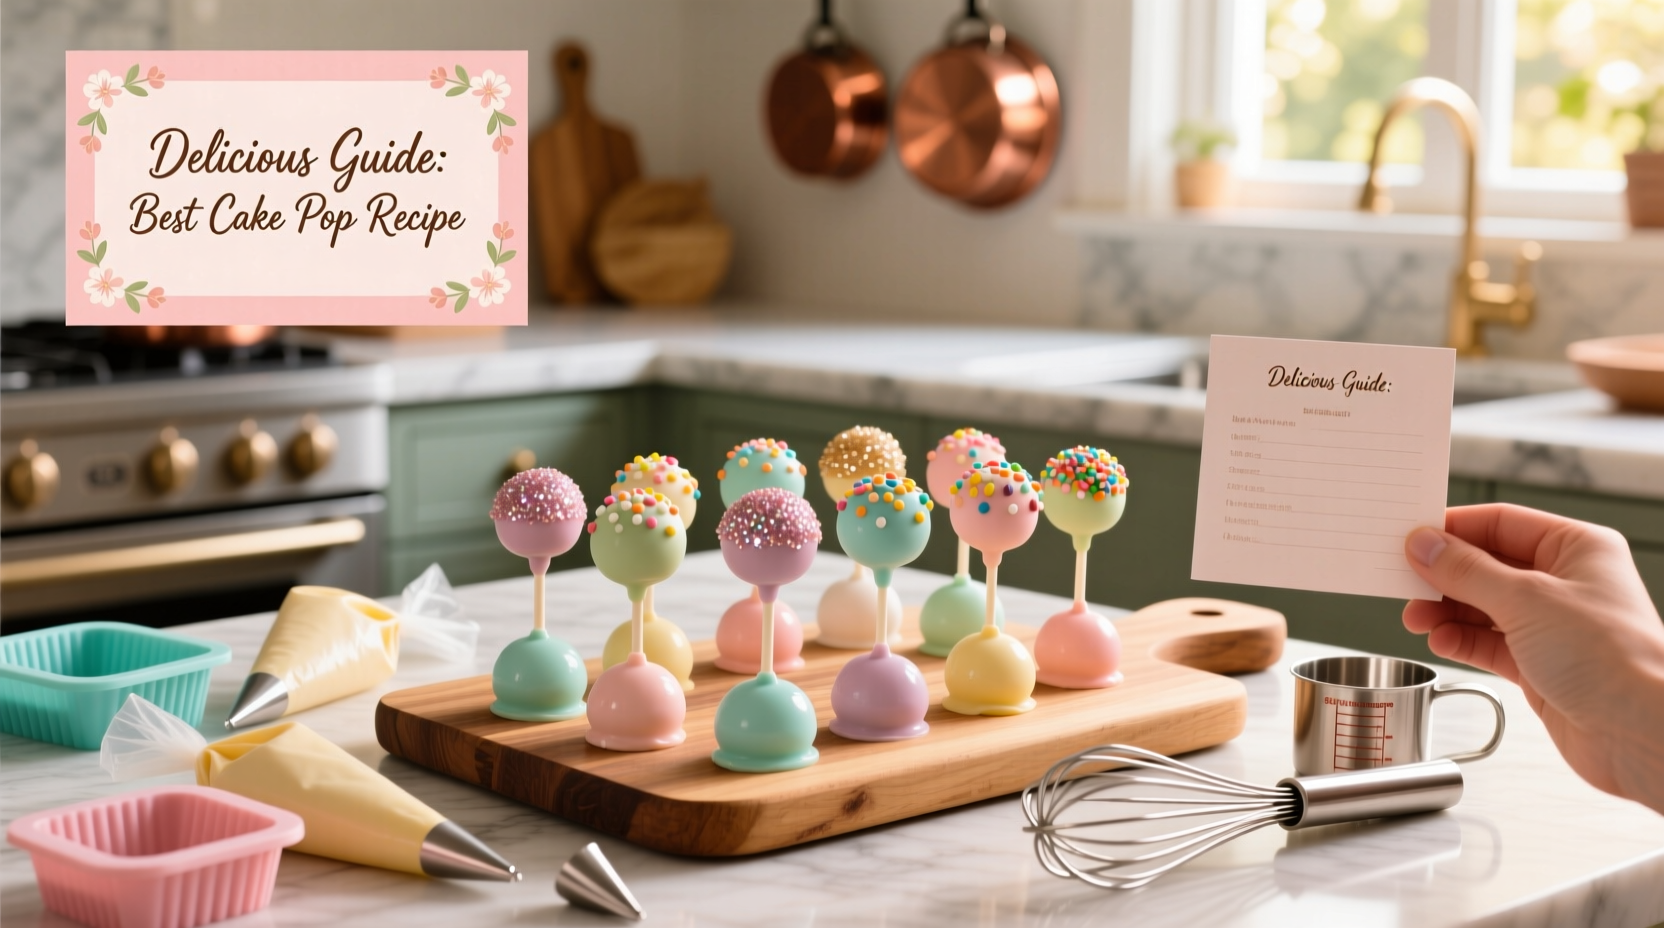
Cake pops have earned their place as a beloved treat at birthdays, baby showers, holidays, and even gourmet dessert tables. Their bite-sized charm, endless customization options, and playful presentation make them a favorite among bakers of all skill levels. But achieving consistent, professional-quality cake pops—moist on the inside, smooth on the outside, without cracking or sliding off the stick—requires more than just enthusiasm. It demands the right recipe, precise technique, and the use of smart baking tools. This guide delivers a foolproof approach to crafting the best cake pops, complete with tool recommendations, pro tips, and real-world insights.
The Perfect Cake Pop: Balancing Flavor, Texture, and Stability
A great cake pop starts with a moist, tender cake base that binds well with frosting. Too dry, and the mixture crumbles; too wet, and it won’t hold its shape. The ideal ratio ensures a soft interior that’s sturdy enough to roll and dip. While many recipes call for boxed cake mix, a homemade version offers superior flavor control and texture. Vanilla and chocolate are classics, but lemon, red velvet, and funfetti provide creative twists.
The binding agent—typically buttercream—is just as critical. American buttercream (butter and powdered sugar) is most common due to its thick consistency and sweetness, which complements the cake. However, overuse can make the pops overly sweet or greasy. A 1:2 ratio of frosting to cake crumbs usually works best, adjusted by feel during mixing.
Essential Baking Tools for Flawless Cake Pops
While cake pops can be made with basic kitchen tools, investing in a few specialized items significantly improves efficiency and outcome. These tools help maintain consistency, reduce mess, and minimize frustration—especially when making large batches.
| Tool | Purpose | Recommended Brand/Type |
|---|---|---|
| Cookie Scoop (1–1.5 inch) | Ensures uniform ball size for even coating | OXO Good Grips Mini Cookie Scoop |
| Cake Pop Maker | Automated mold system for shaping and dipping | Nostalgia Electric Cake Pop Maker |
| Styrofoam Block or Drying Stand | Holds sticks upright while coating sets | Foam block from craft store or reusable plastic stand |
| Double Boiler or Microwave-Safe Bowls | Melts candy coating smoothly without scorching | Glass measuring cups or dedicated double boiler |
| Silicone Spatulas & Toothpicks | For smoothing seams and removing air bubbles | Set with narrow-tip spatula and wooden picks |
“Consistency in size and temperature is what separates amateur cake pops from bakery-grade ones. Use a scoop and work in a cool kitchen.” — Chef Lena Torres, Pastry Instructor at Boston Culinary Academy
Step-by-Step Guide to Making the Best Cake Pops
Follow this detailed process to create cake pops that are delicious, visually appealing, and structurally sound.
- Bake the Cake: Prepare a 9x13 inch sheet of vanilla or chocolate cake (homemade or high-quality mix). Bake until a toothpick comes out clean. Cool completely on a wire rack.
- Crumble the Cake: Break the cake into fine crumbs using a food processor or your hands. Aim for pea-sized pieces for even mixing.
- Combine with Frosting: Add ½ cup of buttercream and mix gently. Gradually add more (up to ¾ cup) until the mixture holds together when pressed. Avoid over-mixing.
- Chill the Mixture: Refrigerate for 30–60 minutes. Cold dough is easier to shape and less likely to fall apart.
- Form Balls: Use a 1-inch cookie scoop to portion dough. Roll into smooth spheres between palms. Place on parchment-lined tray.
- Insert Sticks: Dip the tip of each lollipop stick into melted candy coating, then insert halfway into the ball. Return to tray and chill for 15 minutes to set.
- Melt Coating: Use candy melts or tempered chocolate. Heat in 20-second bursts in microwave, stirring between intervals, until smooth.
- Dip and Decorate: Dip each pop into coating, tap gently to remove excess, then slide up the stick to neaten the base. Decorate immediately with sprinkles or drizzles.
- Dry Upright: Insert sticks into a Styrofoam block or drying stand. Allow 15–20 minutes for coating to harden completely.
- Store Properly: Keep in an airtight container at room temperature for up to 5 days, or refrigerate for longer shelf life (bring to room temp before serving).
Avoiding Common Cake Pop Mistakes
Even experienced bakers encounter pitfalls. Recognizing these issues early prevents wasted ingredients and disappointment.
- Cracking coating: Caused by temperature shock. Ensure cake balls are cold but not frozen, and avoid placing freshly dipped pops in the fridge.
- Pops falling off sticks: Usually due to insufficient frosting or skipping the pre-dip stick anchoring step. Always dip the stick tip in coating before inserting.
- Lopsided shapes: Rolling by hand leads to inconsistencies. Use a scoop and chill before final shaping.
- Thick, gloopy coating: Candy melts thicken as they cool. Reheat in short bursts and stir in a teaspoon of paramount crystals or vegetable oil to restore fluidity.
Real-World Example: Birthday Party Success
Jamie, a home baker from Portland, needed 50 cake pops for her daughter’s unicorn-themed birthday. Her first batch failed—cracked shells, falling sticks, and misshapen blobs. After reviewing technique, she chilled the cake balls longer, used a cookie scoop for uniform sizing, and anchored sticks with pre-dipped tips. She also switched from chocolate chips to white candy melts for brighter pastel colors. The second batch was flawless. “Using the scoop changed everything,” she said. “They looked store-bought, and none fell apart.”
Checklist for Cake Pop Success
Before you begin, ensure you have everything ready. This checklist helps prevent mid-process surprises.
- ✅ Fully cooled cake (homemade or quality mix)
- ✅ ½ to ¾ cup buttercream (adjustable)
- ✅ 1-inch cookie scoop
- ✅ Lollipop sticks (paper or food-safe plastic)
- ✅ Candy melts or tempered chocolate
- ✅ Double boiler or microwave-safe bowl
- ✅ Parchment paper and baking tray
- ✅ Styrofoam block or drying stand
- ✅ Sprinkles, edible glitter, or drizzle toppings
- ✅ Refrigerator space for chilling
FAQ
Can I freeze cake pops?
Yes. Freeze undipped cake balls for up to 6 weeks. Thaw in the refrigerator before dipping. Fully assembled pops can be frozen for 2–3 weeks—wrap individually in plastic to prevent condensation.
Why do my cake pops look dull after setting?
Dullness often results from moisture or humidity during cooling. Work in a dry environment, and avoid refrigeration unless necessary. For shine, use high-quality candy melts or tempered chocolate.
Can I use ganache instead of frosting to bind the cake?
You can, but ganache sets firmer and may make rolling difficult. If using, chill the mixture thoroughly and expect a denser texture. Buttercream remains the most flexible binder.
Final Thoughts and Next Steps
Cake pops blend creativity with precision. With the right recipe, tools, and attention to detail, anyone can produce treats that rival those from specialty bakeries. Whether you're preparing for a special event or simply exploring dessert-making, the process is as rewarding as the result. Start small, master the basics, then experiment with flavors and decorations.


 浙公网安备
33010002000092号
浙公网安备
33010002000092号 浙B2-20120091-4
Comments
No comments yet. Why don't you start the discussion?