
Apple pie is more than a dessert—it’s a tradition. Whether served warm with a scoop of vanilla ice cream or enjoyed cold the morning after Thanksgiving, a well-made apple pie delivers comfort in every bite. But achieving that ideal balance of flaky crust, tender apples, and just-right sweetness isn’t always simple. Many home bakers struggle with soggy bottoms, bland filling, or tough pastry. The good news? With the right techniques and a few expert-backed adjustments, you can create an apple pie that rivals any bakery’s.
Choosing the Right Apples for Flavor and Texture
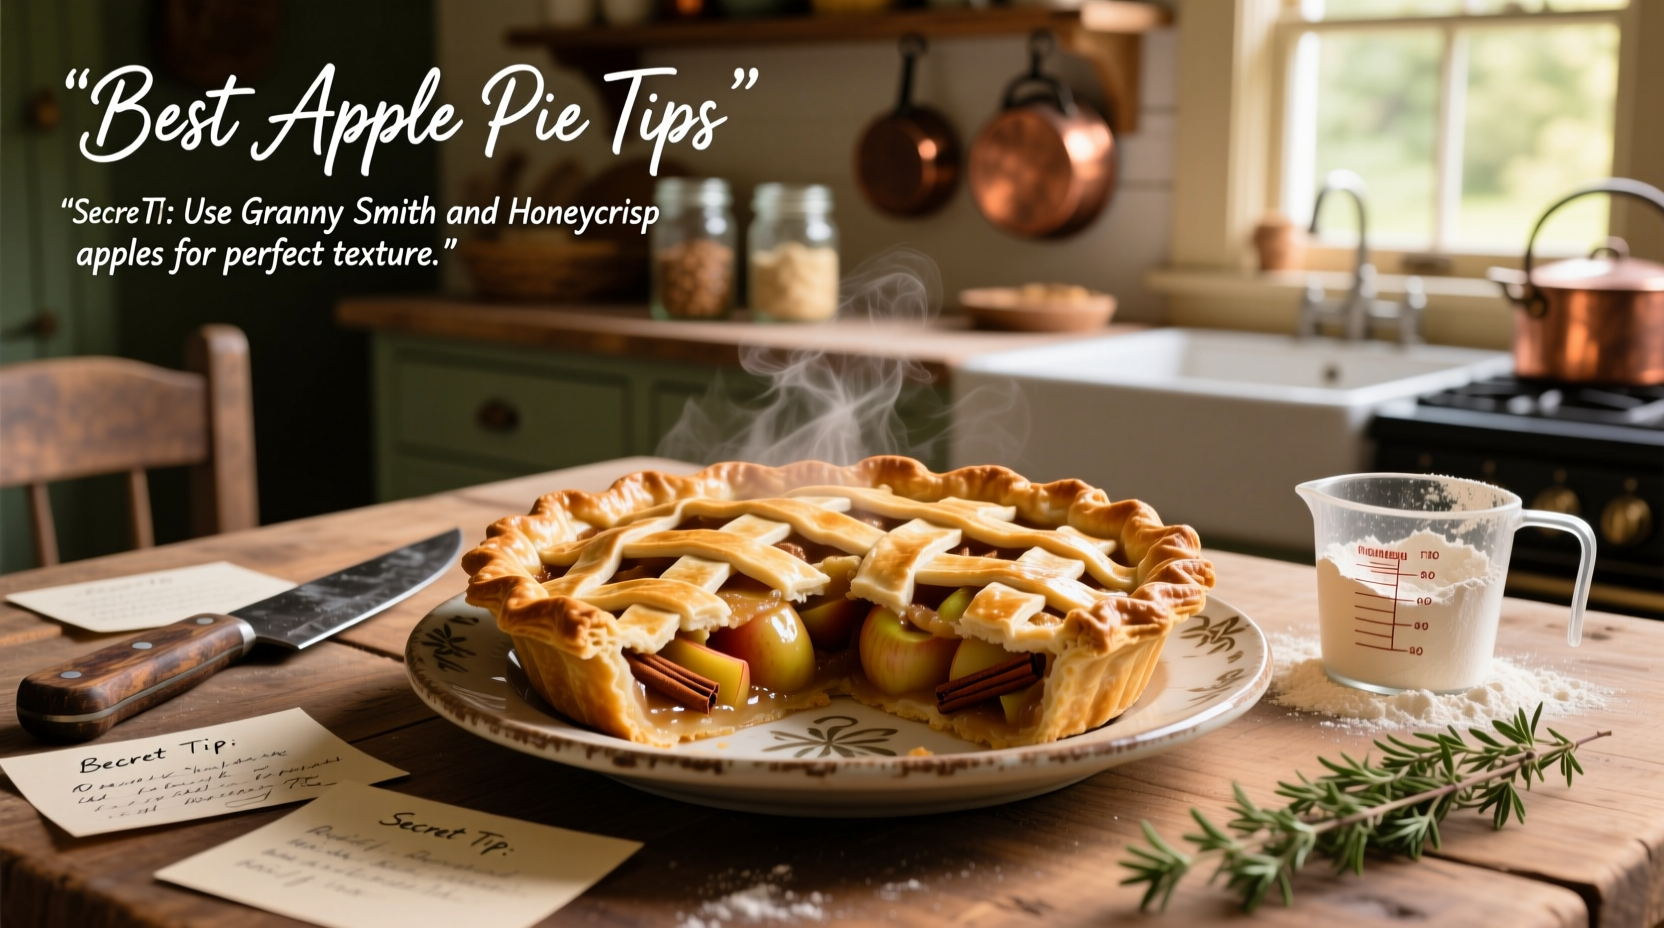
The foundation of a great apple pie starts with the fruit itself. Not all apples are created equal when it comes to baking. Some varieties turn mushy, while others hold their shape but lack depth of flavor. The best pies use a blend of apples to achieve complexity and texture.
Consider combining firm, tart apples like Granny Smith with sweeter, aromatic types such as Honeycrisp, Braeburn, or Jonagold. This mix ensures a balance between brightness and natural sweetness, while maintaining structural integrity during baking.
| Apple Variety | Flavor Profile | Baking Performance |
|---|---|---|
| Granny Smith | Tart, bright | Holds shape well; adds acidity |
| Honeycrisp | Sweet-tart, juicy | Softens slightly but retains bite |
| Braeburn | Balanced sweet-tart | Excellent heat stability |
| Jonagold | Floral, honeyed | Breaks down moderately; enhances aroma |
| Golden Delicious | Mild, sweet | Softens significantly; use sparingly |
Crafting the Perfect Flaky Crust
No matter how good the filling, a subpar crust can ruin an apple pie. The secret to flakiness lies in fat temperature, hydration control, and minimal handling. Cold butter or shortening creates steam pockets during baking, which separate layers of dough into delicate, crisp sheets.
Start with very cold ingredients—chill your butter, water, and even your mixing bowl if possible. Cut the fat into the flour until pea-sized crumbs form, then add ice water one tablespoon at a time until the dough just holds together. Overworking develops gluten, leading to toughness.
“Letting your dough rest in the fridge for at least one hour relaxes the gluten and re-chills the fat—two keys to a tender, flaky crust.” — Sarah Collins, Pastry Chef & Author of *From Scratch Baking*
Step-by-Step Crust Preparation
- Chill all ingredients and tools for 30 minutes.
- Mix 2½ cups all-purpose flour with 1 tsp salt and 1 tbsp sugar.
- Cut in 1 cup (2 sticks) cold unsalted butter using a pastry cutter or food processor.
- Add 4–6 tbsp ice water gradually until dough forms clumps.
- Divide into two disks, wrap in plastic, and refrigerate for 1–2 hours.
- Roll out on a lightly floured surface, rotating often to prevent sticking.
Building a Balanced Filling
A common mistake is under-seasoning the filling. Apples need more than sugar—they benefit from warmth, acidity, and depth. A blend of cinnamon, nutmeg, and a pinch of allspice or cardamom elevates the flavor profile without overpowering.
Lemon juice prevents browning and brightens the overall taste, while a touch of vanilla or Calvados (apple brandy) adds sophistication. Thickening agents like cornstarch, tapioca starch, or flour prevent excess juice from pooling in the pan.
Use about 6–7 cups of sliced apples per pie. Toss them thoroughly with ⅓ to ½ cup sugar (adjust based on apple sweetness), 1–2 tsp cinnamon, ¼ tsp nutmeg, 1 tbsp lemon juice, 1 tsp vanilla, and 2–3 tbsp thickener.
Do’s and Don’ts for Apple Pie Filling
| Action | Do | Don't |
|---|---|---|
| Sweetening | Adjust sugar based on apple tartness | Over-sweeten; let apples shine |
| Thickening | Use tapioca starch for clear, gel-like set | Use too much flour; can make filling cloudy and pasty |
| Spicing | Add spices gradually; taste before sealing | Use pre-mixed pumpkin spice; may contain unwanted flavors |
| Prep | Toss apples and let sit 15 minutes to draw out juice | Assemble pie hours in advance; crust may absorb moisture |
A Real Example: From Soggy to Spectacular
Jessica from Portland had been making the same apple pie recipe for years, but her crust always came out damp and her filling too sweet. After researching techniques and testing variations, she adjusted three key elements: she began blind-baking the bottom crust for 10 minutes at 375°F (lined with parchment and pie weights), switched to a mix of Granny Smith and Honeycrisp apples, and reduced sugar by 25% while adding a splash of Calvados.
The result? A golden, crisp crust and a filling with vibrant flavor and ideal texture. Her family declared it “the best pie ever,” and she now brings it to every holiday gathering.
Expert Tips for Baking Success
- Prevent overflow: Place a baking sheet under the pie to catch drips and avoid oven mess.
- Ensure doneness: Insert a knife through the vent; apples should be tender but not mushy.
- Enhance browning: Brush the top crust with egg wash (1 egg + 1 tbsp water) and sprinkle with coarse sugar.
- Vent properly: Cut generous slits or design a lattice top to allow steam to escape.
- Cool completely: Let the pie rest for at least 2–3 hours so the filling sets.
Checklist: Before You Bake Your Next Apple Pie
- ✅ Selected a mix of firm, flavorful apple varieties
- ✅ Chilled dough for at least 1 hour
- ✅ Balanced sugar with lemon juice and spices
- ✅ Used appropriate thickener (tapioca or cornstarch)
- ✅ Preheated oven and prepared baking sheet underneath
- ✅ Planned cooling time (minimum 2 hours)
Frequently Asked Questions
Can I make apple pie ahead of time?
Yes. Assembled pies can be refrigerated overnight before baking. For longer storage, freeze the unbaked pie tightly wrapped, then bake from frozen—add 15–20 minutes to baking time. Baked pies keep at room temperature for 2 days or in the fridge for up to 5.
Why is my bottom crust soggy?
Sogginess usually occurs when moisture from the apples seeps into the crust before it has time to set. To prevent this, try brushing the bottom crust with beaten egg white before adding filling, using a thicker layer of thickener, or pre-baking the crust for 10 minutes before filling.
Can I use store-bought crust?
Absolutely. High-quality refrigerated or frozen crusts can yield excellent results. Look for brands with minimal additives and real butter. That said, homemade crust offers superior flavor and texture control.
Final Thoughts and Call to Action
Mastering the art of apple pie isn’t about perfection on the first try—it’s about understanding how ingredients interact and refining your technique over time. With the right apples, a well-chilled crust, balanced seasoning, and attention to detail, you’re not just baking a dessert—you’re creating memories.
Now that you’ve discovered trusted tips and flavorful strategies, it’s time to roll up your sleeves and bake with confidence. Try one new variation this week—maybe a crumb topping, a hint of ginger, or a double-crust lattice. Share your results, tweak your recipe, and make this classic truly your own.


 浙公网安备
33010002000092号
浙公网安备
33010002000092号 浙B2-20120091-4
Comments
No comments yet. Why don't you start the discussion?