
In modern workshops—whether professional automotive refinishing bays, woodworking studios, or industrial fabrication units—surface preparation is a cornerstone of quality craftsmanship. Among the most effective tools for achieving smooth, uniform finishes on wood, metal, plastic, and composite materials are pneumatic orbital sanders. These air-powered tools combine precision, durability, and efficiency, making them ideal for both detailed work and large-area sanding. Unlike their electric counterparts, pneumatic models offer superior power-to-weight ratios, reduced heat buildup, and longer operational life when maintained properly.
Choosing the right pneumatic orbital sander involves more than just picking a brand or price point. It requires understanding air delivery systems, pad types, orbit size, ergonomics, and compatibility with dust extraction setups. This guide dives into what makes a pneumatic orbital sander truly reliable and efficient, helping you select the best tool for your specific needs while maximizing productivity and minimizing downtime.
Understanding Pneumatic Orbital Sanders: How They Work
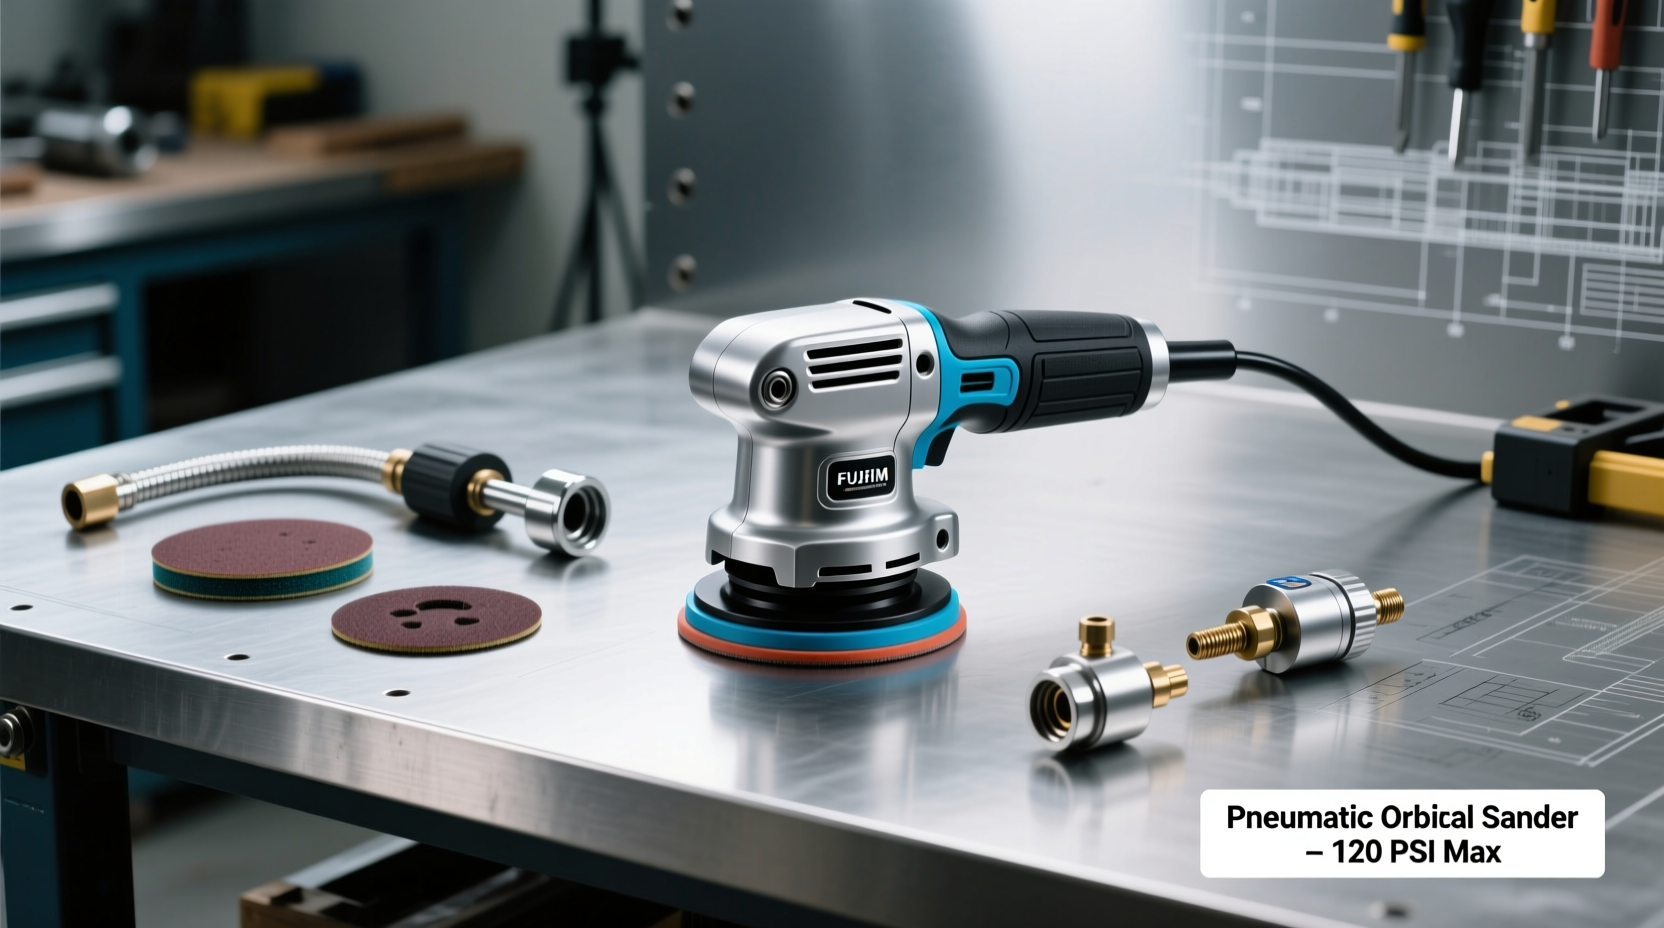
Pneumatic orbital sanders operate using compressed air to drive an eccentric mechanism that creates a random orbital motion. This motion combines rotation with a small, circular oscillation, preventing visible swirl marks and ensuring even material removal. The pad typically ranges from 5” to 6” in diameter and accepts hook-and-loop (Velcro) sanding discs, allowing quick changes between grits.
These tools require a consistent supply of clean, dry compressed air delivered via a standard ¼” or 3/8” air hose connected to a compressor. Operating pressure usually falls between 90–100 PSI, though many models include built-in regulators or adjustable throttles for fine-tuned control. Because they lack electric motors, pneumatic sanders are lighter, cooler-running, and intrinsically safe in flammable environments such as paint booths.
Key Features That Define Reliability and Efficiency
Not all pneumatic orbital sanders perform equally. Several engineering and design factors separate dependable, high-efficiency models from those prone to premature wear or inconsistent output.
- Air Motor Design: Look for sealed vane motors with anti-stall protection. These resist contamination and maintain torque under load.
- Pad Suspension System: A floating pad with dual rubber dampeners ensures full contact across uneven surfaces, reducing gouging and improving finish quality.
- Dust Extraction Integration: Models with central vacuum ports compatible with 36-hole sanding discs significantly reduce airborne particulates and extend disc life.
- Ergonomic Housing: Lightweight aluminum or composite bodies with rubber overmolding reduce user fatigue during extended use.
- Ball Bearing Construction: High-grade bearings in the gear case minimize vibration and increase service intervals.
“Pneumatic orbital sanders remain the gold standard in production environments where uptime and finish consistency are non-negotiable.” — Carlos Mendez, Industrial Tooling Consultant, Automotive Refinish Group
Top-Rated Models Compared
| Model | Orbit Diameter | Free Speed (RPM) | Weight (lbs) | Dust Extraction | Best For |
|---|---|---|---|---|---|
| Makita P-7301 | 3/32\" | 12,000 | 2.2 | Yes (36-hole) | Fine finishing, auto bodywork |
| Ingersoll Rand 310G | 1/8\" | 10,000 | 2.6 | No | Heavy-duty metal prep |
| DeVilbiss DSP6 | 3/32\" | 11,000 | 2.4 | Yes (36-hole) | Paint shops, aerospace composites |
| Sata SYS 5000 | 3/32\" | 10,500 | 2.1 | Yes (36-hole + vacuum seal) | Premium refinish applications |
| Porter-Cable 7346 | 1/8\" | 9,500 | 2.3 | Limited (center port) | Woodworking, general fabrication |
The Makita P-7301 stands out for its balance of speed, light weight, and widespread availability of replacement parts. Meanwhile, Sata’s SYS 5000 features a patented vacuum-seal system that enhances dust collection efficiency by up to 40%, making it a top choice for regulated environments where particulate control is critical.
Step-by-Step Guide to Maximizing Performance
To get the most from your pneumatic orbital sander, follow this maintenance and operation sequence:
- Inspect Air Supply: Check for leaks, moisture, and correct pressure (90–100 PSI). Use an FRL unit within three feet of the tool.
- Attach Correct Hose: Use a minimum 3/8” inner diameter hose for runs over 25 feet to prevent pressure drop.
- Install Sanding Disc: Align the disc properly on the Velcro pad. Ensure it's rated for orbital use and matches your grit progression plan. <4> Engage Tool Gradually: Start at low throttle to prevent sudden lurching, then increase speed once contact is made.
- Maintain Even Pressure: Let the tool do the work. Excessive downward force increases wear and causes uneven finishes.
- Shut Down & Lubricate: After use, release air pressure, drain condensate, and inject 2–3 drops of pneumatic tool oil into the air inlet.
- Schedule Maintenance: Disassemble and inspect every 50 hours of use. Replace vanes, O-rings, and bearings as needed.
Real Workshop Scenario: Auto Body Refinishing Upgrade
A mid-sized collision repair shop in Portland upgraded from electric DA sanders to a fleet of DeVilbiss DSP6 pneumatic orbitals after experiencing frequent motor burnouts and poor dust control. With five technicians working simultaneously on vehicle panels, the old tools struggled with heat buildup and inconsistent finishes, leading to rework rates above 18%.
After switching, the shop reported a 30% reduction in sanding time per panel and a drop in rework to under 6%. Technicians noted better balance and less hand fatigue during multi-hour jobs. The integrated dust extraction also improved air quality, helping the shop comply with local OSHA ventilation standards without adding extra filtration units.
“The initial investment was higher,” said lead technician Marcus Tran, “but we recouped costs in three months through faster throughput and fewer wasted materials.”
Essential Buying Checklist
Before purchasing a pneumatic orbital sander, verify the following:
- ✅ Compatible with your existing air compressor (CFM output ≥ tool requirement)
- ✅ Includes or supports 36-hole sanding discs for optimal dust extraction
- ✅ Features sealed air motor and replaceable vanes
- ✅ Offers ergonomic grip with vibration-dampening housing
- ✅ Backed by manufacturer warranty (minimum 1 year)
- ✅ Available spare parts and service network nearby
- ✅ Meets noise level standards for your workspace (ideally under 85 dB)
Frequently Asked Questions
Can I use a pneumatic orbital sander on curved surfaces?
Yes. The floating pad design allows conformability to moderate contours. For tight curves, consider a smaller 3” or 4” model or supplement with a detail sander.
How often should I lubricate my pneumatic sander?
Lubricate with 2–3 drops of ISO-LP-DAA grade oil at the air inlet daily before use. In continuous-operation settings, lubricate every four hours.
Why is my sander losing power during use?
This typically indicates insufficient airflow. Check for kinked hoses, clogged filters, undersized compressor CFM, or moisture buildup in the line. Also inspect internal vanes for wear.
Final Thoughts and Next Steps
Reliable and efficient pneumatic orbital sanders are not just tools—they’re productivity engines for any serious workshop. By selecting a model engineered for durability, integrating proper air delivery infrastructure, and adhering to routine maintenance, you ensure consistent results and long-term value. Whether you're smoothing hardwood tabletops, prepping car fenders, or blending composite seams, the right pneumatic orbital sander elevates both speed and finish quality.


 浙公网安备
33010002000092号
浙公网安备
33010002000092号 浙B2-20120091-4
Comments
No comments yet. Why don't you start the discussion?