
Creating a safe, warm, and inviting space for your cat doesn’t have to be expensive or complicated. An A-frame cat house offers excellent protection from the elements while blending naturally into outdoor spaces. Whether you're building it for a stray cat in your neighborhood or as an insulated retreat for your indoor-outdoor pet, this DIY project combines simplicity, durability, and feline comfort. With basic tools and materials most homeowners already have, you can construct a weather-resistant shelter in a single weekend.
Why Build an A-Frame Cat House?
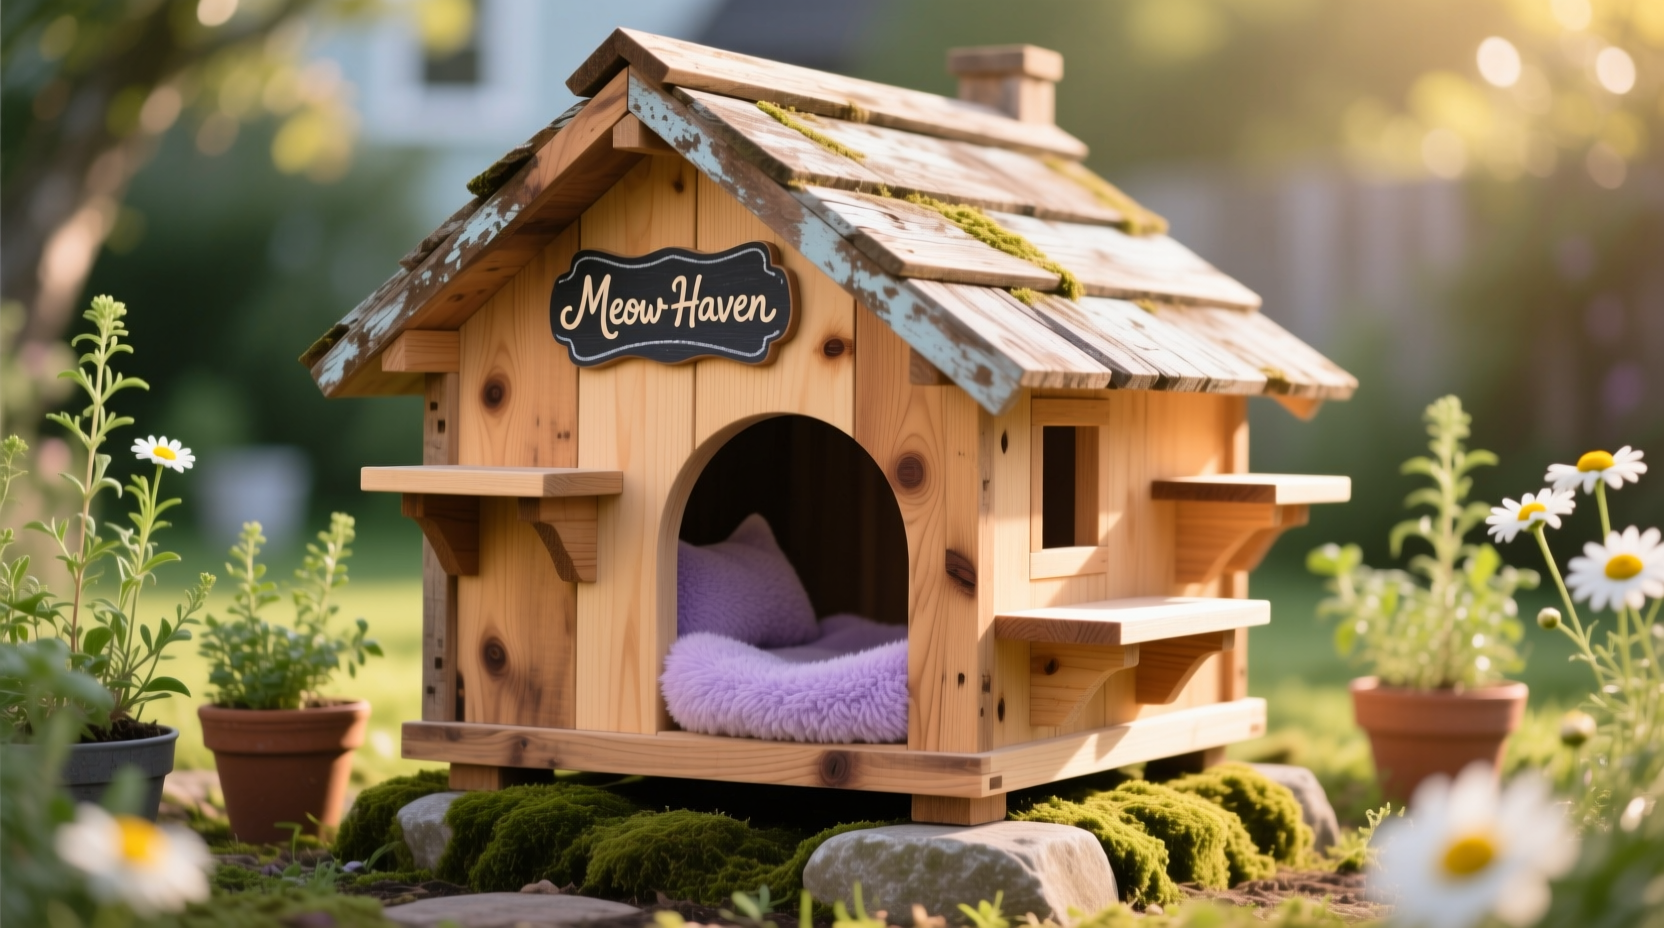
The A-frame design is ideal for outdoor shelters because of its self-supporting triangular structure, which naturally sheds rain and snow. Unlike flat-roofed boxes that collect moisture, the sloped roof ensures water runs off quickly, reducing the risk of leaks and rot. This shape also provides structural strength without needing internal supports, making construction simpler and more cost-effective.
Cats benefit from having a private, elevated space where they can observe their surroundings while feeling secure. The compact size of an A-frame encourages warmth retention—especially when lined with insulation and soft bedding—making it suitable even in colder climates.
“Shelters with proper ventilation, insulation, and dry interiors significantly improve survival rates for outdoor cats during winter months.” — Dr. Lydia Chen, Feline Welfare Researcher, Urban Animal Initiative
Materials and Tools You’ll Need
Gathering the right supplies before beginning ensures a smooth workflow. Most materials can be sourced from local hardware stores or repurposed from existing projects.
| Material/Tool | Purpose | Recommended Quantity |
|---|---|---|
| Exterior-grade plywood (½ inch) | Sides, floor, roof panels | One 4' x 8' sheet |
| Wood screws (1¼ inch and 2 inch) | Securing joints and panels | Approx. 30–40 screws |
| Wood glue | Reinforce seams | 1 bottle |
| Insulation (rigid foam board) | Thermal barrier | One 2' x 4' panel |
| Waterproof exterior paint or sealant | Weather protection | 1 quart |
| Straw or fleece blanket | Bedding (avoid cotton towels—they wick heat) | 1 layer or 1 small blanket |
| Circular saw or hand saw | Cutting wood | 1 |
| Drill with screwdriver bit | Fastening components | 1 |
| Tape measure & pencil | Marking cuts | 1 set |
| Sandpaper (medium grit) | Smoothing edges | 2–3 sheets |
Step-by-Step Construction Guide
- Design and Cut Panels: Sketch your A-frame dimensions. A standard size is 24” wide at the base, 18” deep, and 24” tall at the peak. Cut two identical triangle side panels from plywood using these measurements. Then cut one rectangular floor piece (18” x 24”) and two rectangular roof panels (each 20” x 26” to allow overhang).
- Create the Entry Hole: On one triangle side panel, drill a 6-inch diameter entrance hole centered 4 inches above the base. Sand the edges to prevent splinters. This height keeps drafts out while allowing easy access.
- Assemble the Frame: Attach the side triangles to the floor using wood glue and 1¼-inch screws. Reinforce corners for stability. Position the roof panels so they slope outward from the peak, overlapping slightly at the top. Secure them with hinges or screws, leaving one side removable for cleaning.
- Add Insulation: Line the interior floor and walls with rigid foam insulation boards. Avoid fiberglass—it can irritate a cat’s skin and respiratory system. Seal gaps between panels with caulk to block wind and moisture.
- Weatherproof the Exterior: Apply waterproof sealant or exterior-grade paint to all outer surfaces, including roof overhangs. Let dry completely before placing bedding inside. Consider adding a slight slope to the floor toward the back to prevent water pooling.
- Install Bedding: Place a layer of straw (not hay) on the floor. Straw insulates by trapping air, while hay retains moisture and may mold. Alternatively, use a washable fleece mat that doesn’t absorb dampness.
- Elevate the Shelter: Place the house on bricks, wooden skids, or a raised platform to prevent ground moisture from seeping in and deter pests.
Common Mistakes to Avoid
- Using cardboard or thin plastic: These degrade quickly outdoors and offer no insulation.
- Placing the entrance facing prevailing winds: Always orient the door away from wind and rain. In North America, south- or east-facing entries typically perform best.
- Over-sizing the entry: A hole larger than 7 inches allows predators easy access and reduces heat retention.
- Forgetting ventilation: While sealing drafts is important, trap a small gap (½ inch) near the roof peak for air exchange to prevent condensation buildup.
- Using toxic finishes: Never treat wood with pressure-treated chemicals or oil-based paints that could harm curious cats. Opt for non-toxic, pet-safe sealants.
Real-World Example: The Neighborhood TNR Project
In Portland, Oregon, a community-led Trap-Neuter-Return (TNR) initiative built 12 A-frame shelters for a managed colony of feral cats. Volunteers used salvaged cedar fencing and reflective roofing material to enhance durability and heat regulation. After one winter, colony health improved dramatically—fewer cases of upper respiratory infections and hypothermia were reported compared to previous years when cats relied on makeshift cardboard boxes. One volunteer noted, “The cats immediately gravitated to the new houses. We now rotate cleaning weekly and refresh straw monthly.”
Checklist: Final Steps Before Deployment
- ✅ Sand all sharp edges
- ✅ Drill small drainage holes in the base (if not elevated)
- ✅ Confirm roof panels are securely attached but removable
- ✅ Verify no loose screws or protruding nails
- ✅ Place shelter in a quiet, shaded area protected from flooding
- ✅ Monitor usage and adjust placement if needed
Frequently Asked Questions
Can I build this indoors for my housecat?
Absolutely. Scale down the design and use decorative wood or fabric covers for an aesthetic indoor version. Add a cushion instead of straw and skip the heavy weatherproofing.
How do I clean the shelter?
Remove the roof or side panel periodically, take out old bedding, and wipe down surfaces with a mild vinegar-water solution (1:3 ratio). Avoid harsh disinfectants. Let dry fully before replacing insulation and bedding.
Will other animals move in?
Possibly. To discourage raccoons or rodents, keep the entrance small (6–7 inches), elevate the house, and avoid placing food inside. If unwanted guests appear, relocate the shelter or add motion-activated deterrents nearby.
Final Thoughts
Building an A-frame cat house is more than a weekend project—it's an act of compassion. Whether serving a beloved pet or supporting unowned cats in your area, a well-constructed shelter can make the difference between discomfort and safety during harsh weather. By focusing on insulation, weather resistance, and smart placement, you create a refuge that truly meets a cat’s instinctual need for warmth, privacy, and security.


 浙公网安备
33010002000092号
浙公网安备
33010002000092号 浙B2-20120091-4
Comments
No comments yet. Why don't you start the discussion?