
Walking your dog should be enjoyable for both you and your pet. But standard leashes can transmit every sudden pull directly into your hand, leading to discomfort or even injury. A bungee dog leash absorbs shock through its elastic core, reducing strain during energetic bursts. While commercial versions exist, crafting your own allows full control over durability, length, comfort, and aesthetics. This guide walks you through building a professional-grade bungee leash from scratch—using accessible tools and materials that last.
Why Build Your Own Bungee Leash?
Off-the-shelf bungee leashes vary widely in quality. Many use thin cords, weak stitching, or poorly rated hardware that fails under stress. By making your own, you choose components built to withstand daily use and your dog’s strength. You also tailor the leash to your dog’s size, walking habits, and temperament. Larger breeds benefit from longer stretch zones; small dogs need compact, lightweight builds. Plus, personalization adds pride: select colors, reflective threads, or custom tags that reflect your style.
“Handmade gear often outperforms mass-produced alternatives when built with care and quality materials.” — Dr. Lena Patel, Canine Behavior and Equipment Specialist
Materials and Tools You’ll Need
Selecting the right supplies is critical. Below is a curated list of recommended components based on tensile strength, flexibility, and long-term resilience.
| Component | Recommended Specification | Purpose |
|---|---|---|
| Bungee Cord (core) | 3/16” diameter, 100 lb test, UV-resistant | Shock absorption and controlled stretch |
| Outer Braided Sheath | Nylon or polyester, 5/16” ID, abrasion-resistant | Protection and clean appearance |
| Swivel Snap Hook | Heavy-duty, 400+ lb breaking strength, chrome-plated steel | Secure attachment to collar/harness |
| Handle Loop Hardware | Reinforced O-ring or solid brass trigger snap | Durable grip zone |
| Sewing Thread | UV-stabilized bonded nylon, #92 weight | Securing ends and attachments |
| Heat-Shrink Tubing | 3:1 ratio, medium wall thickness | End protection and fray prevention |
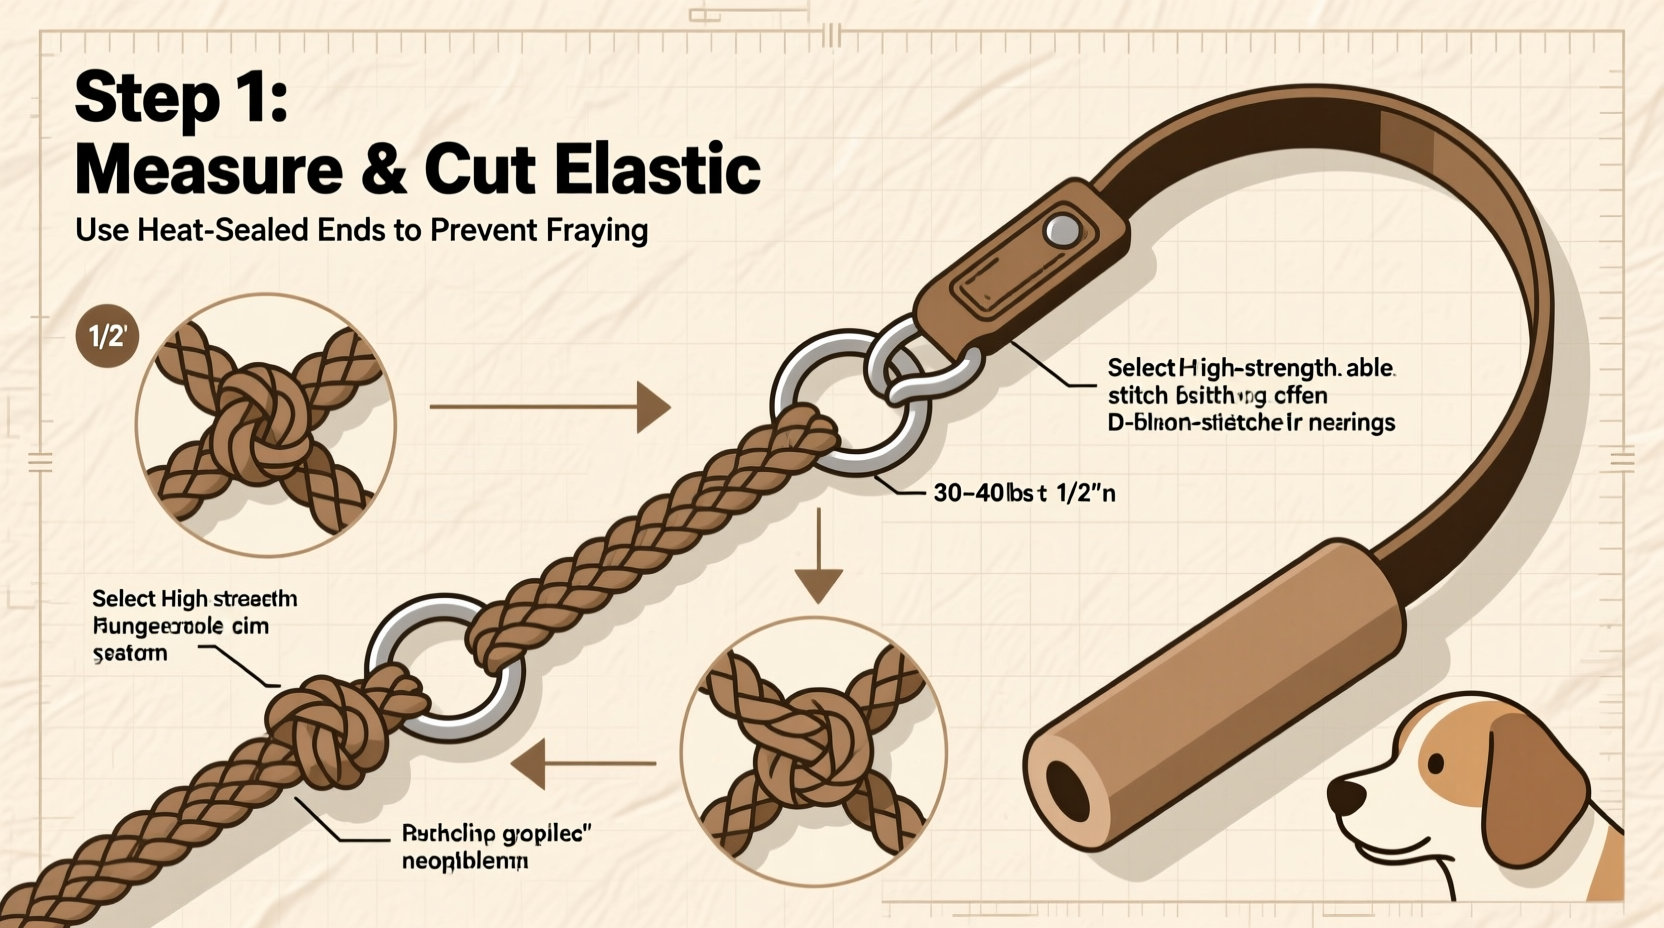
Step-by-Step Construction Guide
Follow these steps carefully to build a leash that lasts. Total construction time: about 45–60 minutes.
- Cut the bungee cord to desired length: For most medium dogs, 4 feet unstretched provides ideal reach. Cut two additional 6-inch pieces for handle and attachment loops.
- Slide outer sheath over main cord: Use a 5-foot length of braided tubing to cover the central bungee. Leave 2 inches exposed at each end for securing hardware.
- Create the handle loop: Fold one 6-inch bungee piece into a U-shape. Slide matching sheathing over it. Insert a heavy-duty O-ring into the fold and crimp securely with metal sleeves or tightly sewn thread.
- Attach the handle to the main line: Connect the loop’s open end to the main leash using a reinforced knot (double fisherman’s) or stitching. Cover the joint with heat-shrink tubing for smoothness and durability.
- Install the swivel snap hook: At the opposite end, thread the loose bungee cord through the snap’s eyelet. Back it with a metal crimp sleeve or secure with tight whip stitches. Seal with adhesive-lined heat shrink for weather resistance.
- Reinforce all stress points: Wrap junctions with nylon thread using a saddle stitch for maximum strength. Apply fabric glue beneath stitching if desired.
- Test before use: Apply gradual tension up to 50 lbs. Check for slippage, fraying, or hardware deformation. Stretch and release 10 times to confirm elastic recovery.
Design Considerations for Comfort and Safety
A well-designed leash balances function and ergonomics. The bungee section should allow 20–50% stretch depending on your dog’s pulling tendency. Too much elasticity may delay feedback; too little defeats the purpose. Position the stretch zone between the handle and mid-leash to isolate force away from your wrist.
For nighttime safety, weave reflective thread into the stitching or choose a sheath with built-in reflectivity. If your dog tends to chew, avoid exposed cord ends—even covered ones—and ensure all tubing is tightly sealed.
Real-World Example: Building for an Active Border Collie
Jamie, a dog trainer in Colorado, needed a reliable leash for her 45-pound Border Collie, Scout, who lunges at wildlife during hikes. Off-the-shelf bungee leashes failed within weeks. She built her own using 4-foot 3/16” bungee cord with a thick nylon sheath, industrial-strength trigger snap, and double-stitched handle wrapped in neoprene for grip. After six months of rigorous trail use, the leash shows no signs of wear. “It reduced my wrist strain by 80%,” she said. “And Scout responds better because the feedback is smoother, not jerky.”
Common Mistakes to Avoid
- Using indoor bungee cords not rated for outdoor exposure—they degrade quickly in sunlight.
- Omitting the outer sheath, which leads to rapid fraying and unsafe snag hazards.
- Attaching hardware directly without crimps or stitching, risking sudden failure.
- Overlooking hardware corrosion—opt for stainless steel or plated components in wet climates.
“Improperly secured hooks are the top cause of leash failures I see in field tests.” — Mark Tran, Pet Product Safety Consultant
Checklist: Final Inspection Before First Use
Run through this checklist to ensure your leash is safe and ready:
- ✅ All bungee ends are fully enclosed in heat-shrink or stitched caps
- ✅ Hardware moves freely (especially swivel snaps) and is securely anchored
- ✅ Stitching is tight, double-passed, and uses industrial-grade thread
- ✅ Leash stretches smoothly and returns to original length without lag
- ✅ No sharp edges or rough spots that could irritate hands or fur
- ✅ Total length meets local leash regulations (typically 6 feet max in public areas)
Frequently Asked Questions
Can I wash my homemade bungee leash?
Yes, but gently. Hand-wash with mild soap and lukewarm water. Avoid submerging hardware to prevent rust. Air dry completely before storage. Do not machine wash or dry—heat and agitation damage elasticity.
How long will a DIY bungee leash last?
With quality materials and regular inspection, expect 1–3 years of daily use. Replace if you notice permanent elongation, frayed sheathing, or weakened recoil. Inspect monthly for wear, especially at connection points.
Is a bungee leash suitable for training?
Use cautiously. The delayed feedback can confuse dogs learning loose-leash walking. However, it’s excellent for reactive dogs in high-distraction environments where sudden pulls are unavoidable. Pair it with consistent verbal cues to maintain communication.
Conclusion
Creating a durable, comfortable bungee dog leash at home is a practical investment in your dog’s well-being and your walking experience. With thoughtful material selection, precise assembly, and attention to detail, you can build a leash that outperforms store-bought models at a fraction of the cost. Whether you’re navigating city sidewalks or rugged trails, a custom bungee leash offers control, safety, and peace of mind.


 浙公网安备
33010002000092号
浙公网安备
33010002000092号 浙B2-20120091-4
Comments
No comments yet. Why don't you start the discussion?