
For watch enthusiasts, proper storage isn’t just about protection—it’s about presentation. A well-crafted watch box elevates the experience of owning fine timepieces while keeping them safe from dust, moisture, and scratches. While commercial options exist, a handmade watch box offers unmatched personalization, craftsmanship, and satisfaction. With basic woodworking tools and attention to detail, you can build a durable, elegant box that reflects your style and serves its purpose flawlessly.
Selecting Materials and Tools
The foundation of a quality watch box lies in the choice of materials. Wood is the most popular option due to its durability, aesthetic warmth, and ease of shaping. Hardwoods like walnut, cherry, or maple provide a rich finish and resist warping over time. For a budget-friendly alternative, birch plywood with veneer edging offers stability and a clean look when finished properly.
Interior lining is equally important. Felt or velvet fabric prevents scratching and adds luxury. Choose colors that contrast subtly with the wood—deep navy, charcoal gray, or burgundy work well. Avoid synthetic foams or rough textiles that degrade or damage watch finishes.
You’ll also need basic hardware: small hinges (brass or nickel), a magnetic catch, and possibly a small lock if security matters. The following tools are essential:
- Circular saw or table saw (for straight cuts)
- Drill with precision bits
- Wood glue and clamps
- Sanding blocks or orbital sander
- Ruler, square, and pencil for accurate measurements
- Staple gun or adhesive for fabric lining
Design and Dimensions Planning
Before cutting any material, sketch your design. A standard watch box measures approximately 10” x 6” x 4”, but adjust based on how many watches you intend to store. Allow at least 1.5” of width per watch and 1” of clearance above the dial to prevent crown contact.
Consider internal layout. A single-tier design works for 2–4 watches; for more, add a removable tray or divided compartments. Angled dividers help display watches face-up, enhancing visibility when the lid opens. Hinged lids offer full access, while lift-off tops preserve structural integrity but require careful alignment.
“Function follows form, but in watch storage, both must coexist. A poorly designed interior defeats even the finest exterior.” — Daniel Reeves, Artisan Woodworker & Horology Enthusiast
Use graph paper or free CAD software like SketchUp Free to draft your box. Label all parts: base, sides, front, back, lid, and optional tray. Include joint types—dado joints for shelf support, butt joints reinforced with glue and nails for corners, or mitered edges for seamless corners.
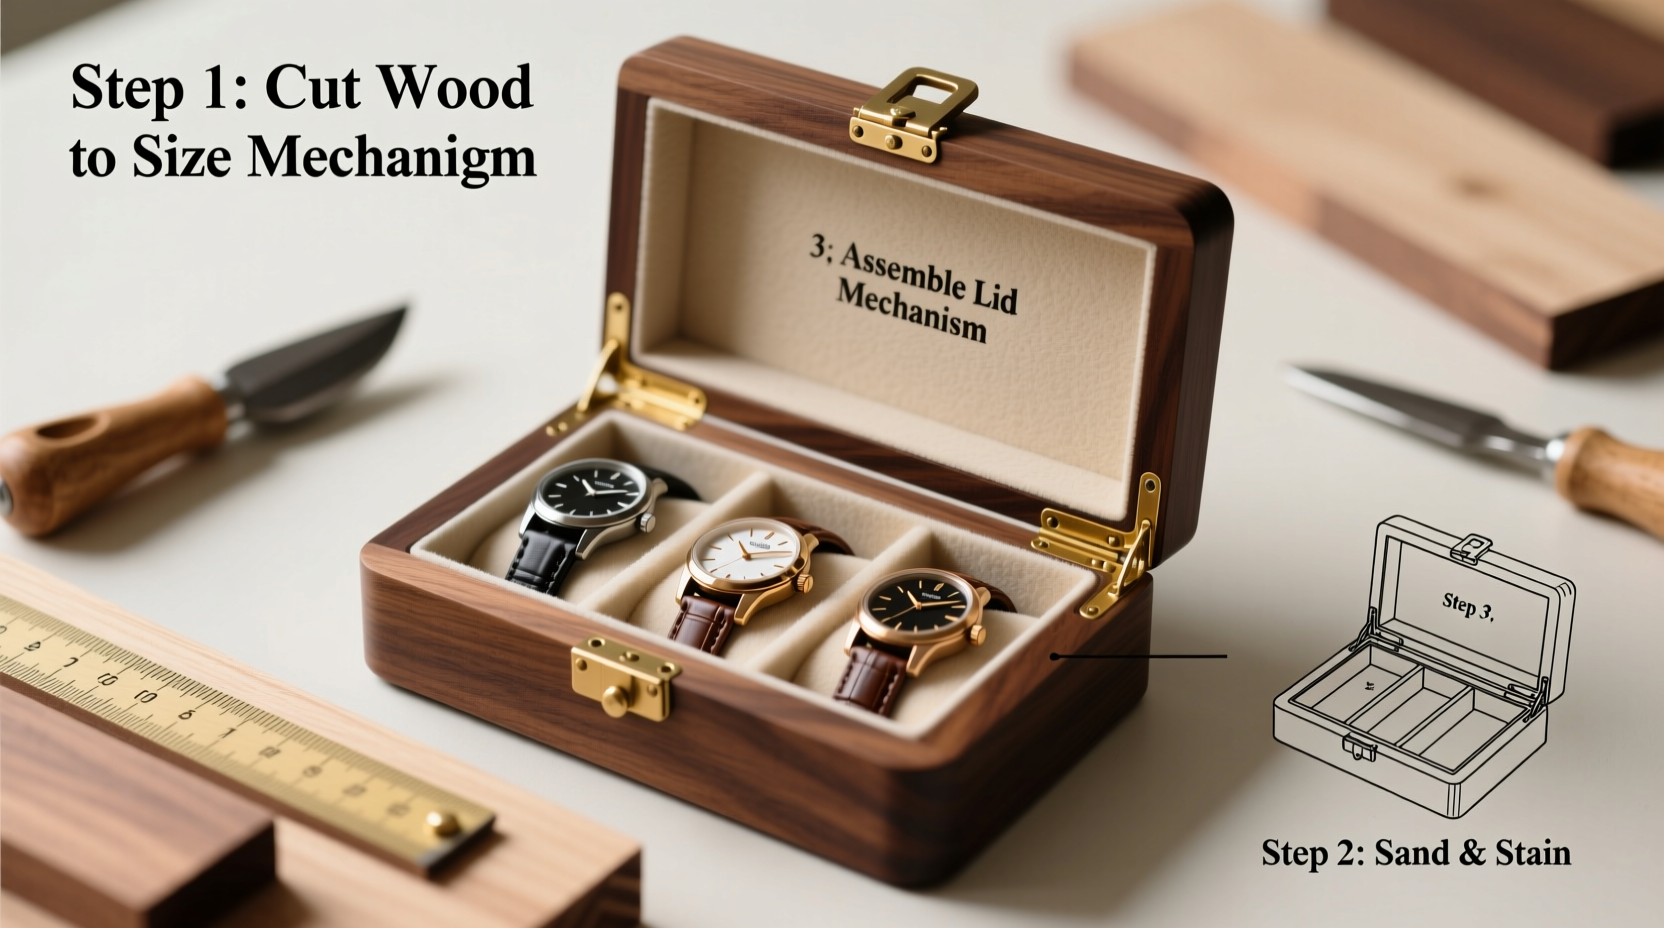
Construction Process Step by Step
Follow this sequence to assemble a sturdy, professional-grade watch box:
- Cut all pieces to size. Use a guide rail or fence for accuracy. Cut two side panels (6” x 4”), front and back (10” x 4”), base (10” x 6”), and lid (10.5” x 6.5” to overhang slightly).
- Assemble the box frame. Apply wood glue to the edges of the side panels and attach front/back pieces. Clamp until dry (minimum 2 hours). Reinforce with finishing nails or pocket screws from the outside if needed.
- Attach the base. Glue and nail it into the bottom recess. Ensure the box sits flat on all four corners.
- Install the lid hinge. Position brass hinges 1” from each end. Mark screw holes, pre-drill, then secure with tiny screws. Test movement for smooth opening without binding.
- Add the magnetic catch. Install the metal stud on the front edge of the lid and the receiver on the box’s front panel so they align when closed.
- Build the interior tray (optional). Construct a shallow tray from ¼” wood, dividing it with curved or angled partitions to cradle watches securely. Attach small felt pads where watches rest.
Finishing and Interior Lining
Sanding is critical before finishing. Wipe away dust with a tack cloth. Apply a pre-stain conditioner if using pine or softwood, then stain with a brush or rag in the direction of the grain. Let dry 4–6 hours. Follow with 2–3 coats of polyurethane or Danish oil, sanding lightly between coats with 320-grit paper.
For the interior:
- Measure and cut felt or velvet 1” larger than each interior surface.
- Apply spray adhesive or PVA glue evenly to one wall at a time.
- Press fabric into place, smoothing out bubbles from center outward.
- Trim excess with a sharp utility knife.
- Repeat for base, walls, and underside of lid.
- If using a tray, line its base and divider edges to protect watch cases and bracelets.
Avoid gluing fabric directly over hinges or moving parts. Leave a small gap around the lid’s edge to prevent friction.
| Material | Best Use Case | Pros | Cons |
|---|---|---|---|
| Walnut | Exterior casing | Durable, rich grain, ages beautifully | Expensive, heavy |
| Birch Plywood | Budget builds | Stable, affordable, easy to cut | Edges require veneer tape |
| Velvet | Interior lining | Luxurious feel, scratch-resistant | Can shed fibers if low quality |
| Felt (wool-blend) | Tray padding | Non-abrasive, holds shape | Less plush than velvet |
Real Example: Building a Minimalist Walnut Watch Box
Mark, an amateur woodworker from Portland, wanted a compact box for his three vintage watches. He chose ¾” walnut boards for their deep tone and natural luster. Using a table saw and hand sander, he built a 9” x 5” x 3.5” box with a flush-fitting lid and no external hardware for a clean look. Inside, he installed a removable tray lined with dark gray wool felt, each compartment sized for automatics with folded straps.
He applied three coats of satin polyurethane, buffing lightly between layers. The result was a sleek, museum-quality box that now sits on his nightstand. “It feels like I’m preserving heirlooms,” he said. “Every time I open it, it’s a moment of appreciation.” His total cost: $42. Time invested: 8 hours over two weekends.
Frequently Asked Questions
Can I make a watch box without power tools?
Yes. Hand saws, chisels, and sandpaper can achieve excellent results, though it will take longer. Focus on precise marking and gradual shaping. Pre-cut lumber from craft stores can save effort.
How do I prevent the wood from warping over time?
Use kiln-dried wood and apply finish to all surfaces, including inside walls and the base. Store the box in a climate-controlled environment away from windows or heaters.
Is it safe to store automatic watches in a box long-term?
Yes, as long as the box is clean, dry, and free of strong odors. For watches not worn weekly, consider a watch winder to keep movements lubricated. Otherwise, manual winding every few weeks maintains performance.
Final Checklist Before Completion
- ✅ All joints are tight and glued securely
- ✅ Lid opens and closes smoothly
- ✅ Interior fabric is bubble-free and trimmed neatly
- ✅ Finish is even and fully cured
- ✅ No sharp edges or splinters remain
- ✅ Watches fit comfortably without pressure on crowns
Conclusion
Creating a homemade watch box blends craftsmanship with practicality. It’s more than a container—it’s a tribute to the artistry of horology and the pride of handmade work. Whether you’re storing cherished family heirlooms or organizing daily wearers, a custom box ensures your watches are protected and celebrated. Every cut, sand, and finish reflects intention. Start small, refine your technique, and let each project grow in complexity and elegance.


 浙公网安备
33010002000092号
浙公网安备
33010002000092号 浙B2-20120091-4
Comments
No comments yet. Why don't you start the discussion?