
Feeding your dog shouldn’t be a last-minute scramble. A reliable feeding system keeps meals consistent, reduces waste, and adds structure to your pet’s routine. While commercial automatic feeders are available, building your own DIY homemade dog feeder gives you full control over materials, size, aesthetics, and cost. With basic tools and thoughtful planning, you can craft a functional, durable, and even attractive addition to your home that meets your dog’s dietary needs.
This guide walks through designing and assembling a safe, practical, and visually appealing feeder using common household or hardware store materials. Whether you’re aiming for a rustic wooden stand, a space-saving wall-mounted unit, or a gravity-based dispenser, the principles remain the same: safety first, functionality second, style third.
Why Build Your Own Dog Feeder?
Purchasing a ready-made dog feeder often means compromising on size, material quality, or design. Many plastic models degrade over time, tip easily, or don’t accommodate larger breeds. Homemade solutions let you tailor dimensions to your dog’s bowl, adjust height for joint health, and use non-toxic, long-lasting materials like solid wood or food-safe stainless steel.
Beyond customization, building your own feeder supports sustainability. Reclaimed wood, repurposed furniture parts, or unused shelves can be transformed into useful pet gear. You also avoid electronic components prone to malfunction—unless you're adding automation later.
“Dogs thrive on consistency. A well-designed feeding station minimizes stress and supports better digestion by encouraging slow, mindful eating.” — Dr. Lena Patel, Veterinary Behaviorist
Planning Your DIY Feeder: Key Design Considerations
Before picking up tools, assess your space, your dog’s needs, and your skill level. A poorly balanced or awkwardly placed feeder may discourage use or pose injury risks.
Height & Ergonomics
The ideal feeder height aligns the top of the bowl with your dog’s chest when standing. This neutral neck position prevents strain, especially in large or senior dogs prone to hip or spine issues. As a rule:
- Small dogs (under 15 lbs): 4–6 inches high
- Medium dogs (15–50 lbs): 8–12 inches high
- Large dogs (50+ lbs): 14–20 inches high
Stability & Safety
A wobbly or lightweight base can lead to spilled food and frustrated pets. Ensure the frame is wide enough at the base to resist tipping. Avoid sharp edges, splinters, or toxic finishes. If painting or staining, use water-based, pet-safe sealants only.
Material Selection
Choose durable, easy-to-clean materials. Wood offers warmth and sturdiness but must be sealed against moisture. Metal frames are strong but can dent bowls. Plastic is lightweight but less durable. For the bowl holder, consider removable trays or inserts for cleaning.
| Material | Pros | Cons |
|---|---|---|
| Solid Wood (e.g., pine, oak) | Durable, natural look, customizable | Requires sealing, can warp if exposed to moisture |
| Stainless Steel | Hygienic, rust-resistant, strong | Expensive, harder to shape without tools |
| Recycled Plastic Lumber | Mold-resistant, weatherproof, low maintenance | Less rigid, limited availability |
| Plywood (sealed) | Affordable, easy to cut | Edges need finishing, not as strong as solid wood |
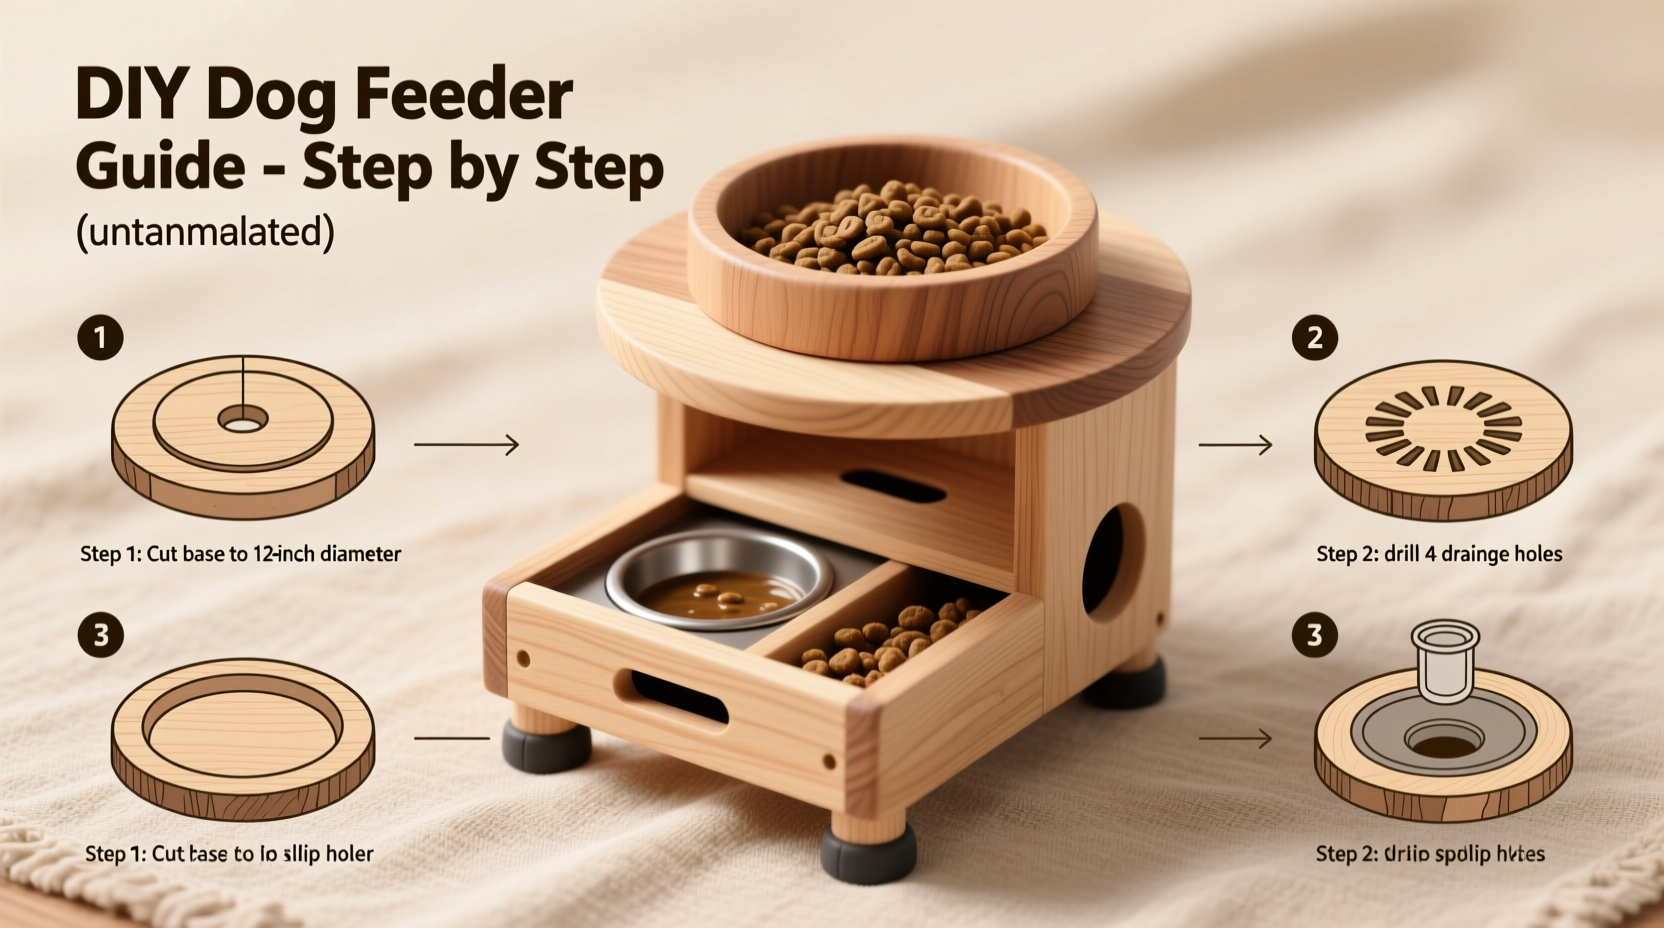
Step-by-Step Construction Guide
Follow these steps to build a two-bowl elevated wooden feeder suitable for medium to large dogs. Adjust measurements based on your pet’s size.
- Gather Materials & Tools
- 1x 24” x 18” wood board (for base)
- 4x wooden legs (12” long, 1.5” diameter or square)
- 2x metal or plastic bowl holders (or cut holes directly into base)
- Wood screws (1.5” and 2”)
- Sandpaper (medium and fine grit)
- Pet-safe wood sealant or finish
- Drill, hole saw (if cutting bowl holes), screwdriver, measuring tape - Design Layout
Sketch your design. Decide whether bowls will sit flush in cutouts or rest on brackets beneath the base. For cutouts, measure bowl diameter and mark two circles on the board, spaced at least 6” apart. - Cut Bowl Openings (Optional)
Use a hole saw to carefully cut openings. Sand edges smooth. Alternatively, skip cutting and use adjustable bowl clips attached underneath. - Attach Legs
Position one leg at each corner of the base. Pre-drill holes to prevent splitting, then secure with 2” screws. Reinforce with corner braces if needed. - Install Bowl Holders
If using clips or rings, attach them beneath the base so bowls hang slightly below surface level. This prevents sliding while allowing easy removal. - Sand & Finish
Sand all surfaces until smooth. Wipe away dust. Apply two coats of pet-safe sealant, allowing full drying between coats. Avoid finishes with strong odors. - Final Assembly & Testing
Insert stainless steel or ceramic bowls. Place the unit on the floor and observe your dog interacting with it. Adjust height or stability if needed.
Real-Life Example: The Johnson Family’s Weekend Project
The Johnsons adopted a 70-pound Labrador mix who ate too quickly from floor-level bowls, causing frequent bloating. After researching elevated feeders costing over $100, they decided to build one themselves. Using reclaimed pine from an old shelf and stainless steel bowls from a thrift store, they assembled a sturdy, 16-inch-high feeder in one afternoon. They sanded it thoroughly, applied a food-safe beeswax finish, and added rubber tips to the legs. Their dog adjusted within days, eating slower and showing fewer digestive issues. The entire project cost under $30 and became a conversation piece in their kitchen.
Common Mistakes to Avoid
- Using toxic finishes: Never apply varnishes or stains containing VOCs near pet areas.
- Ignoring weight distribution: Tall feeders with narrow bases tip easily. Widen the footprint or anchor to a wall if necessary.
- Oversizing bowl cutouts: Gaps around bowls trap food debris and invite bacteria. Leave no more than 0.5” clearance.
- Skipping sanding: Rough wood irritates paws and snouts. Smooth every edge and surface.
Frequently Asked Questions
Can I make a gravity-fed DIY feeder?
Yes, but exercise caution. Gravity dispensers work best for dry kibble and require careful design to prevent clogging or overfeeding. Use a large food-grade container mounted above the bowl, with a controlled outlet. Monitor intake closely and clean regularly to avoid mold.
How do I clean a homemade wooden feeder?
Remove bowls daily and wipe the surface with a damp cloth. Monthly, scrub with mild vinegar-water solution (1:3 ratio). Reapply sealant annually or when wood appears dry.
Is it safe to use plywood?
Only if fully sealed on all sides. Raw plywood edges absorb moisture and can delaminate or harbor bacteria. Opt for exterior-grade or marine plywood for better durability.
Checklist: Building a Safe DIY Dog Feeder
- ✅ Measure your dog’s ideal feeding height
- ✅ Choose non-toxic, durable materials
- ✅ Design a wide, stable base
- ✅ Pre-drill holes to prevent wood splitting
- ✅ Sand all surfaces smooth
- ✅ Use pet-safe sealant or finish
- ✅ Test stability before introducing to your dog
- ✅ Clean regularly and inspect for wear
Final Thoughts
A homemade dog feeder isn’t just a budget-friendly alternative—it’s a personalized solution that reflects your care and creativity. When built thoughtfully, it promotes healthier eating habits, reduces mess, and blends seamlessly into your home. Whether you’re a seasoned DIYer or tackling your first woodworking project, the process is rewarding and the results meaningful.


 浙公网安备
33010002000092号
浙公网安备
33010002000092号 浙B2-20120091-4
Comments
No comments yet. Why don't you start the discussion?