
Walking your dog should be a seamless blend of control, comfort, and style. While traditional leashes serve their purpose, they can sometimes feel bulky or visually intrusive—especially in urban environments where aesthetics matter. Enter the concept of the “invisible” dog leash: not truly invisible, but designed to minimize visual impact using clear materials and streamlined construction. By crafting your own transparent pet harness and matching leash, you gain a lightweight, modern solution that reduces strain on your dog while maintaining discretion.
This guide walks through the practical steps, material choices, and safety considerations involved in creating a custom transparent harness and leash system. Whether you're motivated by design, functionality, or simply the joy of building something unique for your pet, this project offers both challenge and reward.
Understanding the Invisible Leash Concept
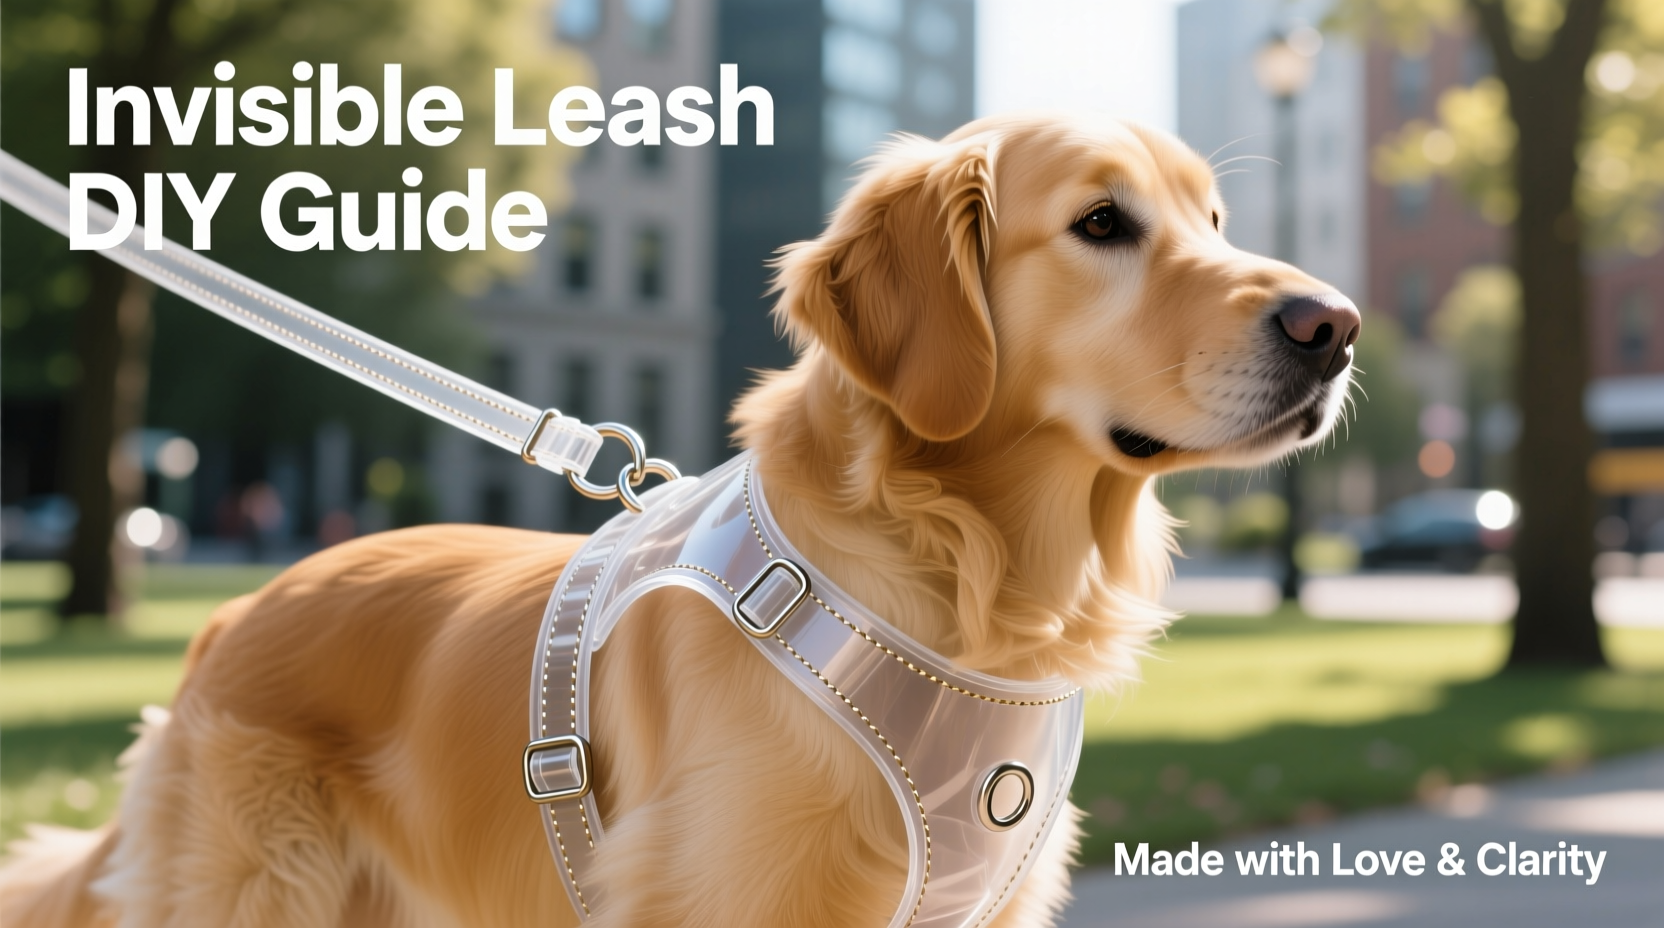
The term “invisible dog leash” doesn’t imply magic—it refers to a minimalist, low-profile setup that uses transparent or neutral-toned materials to create the illusion of an unobtrusive connection between handler and pet. The core components are a well-fitted harness made from see-through webbing (often PVC or TPU-coated nylon) and a matching slender leash, typically 4 to 6 feet long.
Unlike retractable leashes, which can encourage pulling and pose entanglement risks, a DIY transparent system emphasizes fixed length, even pressure distribution, and ergonomic handling. When built correctly, it offers better control than a collar-and-leash combo while remaining nearly invisible at a distance.
“Transparency in pet gear isn’t just about looks—it’s about reducing sensory overload for dogs who react negatively to bulky equipment.” — Dr. Lena Torres, Veterinary Behavior Specialist
Materials and Tools You’ll Need
Creating a durable yet discreet harness requires careful selection of materials. Avoid cheap plastic cords or vinyl tapes that degrade quickly under UV exposure or stress. Instead, opt for engineered fabrics designed for light load-bearing applications.
| Material/Tool | Purpose | Recommended Type |
|---|---|---|
| Transparent webbing | Harness straps and leash | PVC-coated polyester, ¾ inch width |
| Adjustable side-release buckles | Secure fit around chest and neck | Plastic or reinforced nylon, ¾ inch |
| Swivel snap hook | Leash-to-harness attachment | Stainless steel, 360° rotation |
| Heat-resistant scissors | Cutting webbing cleanly | Teflon-coated blades |
| Sewing machine (or heavy-duty needle) | Reinforced stitching | Industrial-grade thread (polyester) |
| Ruler or measuring tape | Accurate sizing | Flexible fabric tape |
Step-by-Step Assembly Guide
Follow this sequence to build a secure, comfortable transparent harness tailored to your dog’s measurements.
- Measure Your Dog: Use a soft tape measure to record girth behind the front legs (chest), around the neck, and the distance between these two points. Add 2 inches to each for adjustability.
- Cut the Webbing: Cut one 24–30 inch piece for the main loop (depending on size), and two 10–14 inch pieces for shoulder connectors. Adjust lengths based on breed proportions.
- Attach Buckles: Slide a side-release buckle onto each end of the main loop. Sew securely with triple-stitched zigzag patterns for maximum hold.
- Create the Y-Junction: Position the two shorter straps to form a ‘Y’ shape connecting the neck ring to the chest strap. Overlap them slightly at the center front and stitch into a secure anchor point.
- Incorporate the D-Ring: Attach a small metal D-ring at the top center back of the harness (where spine meets neck). This will connect to the leash via swivel clip.
- Build the Leash: Cut a 5-foot length of matching webbing. Attach a snap hook at one end and a handle loop at the other, secured with box stitching.
- Test Fit: Place the harness gently on your dog. Ensure no rubbing, pinching, or restriction of movement. Adjust strap lengths if needed before finalizing seams.
Safety and Design Considerations
A transparent harness must balance invisibility with strength. Even though the materials appear delicate, they must withstand sudden tugs, weather exposure, and daily wear.
- Always test new harnesses in a controlled environment before public use.
- Avoid using purely decorative clips or thin cords meant for fashion accessories.
- Inspect stitching monthly for signs of loosening or abrasion.
- Never leave a dog unattended while wearing any harness, especially near furniture or gates where entanglement may occur.
Transparency also presents visibility trade-offs. On bright days, clear materials reflect sunlight and remain visible. However, in low light, they may become hard to see—consider adding reflective stitching or a small fabric patch for nighttime safety.
Real-World Example: Urban Apartment Living
Maria, a designer living in downtown Seattle, wanted a leash solution that matched her minimalist apartment aesthetic and didn’t clash with her French Bulldog’s sleek black coat. After trying several off-the-shelf “invisible” leashes that snapped during routine walks, she decided to build her own.
Using marine-grade transparent webbing sourced from a boating supply store and reinforced stitching techniques from upholstery tutorials, Maria created a harness that was both strong and subtle. She added a matte silver snap hook for contrast and ease of handling. Two years later, the same harness remains in daily use—with only minor wear at stress points, easily repaired with a needle and thread.
Her experience highlights a key advantage: customization. Off-the-shelf products often assume standard body types, but DIY allows precise tailoring for breeds with broad chests, short necks, or sensitive skin.
Checklist: Building Your Transparent Harness Safely
- Measured dog’s chest, neck, and torso accurately
- Selected UV-resistant, non-toxic transparent webbing
- Used industrial-strength thread and secure stitching pattern
- Attached hardware with double reinforcement
- Tested fit and function indoors first
- Added identification tag or backup collar for safety
Frequently Asked Questions
Is a transparent harness safe for strong-pulling dogs?
Only if constructed with high-tensile webbing and proper anchoring. Small to medium breeds that pull moderately can use well-built transparent harnesses safely. For powerful breeds like Huskies or Boxers, consider hybrid designs—transparent side panels with reinforced central zones.
Can I wash the harness?
Yes. Hand wash with mild soap and lukewarm water. Avoid bleach or abrasive scrubbing, which can cloud the surface. Air dry away from direct sunlight to prevent warping.
How long does a DIY transparent harness last?
With regular use and maintenance, expect 12–18 months of service. Factors like frequency of walks, exposure to rain or pavement friction, and storage conditions affect longevity. Inspect every few weeks for micro-cracks or thread separation.
Final Thoughts and Call to Action
Creating your own invisible dog leash and transparent harness is more than a craft project—it’s an investment in your pet’s comfort and your shared lifestyle. With thoughtful material selection, attention to anatomical fit, and reinforced construction, you can achieve a walking solution that’s as functional as it is elegant.
Don’t settle for generic pet products when customization leads to better performance and personal satisfaction. Gather your supplies, take accurate measurements, and begin building a leash system that reflects your values: simplicity, safety, and style.


 浙公网安备
33010002000092号
浙公网安备
33010002000092号 浙B2-20120091-4
Comments
No comments yet. Why don't you start the discussion?