
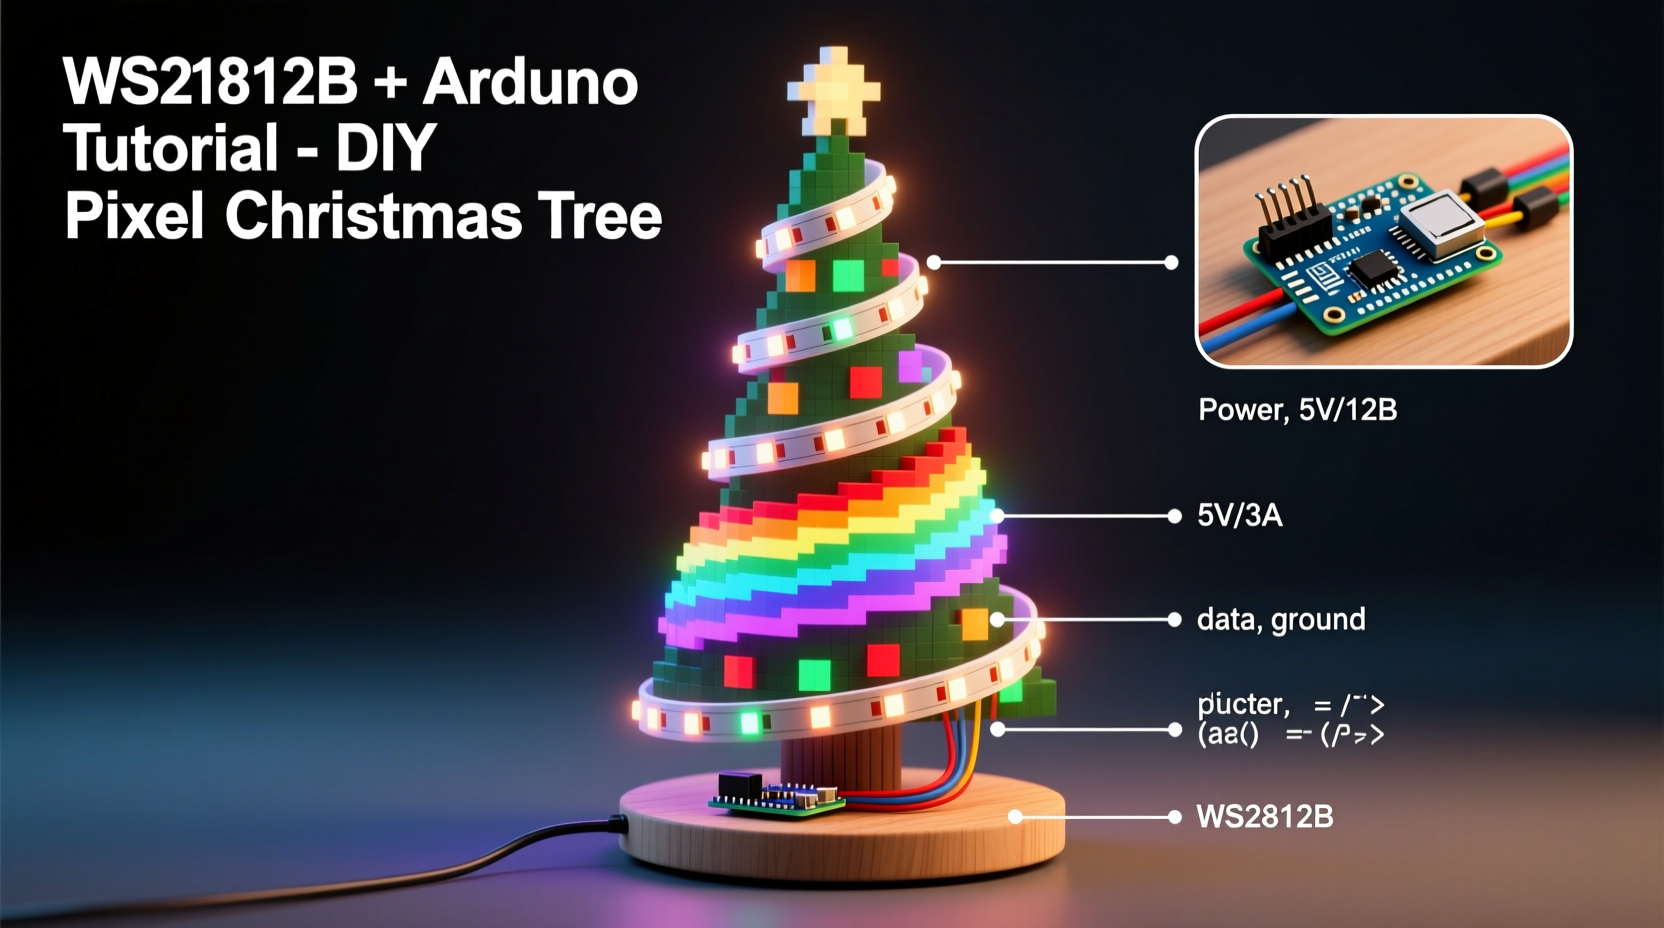
A pixelated Christmas tree made with individually addressable WS2812B LEDs and controlled by an Arduino brings a modern, dynamic twist to holiday decorations. Unlike traditional string lights, each LED on this tree can be programmed to change color, brightness, and animation independently—allowing for mesmerizing light shows that sync with music or transition through seasonal themes. This project blends electronics, coding, and craftsmanship into a festive centerpiece that’s as rewarding to build as it is to display.
Whether you're new to microcontrollers or an experienced maker, constructing a DIY pixel Christmas tree offers hands-on experience with digital lighting systems. With the right components and a clear plan, you can create a fully programmable 3D light sculpture that becomes the focal point of your holiday decor.
Components and Tools Needed
The foundation of any successful DIY electronics project lies in having the correct parts and tools. For this pixel tree, you’ll need both electronic components and basic crafting supplies to assemble the physical structure.
- WS2812B LED strip (60 LEDs per meter) – Choose a waterproof or non-waterproof version depending on where you plan to display the tree.
- Arduino Uno or Nano – The brain of the operation; the Nano is often preferred due to its compact size.
- Power supply (5V, at least 4A) – Higher amperage may be needed for larger trees. A dedicated 5V power adapter prevents brownouts.
- Breadboard and jumper wires – Useful for prototyping connections before final assembly.
- MOSFET (IRFZ44N or similar) – Recommended for safely switching high-current loads if using long LED strips.
- Resistor (330Ω) – Placed between Arduino and data line to protect against signal spikes.
- Wooden base and dowel rod – To form the central support and stabilize the tree.
- Foam cone or wireframe – Acts as the tree’s shape; craft foam cones are inexpensive and easy to work with.
- Heat shrink tubing or electrical tape – For insulating soldered joints.
- Soldering iron, wire cutters, hot glue gun – Essential for assembly and securing components.
Step-by-Step Assembly Guide
Constructing the pixel tree involves three main phases: building the physical structure, wiring the electronics, and programming the controller. Follow these steps carefully to ensure safety and functionality.
- Create the Tree Frame: Mount a wooden base and insert a vertical dowel through the center. Attach a foam cone (available at craft stores) onto the dowel, ensuring it's secure. Alternatively, build a conical wireframe from aluminum rods for a lightweight, transparent effect.
- Prepare the LED Strip: Cut the WS2812B strip into equal-length segments—one for each row of the tree. A typical design uses 8–16 rows, with 8–16 LEDs per row. Ensure cuts are made only at designated lines between LEDs.
- Mount LEDs in Spiral Pattern: Begin at the top and glue each segment in a spiral downward. Maintain even spacing between rows. Connect data-out of one row to data-in of the next using short wires. This creates a single continuous pixel chain.
- Wire the Electronics: Solder the first LED’s data-in pin to Arduino Pin 6 (or another digital pin). Add a 330Ω resistor in series. Connect all ground (GND) lines together and link to Arduino GND. Power the strip directly from the 5V supply—do not power long strips through the Arduino’s onboard regulator.
- Add External Power: Connect the positive and ground from the 5V power supply to the VCC and GND rails on the LED strip. Use thick gauge wire (18AWG or lower) for longer runs to prevent voltage drop.
- Secure Components: Hide the Arduino and wiring inside or beneath the base. Use zip ties and hot glue to keep connections stable and reduce strain.
“Addressable LEDs give makers unprecedented control over light art. When combined with structured builds like a spiral tree, they enable complex 3D animations.” — Dr. Lena Torres, Embedded Systems Educator
Programming the Arduino for Dynamic Effects
The real magic happens in code. Using the FastLED library, you can write elegant programs that animate your tree with flowing colors, twinkles, chases, and sound-reactive patterns.
First, install the FastLED library via the Arduino IDE Library Manager. Then upload a basic test sketch to verify connectivity:
#include <FastLED.h>

#define NUM_LEDS 128
#define DATA_PIN 6
CRGB leds[NUM_LEDS];

void setup() {
  FastLED.addLeds<WS2812B, DATA_PIN, GRB>(leds, NUM_LEDS);
}

void loop() {
  // Fill all LEDs with red
  fill_solid(leds, NUM_LEDS, CRGB::Red);
  FastLED.show();
  delay(1000);

  // Turn off and switch to green
  fill_solid(leds, NUM_LEDS, CRGB::Green);
  FastLED.show();
  delay(1000);
}
This simple program confirms that all pixels are responding. From here, expand into advanced effects:
- Rainbow Cycle: Use
fill_rainbow()to sweep hues across the tree. - Twinkle Random: Randomly illuminate pixels with fading tails for a starry effect.
- Fire Animation: Simulate flickering flames with orange-yellow-red gradients pulsing upward.
- Music Sync: Add a microphone sensor (like MAX9814) to make lights react to ambient sound.
Design Optimization and Troubleshooting
Even well-planned projects encounter issues. Here are common problems and how to resolve them:
| Issue | Possible Cause | Solution |
|---|---|---|
| First few LEDs not lighting | Loose data connection or incorrect wiring | Re-solder data line and verify continuity with multimeter |
| Random flashing or color glitches | Signal interference or insufficient power | Add 330Ω resistor on data line; use external 5V supply |
| Color inconsistency across LEDs | Voltage drop over long strips | Use thicker power wires; inject power at multiple points |
| Arduino resets when LEDs turn on | Current overload on shared power source | Never power more than ~50 LEDs from Arduino USB; use separate supply |
To improve performance, consider “power injection”—connecting additional 5V/GND wires at the midpoint and end of long LED runs. This maintains consistent brightness and reduces heat buildup.
For larger trees (over 150 pixels), upgrade to an ESP32 instead of Arduino. It offers Wi-Fi capability, more memory, and faster processing—ideal for syncing multiple devices or hosting web-based control interfaces.
Real-World Example: Community Light Display Upgrade
In Portland, Oregon, hobbyist Mark Rivas replaced his static rooftop Christmas tree with a 144-pixel WS2812B model after attending a local maker fair. He used an Arduino Nano, a foam cone base, and repurposed wood from old furniture for the stand.
Initially, he powered the entire setup from a computer USB port. After repeated resets during night displays, he realized the current demand exceeded 3A. He switched to a 5V/6A security camera power supply and added dual power injection points. He then wrote custom code to cycle through holiday themes: red-green pulses on Christmas Eve, blue-white waves for New Year’s, and random sparkles throughout December.
His neighbors began requesting synchronized yard displays. Using identical timing logic and walkie-talkies for coordination, four homes now run near-perfectly synced shows every weekend. Plans are underway to integrate Bluetooth triggers for live start commands.
Pro Tips Checklist
Before finalizing your build, go through this checklist to ensure reliability and visual impact:
- ✅ Double-check polarity on all power connections
- ✅ Test each LED segment individually before full assembly
- ✅ Label wires during prototyping to avoid confusion later
- ✅ Use heat shrink tubing on all solder joints
- ✅ Program fallback mode (e.g., slow rainbow) in case primary animation fails
- ✅ Place the tree away from high-traffic areas to protect delicate wiring
- ✅ Keep firmware backed up and commented for future edits
Frequently Asked Questions
Can I use a Raspberry Pi instead of Arduino?
Yes, but it requires more configuration. The Raspberry Pi runs Linux and isn’t real-time, so timing-sensitive protocols like WS2812B need special libraries such as rpi_ws281x. While more powerful, it’s overkill for basic animations unless you’re adding network streaming or video synchronization.
How many LEDs should my tree have?
It depends on size and desired density. A small tabletop tree (12–18 inches) looks great with 64–96 pixels. Larger floor models (3+ feet) benefit from 128–200 LEDs for smooth coverage. More pixels allow finer animations but increase power and code complexity.
Is it safe to leave the tree on overnight?
Yes, if properly wired. Use a regulated 5V power supply, avoid daisy-chaining too many strips without injection, and monitor temperature during initial runs. Never enclose electronics in sealed spaces. Consider adding a timer outlet for automatic shutoff.
Final Thoughts and Creative Expansion
Building a DIY pixel Christmas tree is more than a holiday decoration—it’s a gateway to creative electronics. Once mastered, the same principles apply to wall panels, wearable tech, room ambiance systems, and interactive art installations.
Consider expanding your project next year: add motion sensors to trigger animations when someone approaches, integrate weather APIs to change colors based on forecast, or network multiple trees for coordinated neighborhood displays. The combination of physical craftsmanship and programmable light opens endless possibilities.
With careful planning, attention to power management, and thoughtful code design, your pixel tree will become a cherished tradition—both to build and to behold.


 浙公网安备
33010002000092号
浙公网安备
33010002000092号 浙B2-20120091-4
Comments
No comments yet. Why don't you start the discussion?