
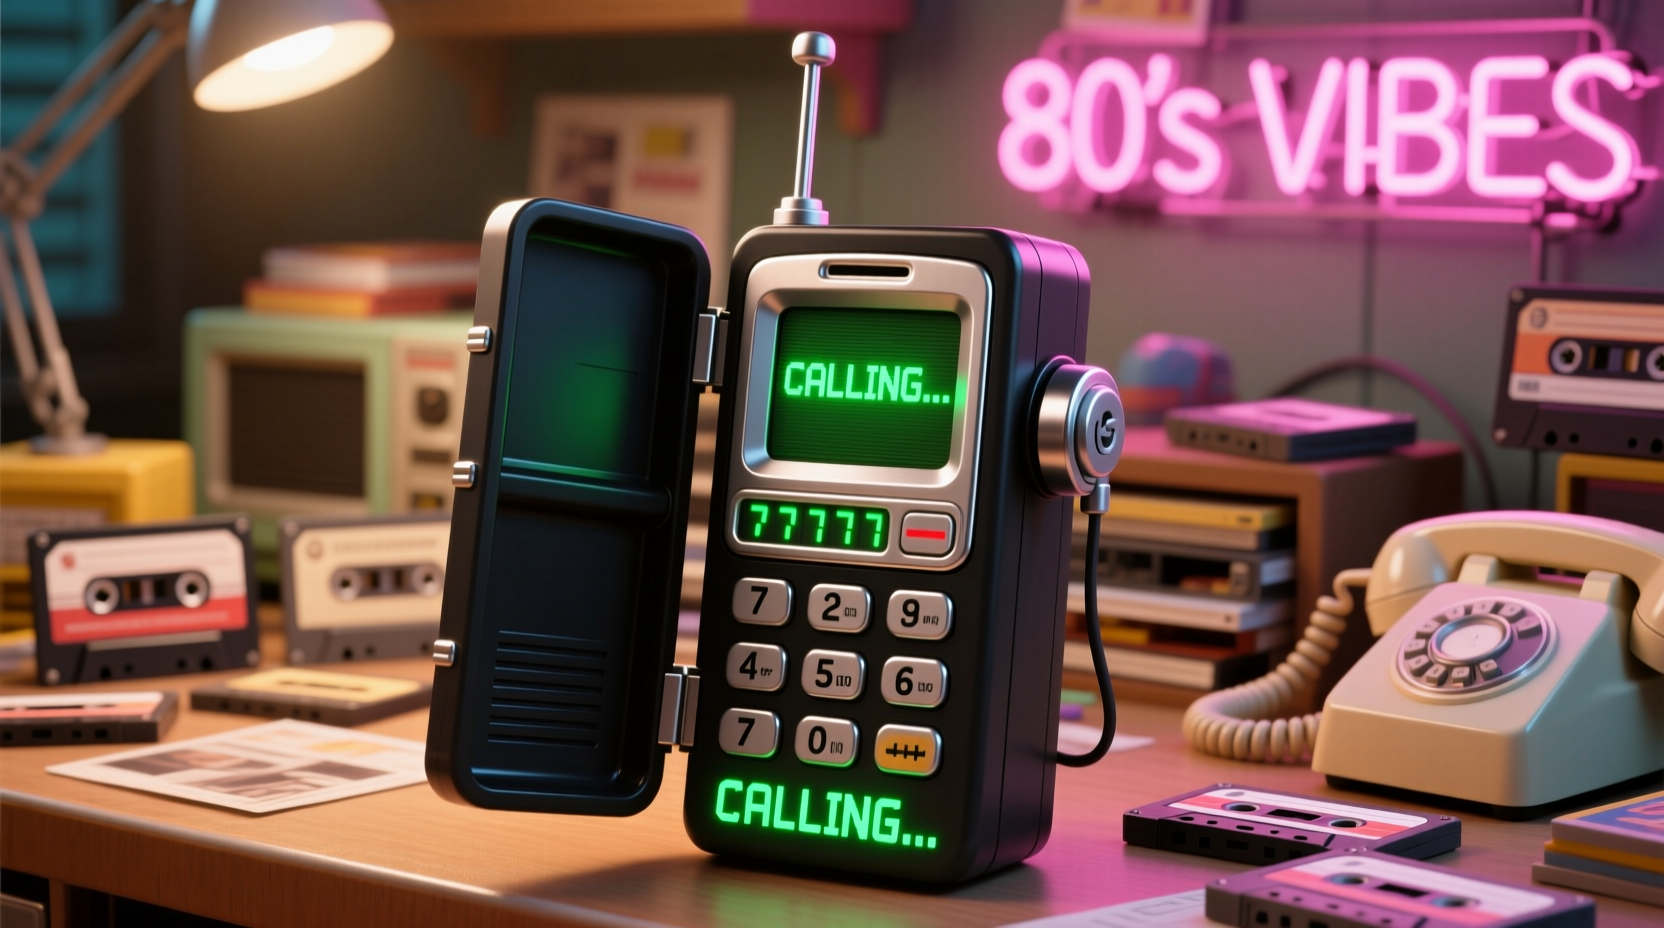
The 1980s were defined by bold fashion, synth-pop music, and the birth of mobile communication. Among the era’s most iconic symbols was the \"brick phone\"—a bulky, oversized mobile device that only the coolest could afford. Today, these phones are nostalgic relics, but they remain powerful visual props for themed parties, theater productions, cosplay, or home decor. While vintage models can be expensive or fragile, creating your own replica is affordable, customizable, and surprisingly simple.
This guide walks you through building a convincing 80s-style mobile phone from scratch using common household and craft supplies. The result? A lightweight, durable, and highly authentic-looking prop that captures the spirit of analog innovation.
Gather Your Materials and Tools
Before shaping the final product, assemble everything you’ll need. The beauty of this project lies in its accessibility—most items can be found at hardware stores, dollar shops, or repurposed from old electronics.
- Cardboard or foam board (from packaging or craft stores)
- Ruler and pencil
- Box cutter or utility knife
- Hot glue gun and glue sticks
- Black acrylic paint and small brush
- Sandpaper (medium grit)
- Plastic sheet or clear report cover (for screen effect)
- Small plastic buttons or beads (for keypad)
- Aluminum foil or silver spray paint (optional, for antenna)
- Tape (duct or masking)
- Printed keypad template (hand-drawn or downloaded)
Design and Measure the Phone Shape
Classic 80s mobile phones like the Motorola DynaTAC 8000X followed a consistent silhouette: a tall rectangular body with a curved top, a long antenna, and a flip-down mouthpiece. To replicate this, start by sketching the outline on cardboard.
- Measure and mark a rectangle: approximately 8 inches high and 2 inches wide.
- At the top third, draw a slight inward curve to mimic the speaker housing.
- From the center of the top edge, extend a thin strip (about 3–4 inches long and 0.25 inches wide) upward—this will be the antenna base.
- On the lower half, sketch a keypad area: roughly 2 inches tall and 1.5 inches wide, centered vertically.
- Cut out two identical side panels using a box cutter. These form the outer shell.
Next, cut four narrow strips for the edges: two longer (8 inches) and two shorter (1.5 inches). These will connect the side panels and give the phone depth.
| Component | Dimensions (inches) | Purpose |
|---|---|---|
| Side Panels | 8 x 2 | Main body outline |
| Top Curve Cut | Varies | Speaker contour |
| Edge Strips | 8 x 0.75 (x2), 1.5 x 0.75 (x2) | Depth and structure |
| Antenna Base | 4 x 0.25 | Attachable signal rod |
| Keypad Insert | 2 x 1.5 | Button layout foundation |
Assemble the Body and Add Details
With all pieces cut, begin assembly. Lay one side panel flat and use hot glue to attach the edge strips around its perimeter. Press the second side panel onto the other ends of the strips to form a hollow rectangular shell. Hold in place until the glue sets.
For the antenna, roll aluminum foil into a thin wire or use a stiff piece of plastic tubing. Glue it to the top extension. Wrap the base with silver tape or paint it to simulate metal plating.
Now create the keypad. Print or hand-draw a 3x4 grid labeled with numbers 0–9, *, and #. Attach this to a small piece of foam board, then glue individual beads or plastic buttons over each number. This adds tactile realism. Secure the entire keypad unit into the designated space on the front panel.
For the screen, cut a small rectangle just above the keypad. Insert a piece of clear plastic sheet to simulate a display. You can lightly draw circuit lines or a digital readout with a silver marker for added authenticity.
Paint and Finish for Authenticity
The final appearance makes or breaks the illusion. Most 80s phones were matte black with gray or silver accents. Use sandpaper to scuff the surface slightly so paint adheres better.
Apply two thin coats of black acrylic paint, allowing drying time between layers. Avoid thick globs—real devices had clean, even finishes. Once dry, use a dry-brush technique with gray or silver paint to highlight edges and button rims, simulating wear and depth.
If desired, add branding. The Motorola “M” logo or phrases like “Mobile Telephone” can be printed, cut out, and glued near the top. Alternatively, freehand it with a fine brush.
“Props don’t need to be perfect—they need to be believable. A few asymmetrical details often make replicas feel more real than factory precision.” — Daniel Reeves, Prop Master & Theater Technician
Mini Case Study: Retro-Themed Wedding Favors
Jessica Ramirez, a wedding planner in Austin, Texas, needed unique favors for a couple’s ‘80s-inspired reception. Instead of traditional gifts, she led a workshop where guests built miniature 80s phone props using this method. Each phone had a tiny tag reading “Call Me Maybe?” and held a USB drive with photos from the night.
“The response was incredible,” Jessica said. “People loved the hands-on activity, and the phones became keepsakes. Total cost per unit? Under $2.”
This example shows how versatile the design can be—scaled down, personalized, and integrated into larger creative projects.
Checklist: Build Your 80s Phone in 7 Steps
- ☐ Sketch and measure the phone profile on cardboard
- ☐ Cut two side panels and connecting edge strips
- ☐ Assemble the main body using hot glue
- ☐ Create and attach the antenna
- ☐ Design and mount the keypad with raised buttons
- ☐ Install a clear plastic “screen” insert
- ☐ Paint, detail, and add branding elements
Frequently Asked Questions
Can I make this without a hot glue gun?
Yes, though it will take longer. Use strong double-sided tape or epoxy for structural joints. Reinforce corners with extra cardboard tabs for stability.
How durable is the finished prop?
When sealed with a clear matte varnish, the phone can last for years. It’s not waterproof, but light handling and indoor display won’t damage it. For outdoor use, consider sealing with Mod Podge Outdoor or a spray sealer.
Can kids make this safely?
Absolutely—with supervision. Replace the box cutter with scissors for younger crafters, and use non-toxic glue and paints. Pre-cut templates can help streamline the process for group workshops.
Conclusion: Bring the Past to Life, One Brick at a Time
Crafting a homemade 80s mobile phone isn’t just about nostalgia—it’s about engaging with history through creativity. This project blends design, storytelling, and hands-on making into something tangible and fun. Whether you’re decorating a retro party, building a costume accessory, or surprising a tech enthusiast, the brick phone remains a timeless icon worth recreating.


 浙公网安备
33010002000092号
浙公网安备
33010002000092号 浙B2-20120091-4
Comments
No comments yet. Why don't you start the discussion?