
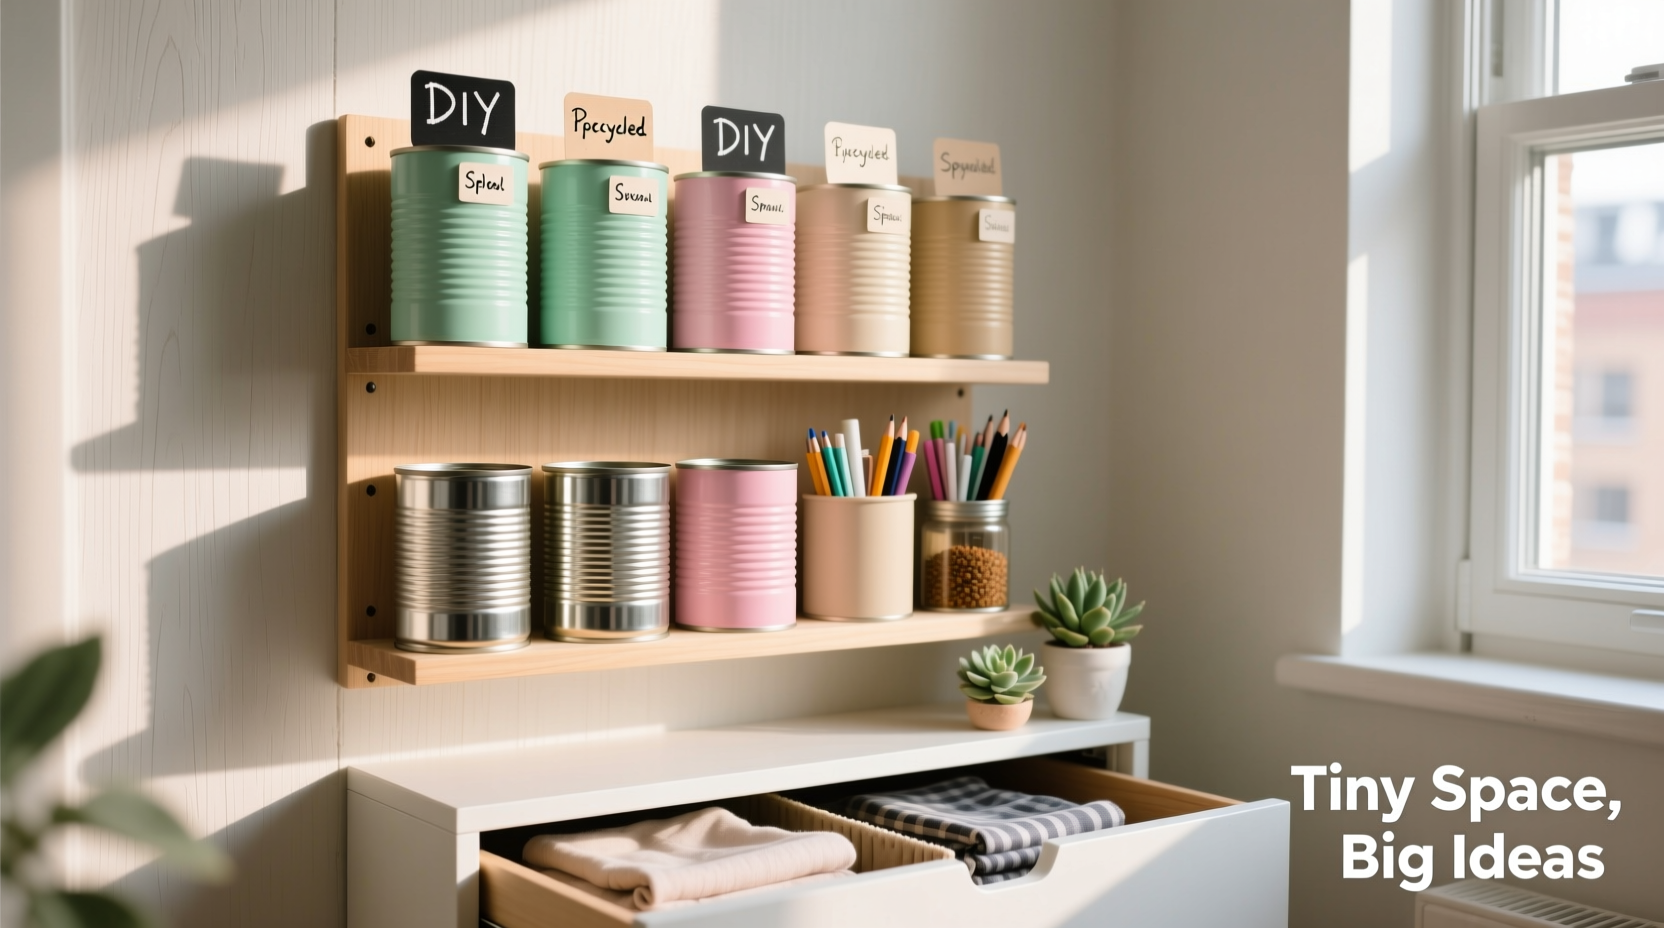
In small apartments, studio flats, or compact kitchens, every inch of space counts. Traditional storage solutions often take up more room than they save, but what if you could turn everyday waste into a functional, stylish organizational system? Recycled tin cans—once destined for the recycling bin—are emerging as one of the most versatile tools in urban DIY storage. Lightweight, durable, and endlessly customizable, cleaned tin cans can be repurposed into efficient shelf organizers that declutter countertops, drawers, and wall units without sacrificing aesthetics.
This guide explores how to transform ordinary tin cans into intelligent storage solutions tailored for tight spaces. From labeling systems to modular stacking designs, these practical hacks blend sustainability with smart design, helping you reclaim valuable surface area while reducing household waste.
Why Tin Cans Work for Small-Space Organization
Tin cans—commonly used for beans, soups, coffee, and vegetables—are typically made from steel coated with tin to prevent corrosion. Their cylindrical shape, uniform dimensions, and sturdiness make them ideal candidates for upcycling into storage containers. Unlike plastic alternatives, metal cans resist warping under heat and weight, making them suitable for both kitchen and office environments.
Urban dwellers face unique challenges: limited cabinet depth, shared surfaces, and multi-functional rooms. In such settings, verticality and accessibility become key. Tin cans offer an affordable way to create upright storage that maximizes height rather than footprint. When grouped on shelves or mounted to boards, they form compartmentalized zones that keep similar items together and visible at a glance.
“Upcycling common household items like tin cans not only reduces landfill waste but fosters creativity in problem-solving spatial constraints.” — Lena Patel, Sustainable Interior Designer & Author of *Compact Living*
Step-by-Step Guide: Turning Tin Cans into Shelf Organizers
Creating functional organizers from tin cans requires minimal tools and time. Follow this detailed process to ensure safety, durability, and visual appeal.
- Collect and clean cans: Save cans from food use (avoid those with BPA-lined interiors if storing edibles). Remove labels by soaking in warm soapy water. Scrub thoroughly inside and out, then dry completely.
- Safety first—smooth sharp edges: Use sandpaper or a metal file to round off the top rim. This prevents cuts during handling and enhances user-friendliness, especially in shared spaces.
- Decide on placement: Will they sit freely on a shelf, be glued to a backing board, or hang from a rail? Measure your shelf depth and height clearance before proceeding.
- Customize size (optional): For shorter containers, use tinsnips to cut cans down. Always wear gloves and eye protection when cutting metal.
- Decorate: Paint with chalkboard, matte, or metallic spray paint. Allow full drying time between coats. You can also wrap cans in fabric, twine, or washi tape for texture.
- Add labels: Use adhesive labels, write directly on painted surfaces with paint pens, or apply chalkboard stickers for changeable tags.
- Arrange and secure: Group cans by function. To prevent tipping, glue bases to a wooden tray or mount cans side-by-side on a backer board using strong epoxy.
Clever Hacks for Maximum Utility in Tiny Spaces
Beyond basic pen holders or spice jars, tin cans can be adapted into specialized organizers based on room-specific needs. Here are some innovative applications:
- Kitchen countertop spice rack: Arrange seven to ten small cans (like tuna or tomato paste) on a narrow tray. Label each with a common spice. Keeps bottles upright and visible without drawer clutter.
- Under-shelf hanging baskets: Attach heavy-duty adhesive hooks to the base of cleaned cans. Hang them beneath floating shelves to store tea bags, utensils, or snacks—freeing up prime surface area.
- Stackable modular units: Choose cans with slightly varying diameters (e.g., large coffee can nested around smaller veggie cans). Stack vertically with rubber gaskets between layers to reduce noise and slippage.
- Magnetic backs for fridge or rail mounting: Glue small magnetic sheets to the back of painted cans. Mount on refrigerators or steel rails in laundry areas to hold pins, buttons, or cleaning cloths.
- Drawer dividers: Cut cans lengthwise to create half-cylinder trays. Place horizontally in deep drawers to separate batteries, cords, or jewelry.
These hacks emphasize adaptability. Because tin cans come in standard sizes—from 15 oz vegetable cans to 30 oz coffee tins—you can mix and match based on available space and storage demands.
Do’s and Don’ts: Best Practices for Long-Term Use
To maintain both functionality and appearance over time, follow these guidelines when using recycled cans in shelf organization.
| Do’s | Don’ts |
|---|---|
| ✓ Sand all open edges for safety | ✗ Leave sharp rims exposed |
| ✓ Use non-toxic paints and sealants | ✗ Apply flammable finishes near stoves |
| ✓ Dry cans thoroughly after cleaning | ✗ Store damp cans—they may rust |
| ✓ Label clearly for quick identification | ✗ Overfill cans, causing instability |
| ✓ Secure clusters to prevent tipping | ✗ Place heavy cans on weak shelves |
Real-Life Example: A Studio Apartment Kitchen Revamp
Sophie, a graphic designer living in a 380-square-foot Brooklyn studio, struggled with a cluttered kitchen counter. Her spices were buried in a drawer, cooking oils took up half her stovetop, and utensils spilled from a ceramic holder. With no pantry or island, she needed solutions that didn’t require drilling or major purchases.
She collected eight tin cans—four medium-sized (15 oz), three tall (28 oz), and one large coffee can. After removing labels and sanding edges, she spray-painted them white with gold accents to match her minimalist decor. Using a wooden cutting board as a base, she arranged the cans in two rows: the larger ones at the back held spatulas and whisks; the middle row stored olive oil, vinegar, and honey in repurposed glass bottles; the front row featured labeled spices.
The entire unit measured just 14 x 8 inches—smaller than a toaster—and sat neatly beside her sink. By grouping related items and elevating them off the counter, Sophie freed up enough space to prep meals comfortably. “It looks intentional, not makeshift,” she said. “Plus, I feel good knowing I reused something that would’ve been trash.”
Checklist: Build Your Own Tin Can Organizer in One Hour
Follow this concise checklist to complete a functional shelf organizer quickly and efficiently:
- ☐ Gather 5–10 clean tin cans of similar or complementary sizes
- ☐ Remove labels and wash cans with soap and water
- ☐ Dry completely and sand any sharp edges
- ☐ Choose a color scheme and apply 2–3 coats of spray paint
- ☐ Add labels using stickers, markers, or chalkboard paint
- ☐ Select a base (wooden board, tray, or wall mount)
- ☐ Arrange cans for optimal balance and accessibility
- ☐ Secure cans to base with waterproof epoxy or strong adhesive
- ☐ Let cure for 24 hours before loading
- ☐ Place on shelf and fill with designated items
This project is beginner-friendly and costs less than $10 if you already have basic supplies. It's also easily expandable—create matching sets for bathroom, office, or garage use.
Frequently Asked Questions
Can I use tin cans for storing food long-term?
No. Once opened and cleaned, tin cans are not designed for long-term food storage due to potential rust and lack of proper sealing. They’re best used for dry goods like spices, tea, or baking ingredients that will be used within a few weeks. Always line them with parchment paper or reusable silicone cups if contact with food is unavoidable.
How do I prevent rust on my recycled can organizers?
Rust occurs when moisture meets bare metal. To prevent it, ensure cans are fully dried before use, avoid placing them near sinks or stoves where steam accumulates, and apply a protective coating like clear polyurethane spray. If rust appears, gently scrub with vinegar, rinse, dry, and reseal the affected area.
Are there eco-friendly alternatives to spray paint?
Yes. Consider milk paint, which is biodegradable and low-VOC, or use decorative paper wraps secured with PVA glue. Fabric scraps or jute twine wrapped around cans offer texture without chemicals. These options are safer for indoor air quality and align better with zero-waste principles.
Final Thoughts: Small Changes, Big Impact
Living in a small space doesn’t mean compromising on order or style. By reimagining discarded materials like tin cans, you gain control over your environment in a sustainable, budget-conscious way. These organizers aren’t just temporary fixes—they evolve into personalized systems that reflect your habits and aesthetic preferences.
The beauty of this approach lies in its scalability. Start with one shelf, then expand to other areas. Combine tin cans with other upcycled elements—glass jars, wooden crates, or old drawer pulls—to build a cohesive, clutter-free home. Each can you repurpose is a step toward mindful consumption and smarter design.


 浙公网安备
33010002000092号
浙公网安备
33010002000092号 浙B2-20120091-4
Comments
No comments yet. Why don't you start the discussion?