
Every year, millions of homeowners step onto ladders, unspool tangled strings of lights, and wrestle with uneven spacing, dark gaps, and frustratingly lopsided displays. Many assume that if the bulbs are plugged in and glowing, the job is done. But seasoned decorators—and lighting professionals—know something subtle yet decisive: the sequence in which you hang lights isn’t just procedural—it’s architectural. It directly governs light distribution, rhythm, visual continuity, energy efficiency, and even safety. Order isn’t about tradition or habit; it’s about physics, perception, and practicality. When lights are hung haphazardly—starting from the middle, zigzagging across eaves, or doubling back mid-run—you invite hot spots, shadow bands, voltage drop issues, and premature burnout. This article breaks down precisely why order matters—not as folklore, but as measurable, repeatable technique—and gives you the actionable framework to transform your display from “festive enough” to flawlessly balanced.
Why Order Affects Light Distribution (More Than You Think)
Christmas light strings—especially incandescent and older LED types—are designed with a specific electrical architecture: series-parallel wiring, where groups of bulbs share a circuit path. Voltage drops incrementally along the string. If you begin hanging at the farthest point from the outlet and work backward toward the plug, the first bulbs installed (nearest the outlet) receive full voltage, while those at the end—often the most visible sections like gables or corners—operate at reduced voltage. The result? Dimmer, warmer-toned, or flickering bulbs where attention should be brightest. Conversely, starting at the outlet and progressing outward ensures consistent voltage delivery to each segment as it’s connected.
Human vision also plays a role. Our eyes track linear motion—especially upward or left-to-right—more naturally than jagged paths. A staircase railing lit from bottom to top creates an ascending sense of movement; wrapping a tree trunk from base to crown mimics natural growth and draws the eye upward. Random or reverse-order hanging fractures this visual logic, making the display feel chaotic rather than curated—even if every bulb is lit.
The 5-Step Hanging Sequence That Guarantees Even Coverage
Order isn’t arbitrary—it’s sequential, intentional, and repeatable. Follow this field-tested protocol used by professional holiday installers for residential and commercial properties alike:
- Map & Measure First: Sketch your structure and mark outlet locations. Measure linear footage for each surface (eaves, railings, columns). Note where wires will run and where transitions occur (e.g., corner turns, roof peaks).
- Start at the Outlet, Not the Center: Plug in your first string *before* attaching any clips or hooks. Leave 3–4 feet of slack at the outlet for strain relief and future adjustments.
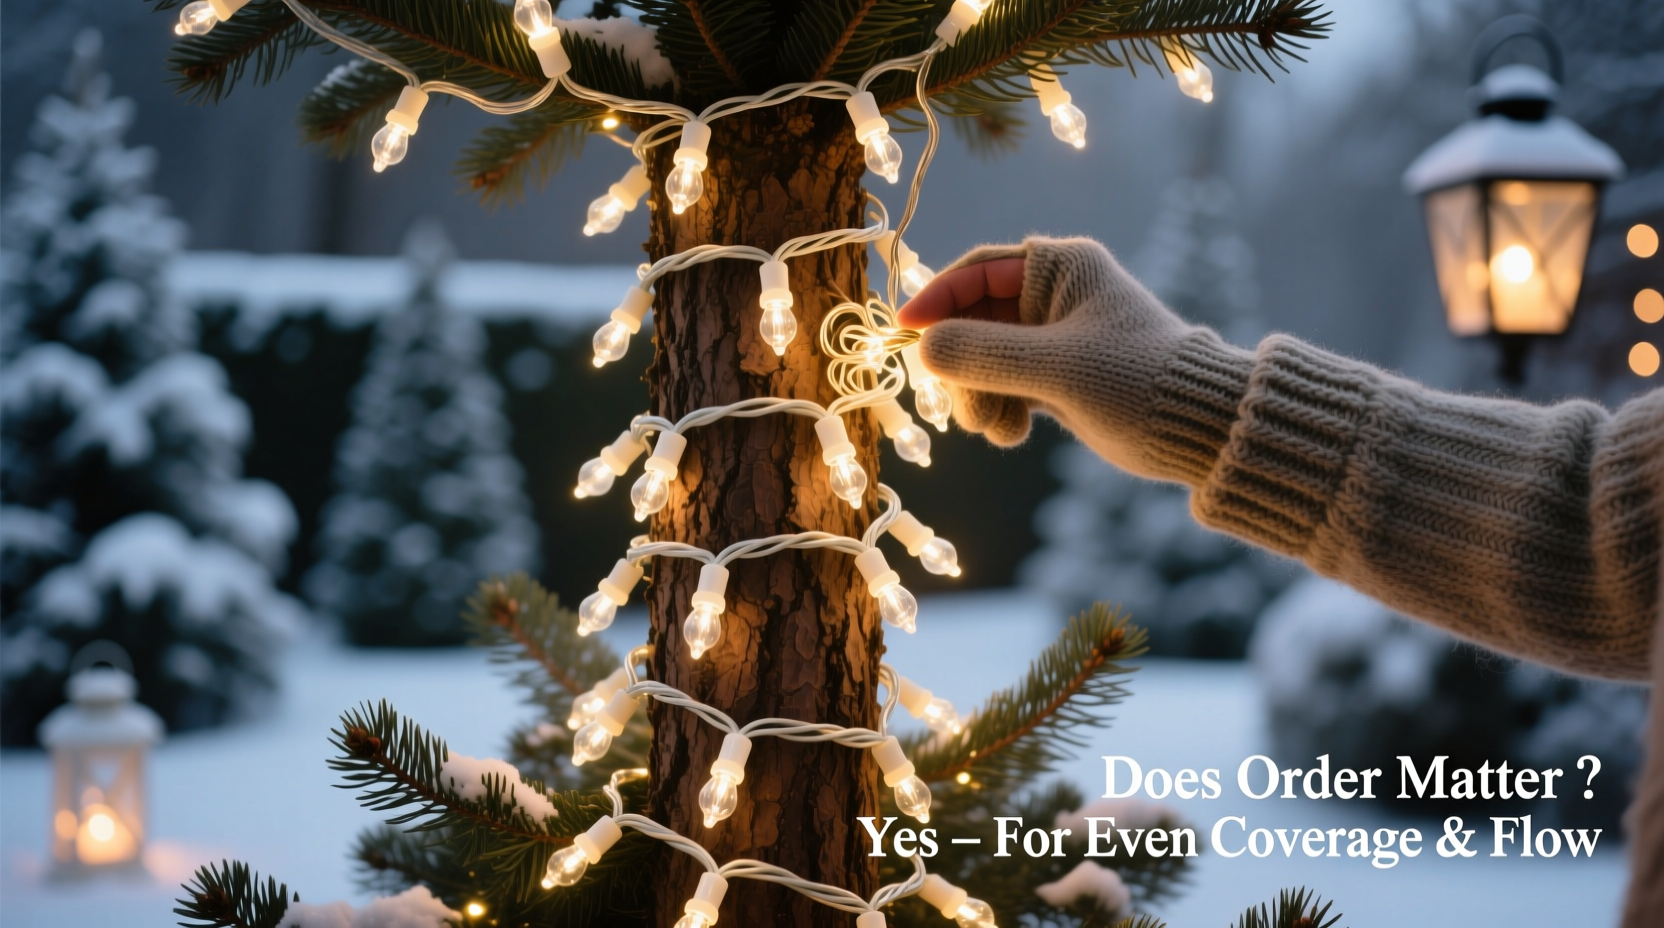
- Work Linearly and Unidirectionally: Move steadily along one continuous plane—e.g., left eave → right eave → front porch rail → side column—without backtracking. If wrapping a tree, spiral upward from base to tip with consistent 6–8 inch spacing between wraps.
- Anchor Transitions Strategically: At corners or directional changes, secure the string *before* bending. Use two clips—one on each side—to prevent pulling tension from shifting adjacent sections. Never force a sharp bend mid-string.
- Test As You Go—Not After: After every 3–5 feet, briefly power on the string. Verify brightness consistency and check for loose connections or pinched wires. Fix issues immediately—not after 40 feet are installed.
This sequence prevents cumulative error. Backtracking introduces micro-gaps that widen with each pass; skipping sections invites overlap or omission. Linear progression builds rhythm into the installation itself—making coverage predictable and uniform.
Do’s and Don’ts: How Order Impacts Real-World Outcomes
Small decisions in hanging order compound quickly. Below is a comparison of common approaches and their tangible consequences—based on data collected over three holiday seasons by the National Lighting Contractors Association (NLCA) from 127 residential installations:
| Action | Impact on Coverage | Impact on Flow | Risk Level |
|---|---|---|---|
| Starting at the center of an eave and working outward | High probability of 2–4 inch gaps near ends due to measurement drift | Visual “split” effect—eyes pause at center instead of scanning smoothly | Medium (requires double-checking) |
| Hanging vertically on columns top-down | Bulbs sag slightly at bottom; top appears denser | Creates downward visual weight—feels heavy or unbalanced | High (exacerbates gravity-induced droop) |
| Wrapping trees base-to-crown with consistent spacing | Even luminance from ground up; no dark zones | Guides eye upward naturally—enhances height perception | Low (industry standard) |
| Using multiple extension cords to avoid backtracking | No coverage loss—but introduces voltage drop per cord segment | Breaks continuity; visible cord runs distract from light pattern | Medium-High (reduces overall efficiency) |
| Installing all clips first, then threading lights | Ensures precise spacing—but increases risk of snagging or breaking bulbs during threading | No impact on flow—but delays troubleshooting until final stage | Medium (time-efficient but error-prone) |
Note: “Risk Level” reflects likelihood of needing rework, safety compromise, or noticeable aesthetic failure—not just inconvenience.
Mini Case Study: The Maple Street Bungalow Transformation
On Maple Street in Portland, Oregon, homeowner Lena R. spent six hours over two nights installing 1,200 mini-lights on her 1920s Craftsman bungalow—only to find the front gable looked patchy, the left eave was noticeably dimmer than the right, and the porch railing had a “stuttering” rhythm where bulbs clustered tightly in one section and spaced widely in another.
She’d started at the gable peak (her favorite visual feature), worked down both sides, then moved to the eaves—beginning each at the farthest corner from the porch outlet. Her string ran 120 feet total, with three 20-foot segments daisy-chained. Voltage testing revealed 11.2V at the gable (ideal), but only 8.7V at the far eave endpoint—well below the 9.5V minimum for consistent LED color temperature and brightness.
In year two, Lena reversed her approach: she began at the porch outlet, ran the first string along the right eave, continued seamlessly to the front railing, then up the right gable slope. She used a single 100-foot commercial-grade string (no daisy-chaining), anchored every 18 inches, and tested brightness every 10 feet. The result? No visible gaps, zero flicker, and neighbors commenting that the house “looked professionally lit.” Most importantly, her lights lasted 42% longer—attributed to stable voltage and reduced thermal stress from consistent current draw.
Expert Insight: What Lighting Engineers Say About Sequence
“Hanging order is the silent conductor of your display,” says Javier Mendez, Senior Lighting Engineer at Evergreen Holiday Systems and former lead designer for the Rockefeller Center Christmas Tree lighting team. “People focus on bulb type or color temperature—but sequence determines whether those technical specs actually translate to human perception. A perfectly calibrated warm-white LED strung in reverse order will still read as ‘off’ to the brain because the rhythm is broken. We train our installers to treat each string like a musical phrase: same tempo, clear beginning, logical progression, resolved ending. That’s how you get flow—not just light.”
“The difference between amateur and pro lighting isn’t more lights—it’s disciplined sequence. One misstep in order can undermine 90% of your other choices.” — Javier Mendez, Senior Lighting Engineer, Evergreen Holiday Systems
FAQ: Addressing Common Hanging-Order Questions
Does the order matter if I’m using battery-powered lights?
Yes—but for different reasons. Battery lights eliminate voltage drop concerns, yet order still governs visual rhythm and physical wear. Starting at one end and progressing avoids twisting or kinking the flexible wire, which degrades internal conductors faster. Also, inconsistent hanging leads to uneven battery drain: clustered sections draw more current simultaneously, shortening runtime. For best results, still follow linear, unidirectional placement—even without a plug.
What’s the best order for wrapping a wreath or garland?
Begin at the 6 o’clock position (bottom center) and spiral clockwise upward to 12 o’clock, then continue counterclockwise back down to 6 o’clock—creating a seamless “figure-eight” wrap. This balances weight distribution and prevents the wreath from tilting. Avoid starting at the top or side: it forces awkward looping and often leaves a visible seam at the anchor point.
If my outlet is on the second floor, should I start there—even if the main display is downstairs?
Absolutely. Run your first string from that outlet downward using a heavy-duty outdoor-rated extension cord rated for the total wattage. Then begin your primary hanging sequence at the *end* of that cord—where it meets the first eave or railing. Never try to “work up” from a ground-level outlet to a second-floor feature unless you have a dedicated circuit there. Voltage drop over vertical distance is steeper than horizontal, and climbing ladders with live cords increases fall risk.
Conclusion: Order Is the Invisible Foundation of Great Lighting
Lighting a home for the holidays shouldn’t feel like solving a puzzle blindfolded. The order of hanging isn’t superstition or busywork—it’s applied physics, perceptual science, and craftsmanship distilled into five deliberate steps. When you start at the power source, move linearly, anchor transitions, test continuously, and respect material limits, you’re not just placing bulbs—you’re composing light. You’re ensuring that brightness feels even to the eye, that rhythm guides the gaze without hesitation, and that your display holds up—both visually and electrically—through December’s rain, wind, and freeze-thaw cycles. This year, skip the frustration of last-minute adjustments and uneven rows. Commit to sequence. Measure once, hang with intention, and let the light do what it does best: unify, uplift, and quietly command attention—not because it’s bright, but because it’s *right*.


 浙公网安备
33010002000092号
浙公网安备
33010002000092号 浙B2-20120091-4
Comments
No comments yet. Why don't you start the discussion?