
If your dryer is running but your clothes come out damp or even cold, frustration sets in fast. You’ve washed them, loaded the machine, and waited through a full cycle—only to find wet fabric that might as well have never been in the dryer. This issue is more common than you think, and in many cases, it's not a sign of a broken appliance. Often, the root cause is something simple and fixable with basic tools and a little know-how.
Before calling a technician or shopping for a new dryer, take time to diagnose the problem systematically. Most drying issues stem from airflow restrictions, heating problems, or user habits. Addressing these can restore your dryer’s performance quickly—and save you hundreds of dollars.
How Dryers Work: A Quick Overview
To understand why a dryer isn’t doing its job, it helps to know how it functions. Electric and gas dryers both rely on two core systems: heat and airflow. The heating element (or gas burner) warms the air, while the blower fan pulls that hot air through the drum and pushes moist air out through the exhaust vent. As damp clothes tumble, moisture evaporates and exits via the vent system.
If either heat generation or airflow is compromised, drying efficiency drops dramatically. A clogged vent may allow the dryer to run normally but prevent proper moisture removal. Similarly, if the heating component fails, the drum spins but no warmth is generated.
“Over 70% of dryer performance issues are related to restricted airflow. The lint trap is just the beginning—ductwork is where most blockages hide.” — Mark Reynolds, Appliance Repair Technician with 15+ years experience
Common Causes and How to Fix Them
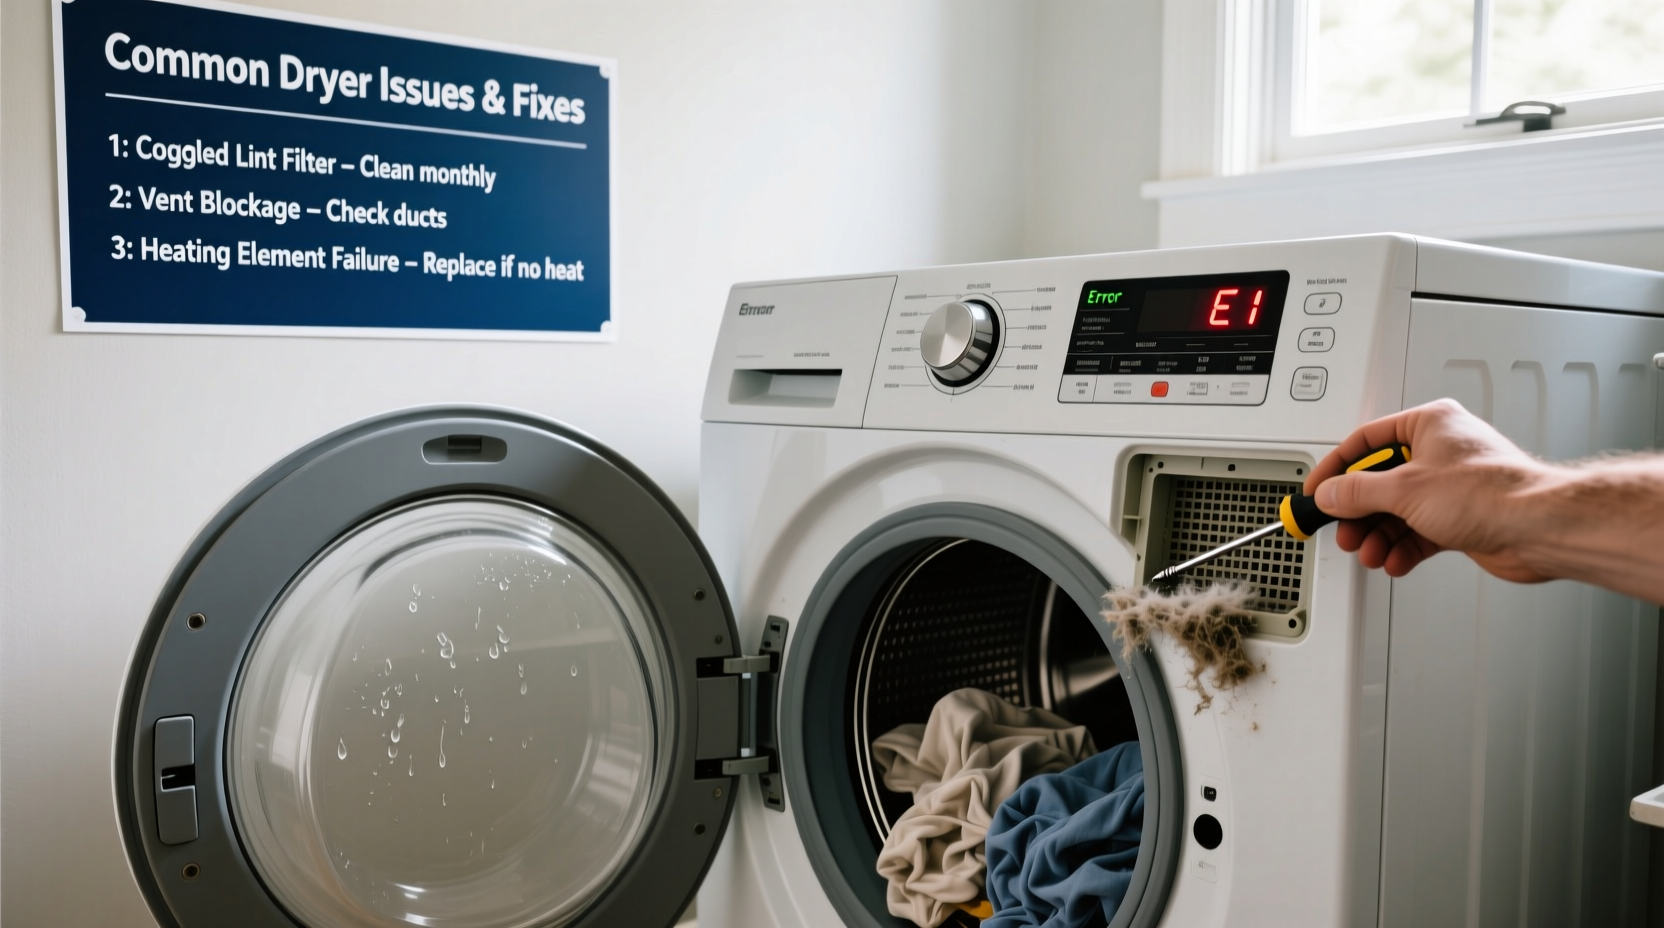
1. Clogged Lint Filter or Ductwork
The most frequent culprit behind poor drying performance is restricted airflow. While most people clean the lint screen after each load, few inspect the internal ducts. Over time, lint accumulates in the exhaust hose and wall vent, creating a blockage that traps moisture inside the dryer.
To check the ductwork:
- Unplug the dryer and move it away from the wall.
- Disconnect the exhaust hose from the back of the dryer.
- Inspect the hose for kinks, lint buildup, or crushing.
- Use a long-handled brush or vacuum attachment to clear debris.
- Check the outdoor vent flap—ensure it opens freely and isn’t blocked by bird nests or leaves.
2. Improper Venting Materials
Many homes use plastic or foil accordion-style ducts, which are prone to sagging, kinking, and collecting lint. These flexible materials restrict airflow far more than rigid metal ducts.
| Venting Material | Airflow Efficiency | Durability | Fire Risk |
|---|---|---|---|
| Plastic/PVC | Poor | Low | High |
| Foil Flex Duct | Fair | Medium | Moderate |
| Rigid Metal (Aluminum) | Excellent | High | Low |
For best results, replace accordion-style ducts with rigid or semi-rigid aluminum tubing. Keep runs as short and straight as possible—each bend increases resistance.
3. Overloading the Dryer
Jamming too many clothes into the drum limits tumbling action and air circulation. Wet garments packed tightly won’t separate enough to expose all surfaces to heat and airflow.
As a rule, fill the dryer only ¾ full. Large loads should be divided, especially bulky items like comforters or towels. Overloading also strains the motor and increases drying time, raising energy costs.
4. Worn or Damaged Drum Seals and Rollers
The dryer drum rotates on rollers and is sealed against the cabinet to maintain internal temperature. If the seal is cracked or worn, hot air escapes before it can dry the clothes. Similarly, worn rollers make the drum sit unevenly, reducing airflow through the load.
Symptoms include:
- Loud thumping or grinding during operation
- Visible gaps around the drum edges
- Clothes taking progressively longer to dry
Replacing seals and rollers is a moderate DIY task. Kits are available online using your model number. Always unplug the unit before disassembling.
5. Faulty Heating Components
If the dryer runs but produces no heat, the issue lies within the heating system. In electric dryers, this could be a blown thermal fuse, failed heating element, or malfunctioning thermostat. Gas dryers may have issues with the igniter or gas valve coils.
To test for heat:
- Run the dryer on high heat for 10 minutes.
- Open the door and place your hand near the drum.
- If no warmth is felt, the heating system needs inspection.
Use a multimeter to test continuity in the thermal fuse and heating element. Replacement parts are affordable and often require only basic screwdrivers and pliers.
Step-by-Step Diagnostic Checklist
Follow this sequence to identify and resolve the issue efficiently:
- ✅ Clean lint filter thoroughly
- ✅ Inspect and clear exhaust hose and outdoor vent
- ✅ Replace flimsy ducting with rigid metal pipe
- ✅ Reduce load size and avoid over-drying
- ✅ Check for error codes (on digital models)
- ✅ Test for heat output during cycle
- ✅ Examine drum seals and rollers for wear
- ✅ Verify voltage supply (for electric dryers)
- ✅ Reset circuit breaker or check fuses
- ✅ Call a technician if heating components are faulty
Real-World Example: The Case of the 3-Hour Drying Cycle
Sarah from Portland noticed her towels were never fully dry after a standard cycle. She began doubling the time, then adding a second run—until one day, the dryer stopped producing heat entirely.
After moving the unit, she found the foil exhaust duct pinched behind the machine. Cleaning the lint trap wasn’t enough; six inches of compacted lint filled the crimped section. Once replaced with a rigid aluminum duct and the vent cleared outside, drying time dropped from three hours to 45 minutes. The heating element had survived only because the thermal fuse cut power before overheating caused permanent damage.
This case highlights how neglecting duct maintenance escalates small issues into major failures.
When to Call a Professional
While many fixes are DIY-friendly, some problems require expert handling:
- Gas line leaks or igniter replacement in gas dryers
- Electrical issues involving wiring or control boards
- Repeated thermal fuse blowouts (indicates deeper airflow fault)
- No power to the dryer despite reset breakers
Attempting repairs without proper knowledge can create fire hazards or void warranties. If you’re unsure, consult a certified technician.
Frequently Asked Questions
Why does my dryer take two cycles to dry clothes?
This usually indicates reduced airflow or mild heating failure. Start by cleaning the entire vent path and checking the outdoor exhaust. If airflow is clear, test the heating element and thermostats.
Can a clogged dryer vent be dangerous?
Yes. Restricted vents cause dryers to overheat, increasing fire risk. The U.S. Fire Administration reports nearly 15,000 dryer fires annually, most due to lint buildup. Regular cleaning prevents this hazard.
Is it worth repairing an older dryer?
If your dryer is over 10–12 years old and requires major part replacements (like a motor or control board), replacement may be more cost-effective. However, simple fixes like cleaning vents or replacing seals can extend life significantly.
Final Thoughts and Action Plan
A dryer that isn’t drying properly doesn’t always mean replacement. In most cases, the solution lies in overlooked maintenance or minor mechanical faults. By addressing airflow first—cleaning filters, ducts, and vents—you’ll resolve the majority of issues. Then, assess load habits and inspect mechanical components like seals and heating elements.
Regular upkeep not only improves performance but also enhances safety and energy efficiency. Make duct cleaning part of your seasonal home maintenance routine, just like changing HVAC filters or servicing your furnace.


 浙公网安备
33010002000092号
浙公网安备
33010002000092号 浙B2-20120091-4
Comments
No comments yet. Why don't you start the discussion?