
Cutting drywall on a wall is a common task during renovations, whether you're installing outlets, vents, or making space for new fixtures. While drywall is relatively soft and easy to work with, cutting it cleanly—without damaging surrounding areas or creating excessive dust—requires technique and the right tools. Many DIYers rush this step, leading to jagged edges, weakened structures, or time-consuming repairs. With the correct approach, however, you can achieve clean, accurate cuts that look professional and require little finishing.
Essential Tools for Cutting Drywall
The success of any drywall cut begins with having the right tools on hand. Using improper or dull equipment leads to imprecise lines, crumbling edges, and unsafe working conditions. Here’s what you’ll need:
- Tape measure and pencil: For accurate marking.
- Utility knife: A sharp blade is critical for scoring drywall paper and cutting through the gypsum core. li> Keyhole saw or jab saw: Ideal for starting interior cuts and navigating tight spaces.
- Drywall T-square or straightedge: Ensures straight, level cuts.
- Stud finder: Helps avoid cutting into structural supports or electrical wiring.
- Dust mask and safety goggles: Protects against inhalation of fine particles and eye injuries.
- Sandpaper (100–120 grit): For smoothing rough edges after cutting.
Step-by-Step Guide to Cutting Drywall on a Wall
Cutting drywall doesn’t have to be messy or intimidating. Follow this proven process to make precise openings safely and efficiently.
- Locate studs and utilities: Use a stud finder and voltage detector to identify where framing members and electrical wires are located. Mark these clearly to avoid damage.
- Measure and mark your cut: Use a tape measure and level to draw the outline of the opening. Double-check dimensions before proceeding.
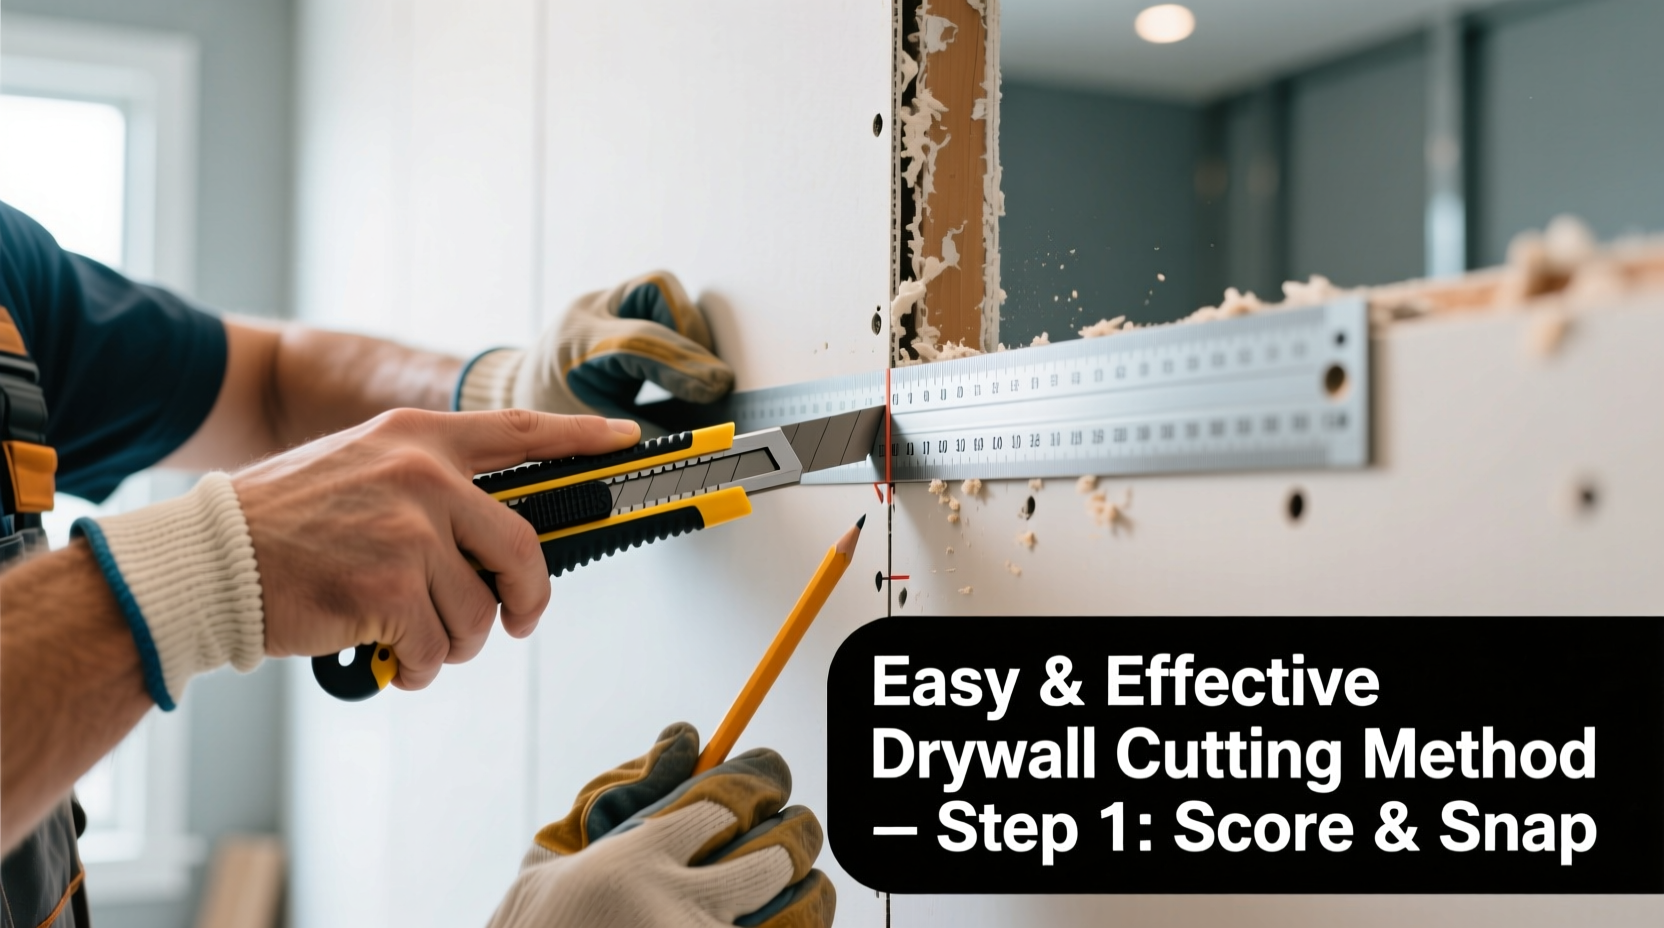
- Score the face paper: Place a straightedge along the line and score the front paper layer using a sharp utility knife. Apply firm, steady pressure for a clean cut.
- Puncture the center: Use a jab saw to start in the middle of the area to be removed. Push gently until the blade breaks through.
- Cut along the lines: Carefully follow the marked lines with the keyhole saw. Keep movements controlled to prevent tearing the paper edge.
- Remove the section: Once the perimeter is cut, gently push the piece out from the backside if possible, minimizing stress on the front paper.
- Smooth the edges: Use sandpaper to remove burrs and create a flush edge for taping and mudding.
“Precision starts before the first cut. Accurate measurements and awareness of what’s behind the wall separate amateur jobs from pro-level results.” — Carlos Mendez, Residential Remodeling Contractor with 18 years of experience
Do’s and Don’ts When Cutting Drywall
Avoid common mistakes by following these guidelines. The difference between a clean renovation and a repair nightmare often comes down to small decisions made during the cutting phase.
| Do | Don’t |
|---|---|
| Use a sharp utility knife to score the surface before cutting. | Use a serrated kitchen knife or scissors—these tear the paper and weaken the board. |
| Double-check measurements and use a level for straight lines. | Assume walls are perfectly plumb—always verify alignment visually and with tools. |
| Wear a dust mask and goggles to protect yourself. | Work without protection—drywall dust contains silica and irritants. |
| Support the drywall when removing large sections to prevent cracking. | Pull aggressively on cut pieces, especially near edges or corners. |
| Seal off the room to minimize dust spread. | Ignore cleanup—drywall dust settles everywhere and can damage electronics. |
Real-World Example: Installing a Recessed Medicine Cabinet
Jessica was updating her bathroom and wanted to install a recessed medicine cabinet between two existing studs. She measured the cabinet carefully and transferred the dimensions to the wall. Instead of guessing stud locations, she used a stud finder and confirmed there was enough space between them.
She scored the front paper on all four sides using a T-square and fresh utility blade. Then, she used a jab saw to pierce the center and cut inward toward each corner. By controlling the angle of the saw, she avoided nicking the adjacent tiles. After removing the section, she sanded the edges lightly and checked fit—perfect on the first try.
Because she took time to plan and cut precisely, Jessica saved hours on patchwork and achieved a seamless installation. Her contractor later commented that it looked like factory-installed cabinetry.
Alternative Methods for Specific Situations
Not all drywall cuts are the same. Depending on the job, different techniques yield better results.
- For circular cuts (e.g., vent covers): Use a hole saw attached to a drill. Mark the center point, set the pilot bit, and apply slow, steady pressure. Support the drywall from behind as the bit exits.
- For long straight cuts: Score deeply with a utility knife along a straightedge, then snap the drywall backward at the break. Cut the back paper with a knife to complete the separation.
- For intricate shapes: A rotary tool with a carbide-grit bit offers precision for curves or notches. It produces more dust, so wear full PPE and use a shop vacuum nearby.
Checklist: Preparing to Cut Drywall
- ✅ Locate studs and check for wiring or plumbing
- ✅ Measure and mark cutout accurately
- ✅ Gather tools: utility knife, straightedge, jab saw, dust mask, goggles
- ✅ Score front paper along all cut lines
- ✅ Start cut from the center using a jab saw
- ✅ Remove section carefully and sand edges
- ✅ Clean up dust thoroughly before next step
Frequently Asked Questions
Can I cut drywall without making a mess?
Yes, though some dust is inevitable. To minimize mess, score thoroughly with a sharp blade, use a shop vacuum held close to the cut line, and seal off the room with plastic sheeting. Cutting slowly also reduces airborne particles.
What should I do if I cut too large an opening?
If the hole exceeds the intended size, don’t panic. Small gaps can be filled with joint compound. Larger ones may require adding backing strips screwed into the surrounding studs, then applying a new patch of drywall over it before taping and finishing.
Is it safe to cut near electrical outlets?
Only if the power is turned off at the breaker. Even then, use extreme caution. Never assume wire paths based on outlet position—use a non-contact voltage tester and consider consulting an electrician if unsure.
Master the Cut, Elevate Your Project
Cutting drywall on a wall is more than just making a hole—it's about maintaining structural integrity, achieving clean finishes, and setting up for a flawless final result. Whether you're a homeowner tackling a weekend upgrade or a tradesperson managing multiple installations, attention to detail at this stage pays dividends in time, cost, and appearance.
By using sharp tools, measuring twice, and respecting what lies behind the wall, you ensure every cut serves its purpose without compromise. These methods are field-tested, efficient, and accessible to anyone willing to take care.


 浙公网安备
33010002000092号
浙公网安备
33010002000092号 浙B2-20120091-4
Comments
No comments yet. Why don't you start the discussion?