
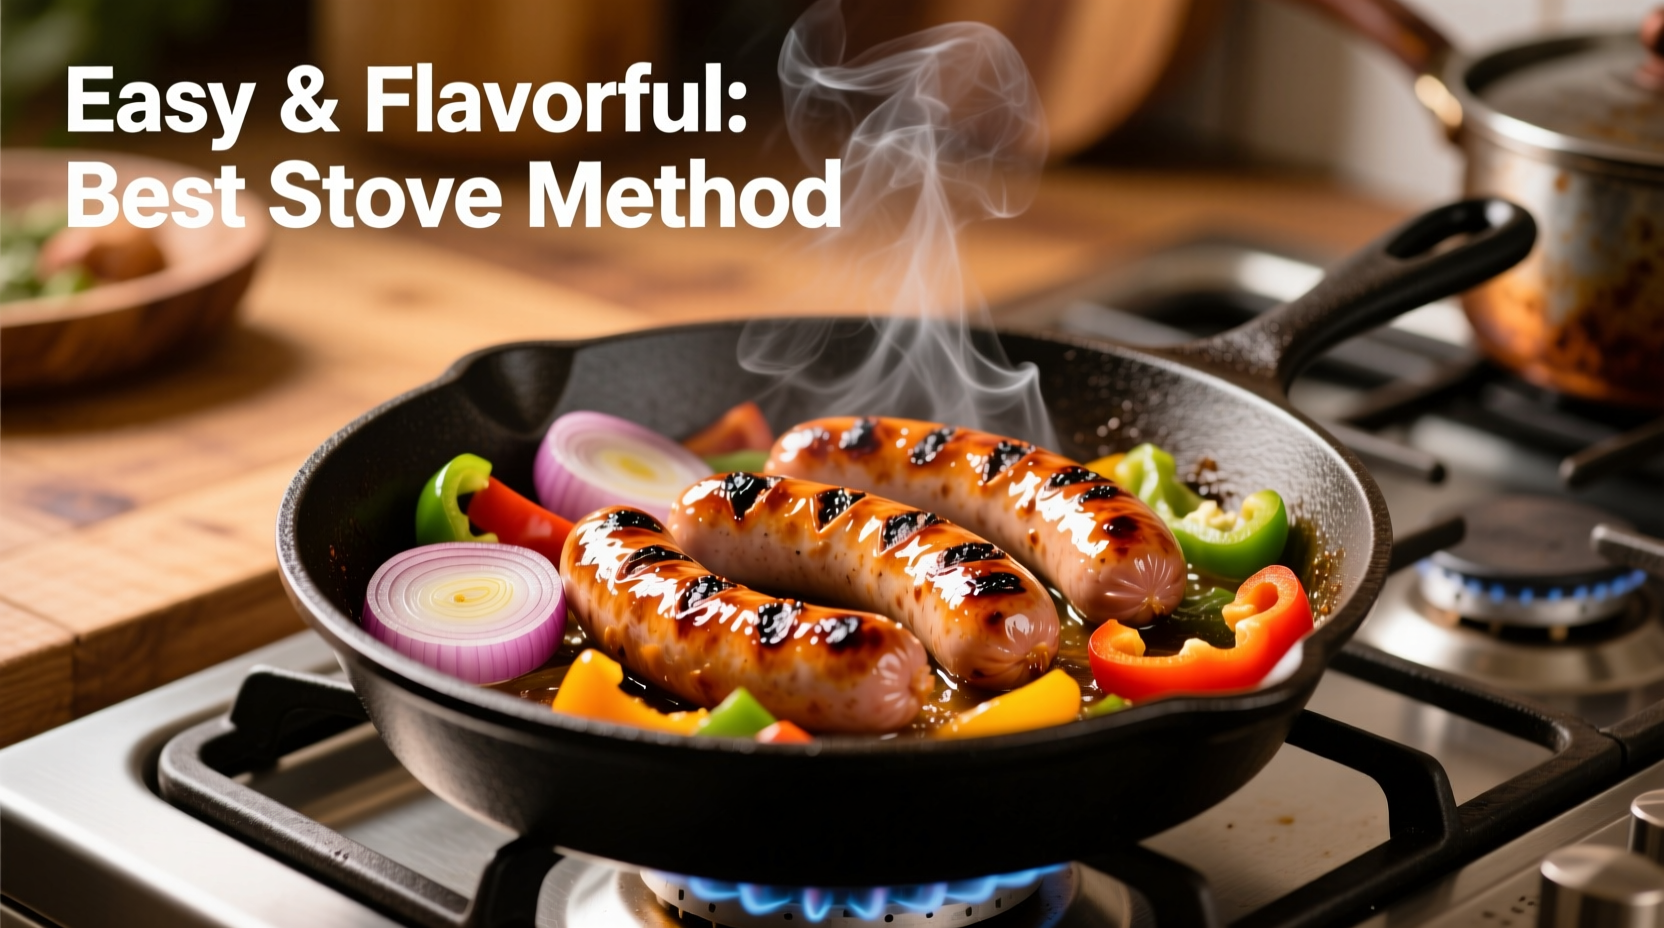
Cooking bratwurst on the stove is a practical, reliable method that delivers juicy, deeply flavored sausages—perfect for weeknights, game-day meals, or cozy dinners. While grilling often steals the spotlight, stovetop cooking offers more control, especially in colder months or when outdoor access is limited. With the right technique, you can achieve a caramelized crust, tender interior, and bold seasoning without drying out the meat. This guide walks through the most effective, flavor-forward approach to stove-cooked brats, backed by culinary logic and tested results.
The Science Behind Cooking Brats Properly
Bratwurst—typically made from coarsely ground pork, seasoned with garlic, nutmeg, and white pepper—requires careful heat management. Because it’s a fresh sausage (not pre-cooked), undercooking poses health risks, while overcooking leads to toughness and dryness. The ideal internal temperature is 160°F (71°C). However, hitting that number without sacrificing juiciness requires a two-stage process: poaching or simmering first, then searing.
When cooked solely over high heat, the exterior burns before the center reaches a safe temperature. Starting with gentle heat ensures even doneness throughout. Simmering in liquid also infuses additional flavor and prevents casing rupture. Once fully cooked, a quick sear locks in taste and creates a satisfying texture contrast.
“Never skip the simmer step with fresh brats. It’s not just about safety—it’s about achieving that plump, juicy bite every time.” — Chef Marcus Rinehart, Midwest Culinary Institute
Step-by-Step Guide: How to Cook Brats on the Stove
This method balances efficiency and depth of flavor, using common kitchen tools and ingredients. Follow these steps for consistently excellent results.
- Prep the brats: Remove from packaging and pat dry with paper towels. This helps the sear develop better later. Score the surface lightly with a knife if desired, though this isn’t necessary unless adding marinade.
- Choose your simmering liquid: In a large skillet, add enough liquid to cover the bottom ½ inch. Classic options include:
- Beer (lager or pilsner works best)
- Chicken broth with a splash of apple cider
- Onion-infused water with spices
- Add aromatics: Thinly slice one medium onion and scatter into the pan. Add 2–3 cloves of smashed garlic, 1 tsp whole mustard seeds, and a pinch of crushed red pepper for depth.
- Simmer gently: Place brats in the skillet, increase heat to medium-high, and bring liquid to a gentle boil. Reduce to low, cover, and simmer for 12–15 minutes. Turn brats once halfway through.
- Sear to finish: Uncover, increase heat to medium-high, and cook until liquid evaporates. Let brats brown on all sides, turning occasionally, for 4–5 minutes. Press slightly to maximize contact with the pan.
- Rest and serve: Remove from heat and let rest 3 minutes. Serve in buns with grilled onions, sauerkraut, or mustard.
Flavor Boosters That Make a Difference
The base method works well, but small enhancements elevate the dish from good to memorable. Consider these upgrades:
- Beer selection: A malty lager enhances sweetness; a dark beer like bock adds richness. Avoid overly hoppy IPAs—they can make the sauce bitter.
- Deglaze the pan: After removing brats, add ¼ cup beef broth and scrape up browned bits. Drizzle over sausages for an instant pan sauce.
- Butter finish: During the last minute of searing, add 1 tbsp butter and baste the brats. Adds silkiness and rounds out sharp flavors.
- Marinate briefly: Soak brats in beer, sliced onions, and pickling spices for 1–2 hours before cooking for deeper infusion.
Do’s and Don’ts When Cooking Brats on the Stove
| Do | Don't |
|---|---|
| Simmer in flavorful liquid (beer, broth, cider) | Boil vigorously—this can split casings |
| Use medium-low heat for simmering | Cook over high heat the entire time |
| Sear after simmering for color and texture | Pierce brats with a fork during cooking |
| Let brats rest before serving | Serve straight from high heat—can be tough |
| Add sliced onions and garlic to the pan | Overcrowd the skillet—limits browning |
Real Example: A Weeknight Dinner Rescue
Jamie, a home cook in Milwaukee, used to avoid brats because her early attempts left them rubbery or burnt. One rainy Tuesday, she tried the simmer-and-sear method outlined here. She used a mix of light beer and chicken broth, added onions and mustard seeds, and finished with a butter baste. The result? Her kids asked for seconds, and her husband said they tasted “better than at the summer festival.” She now rotates this as a monthly staple, experimenting with different beers and toppings.
This example shows how proper technique transforms a simple ingredient into a standout meal—even on a busy night.
Essential Checklist for Perfect Stovetop Brats
- ▢ Fresh bratwurst (chilled, not frozen)
- ▢ Skillet or frying pan with lid
- ▢ Beer, broth, or cider (1–2 cups)
- ▢ Onion, sliced
- ▢ Garlic, mustard seeds, optional spices
- ▢ Tongs for handling
- ▢ Meat thermometer (recommended)
- ▢ Resting plate (covered loosely with foil)
Frequently Asked Questions
Can I use frozen brats?
It’s best to thaw brats in the refrigerator overnight before cooking. If using frozen, extend the simmer time by 5–7 minutes to ensure even heating. Never place frozen brats directly into hot oil—they may burn outside and stay raw inside.
Are there vegetarian alternatives that work the same way?
Yes. Plant-based brats (like those from Beyond or Impossible) can be cooked using the same method, though they don’t require pre-simmering since they’re pre-cooked. Searing alone is sufficient, but simmering in flavorful liquid still boosts taste. Reduce simmer time to 5–7 minutes.
How do I know when brats are done without a thermometer?
If you don’t have a thermometer, cut into the thickest part of one brat. It should be white and firm with no pink center, and juices should run clear. However, cutting opens the casing and dries them out faster, so using a thermometer is strongly recommended for accuracy and moisture retention.
Final Tips for Consistent Success
Select high-quality brats from a trusted butcher if possible. Pre-packaged supermarket versions sometimes contain fillers or excess preservatives that affect texture. Look for natural casings—they provide a better “snap” when bitten. Always store brats in the coldest part of your fridge and use within two days of purchase unless frozen.
Leftovers can be sliced and refrigerated for up to 4 days. Reheat gently in a skillet with a splash of broth to restore moisture. They also work well chopped into hash, soups, or pasta dishes.
Conclusion
Cooking brats on the stove doesn’t need to be complicated to be delicious. By combining gentle simmering with a crisp sear, you preserve moisture while building layers of savory flavor. Whether you're feeding a family, hosting friends, or enjoying a solo comfort meal, this method delivers consistent, satisfying results. The key lies not in fancy equipment, but in understanding the rhythm of heat and timing.


 浙公网安备
33010002000092号
浙公网安备
33010002000092号 浙B2-20120091-4
Comments
No comments yet. Why don't you start the discussion?