
Creating your own accessories doesn’t have to be complicated or expensive. A simple DIY cat keychain ring is a playful way to personalize your everyday carry while expressing your love for felines. Whether you're new to crafting or looking for a relaxing weekend project, this beginner-friendly guide walks you through the entire process—from gathering supplies to adding finishing touches. With just a few basic materials and a bit of creativity, you’ll craft a charming keychain that’s both functional and full of personality.
Why Make a DIY Cat Keychain?
Handmade accessories offer more than convenience—they carry emotion, intention, and individuality. A cat-themed keychain isn't just practical; it's a tiny tribute to one of the world’s most beloved pets. For cat lovers, attaching a miniature feline charm to keys, bags, or zippers brings a smile every time it catches the light. Beyond sentiment, making your own keychain helps develop fine motor skills, encourages mindfulness, and reduces reliance on mass-produced items.
“Small handmade objects often hold more meaning than store-bought ones. They reflect care, time, and personal expression.” — Lila Nguyen, Craft Educator & Sustainable Lifestyle Advocate
Materials You’ll Need
The beauty of this project lies in its simplicity. Most supplies are affordable, reusable, and easy to find online or at local craft stores. Here’s what you’ll need to get started:
- Clay (polymer clay in white, gray, black, pink, or any color of choice)
- Acrylic rolling pin or glass bottle (for flattening clay)
- Small sculpting tools or toothpicks (for detailing)
- Keyring (metal or plastic, approximately 25–30mm diameter)
- Oven-safe baking sheet
- Parchment paper or silicone mat
- Sandpaper (fine grit, 400+)
- Clear acrylic sealer or glaze (optional)
- Paints and small brush (acrylic paints if desired for extra detail)
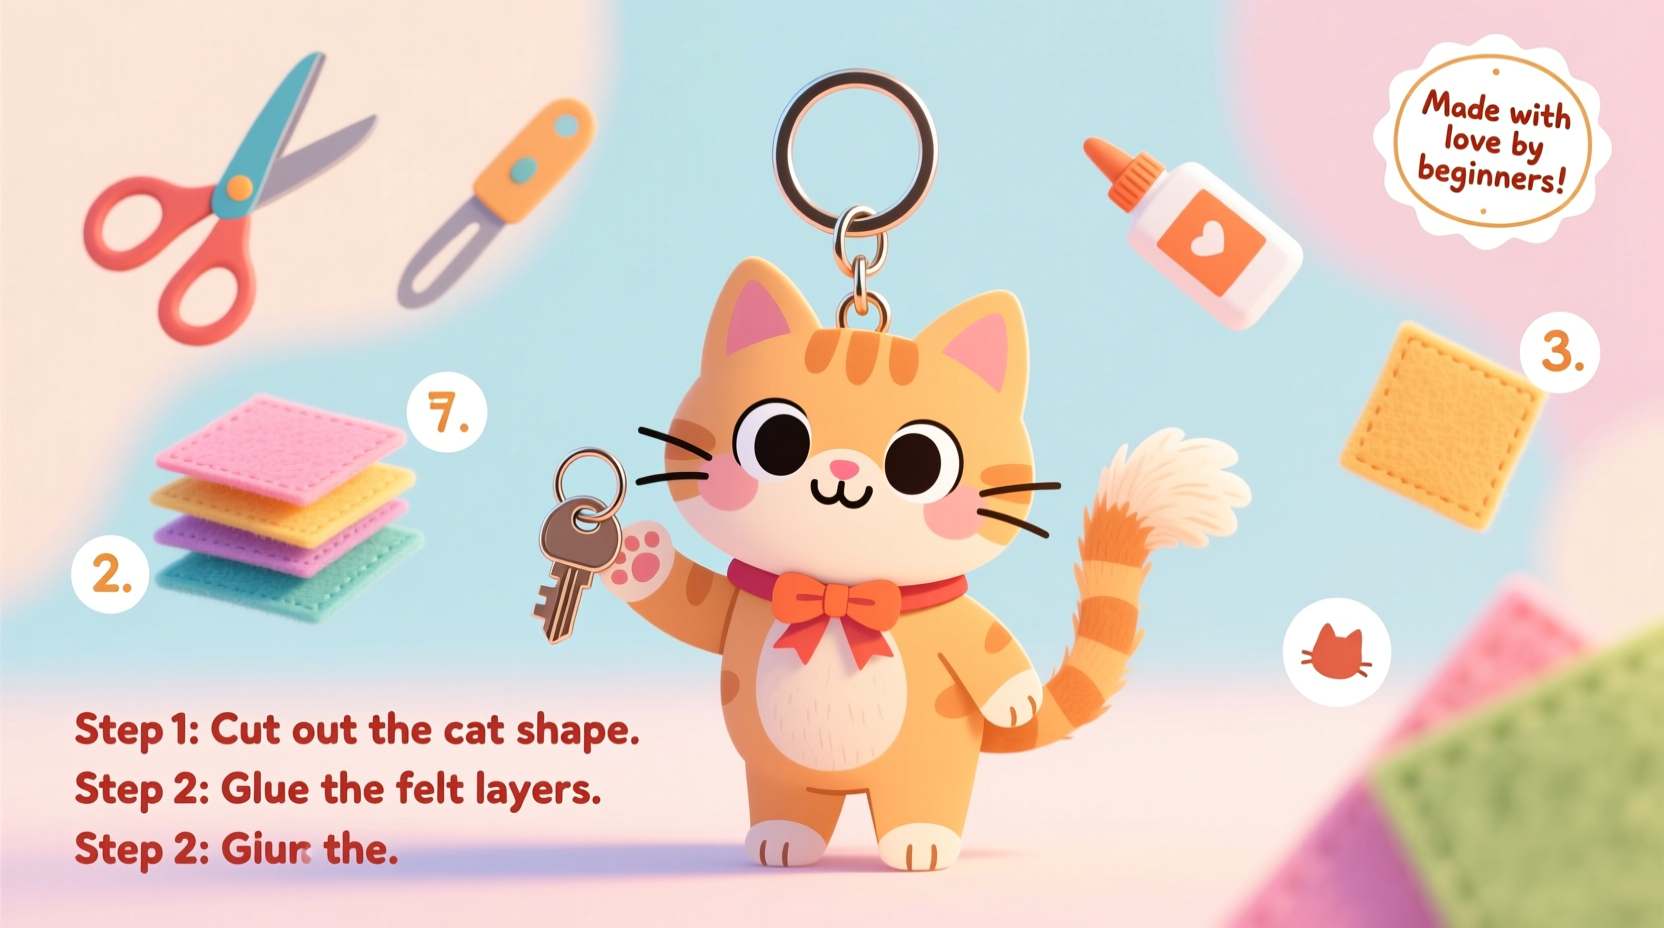
Step-by-Step Guide to Crafting Your Cat Keychain
Follow these clear steps to create a cute, durable cat-shaped keychain from polymer clay. The entire process takes under two hours, including baking and cooling time.
- Prepare your workspace: Cover your table with parchment paper or wax paper to prevent sticking and keep surfaces clean.
- Condition the clay: Knead the polymer clay until soft and pliable. This ensures smooth shaping and prevents cracks during baking.
- Shape the head: Roll a small ball of clay (about the size of a marble) for the cat’s head. Flatten it slightly into an oval shape.
- Create ears: Form two small triangle pieces and press them gently onto the top sides of the head. Use a toothpick to score inner ear lines.
- Add facial details: Use a pointed tool or needle to indent eyes, nose, and mouth. You can also press tiny beads of clay for 3D eyes or use paint later.
- Attach the keyring: Before baking, carefully push the metal keyring loop halfway into the back of the head. Make sure it’s secure but not piercing all the way through.
- Bake according to instructions: Place the piece on a parchment-lined tray. Bake as directed by the clay brand (typically 275°F / 130°C for 15–20 minutes).
- Cool and sand: Let the piece cool completely. Lightly sand rough edges with fine-grit sandpaper for a polished finish.
- Seal (optional): Apply a thin coat of clear glaze to protect details and add shine. Allow to dry fully before handling.
- Personalize: Paint whiskers, blush spots, or collars using acrylic paint. Seal again if needed after painting.
Design Variations to Try
Once you’ve mastered the basic version, experiment with different styles to match your mood or aesthetic. These variations keep the project fresh and engaging:
| Style | Description | Best For |
|---|---|---|
| Cartoon Cat | Exaggerated eyes, round face, playful expression | Kawaii lovers, anime fans |
| Realistic Tabby | Fur patterns carved in, natural proportions | Detail-oriented crafters |
| Minimalist Silhouette | Flat black shape with cut-out eye holes | Modern, sleek designs |
| Chibi Cat | Big head, tiny body, oversized charm | Keychains with whimsical flair |
| Two-Tone Face | Half-black, half-white like a tuxedo cat | Beginners learning color blending |
Mini Case Study: Sarah’s First Craft Fair Success
Sarah, a college student and lifelong cat lover, decided to try her hand at polymer clay crafts after seeing similar keychains online for $12 each. She followed a basic tutorial (much like this one), made five sample cat keychains in different colors, and brought them to a campus pop-up market. Within two hours, she sold all of them—and received three custom orders. Her secret? Adding tiny painted details like heart-shaped collars and personalized names. What started as a fun afternoon project turned into a small side hustle, proving how accessible and rewarding simple DIYs can be.
Common Mistakes to Avoid
Even simple projects come with pitfalls. Watch out for these common issues when making your first cat keychain:
- Under-baking: Leads to fragile pieces that crack easily. Always follow manufacturer guidelines.
- Over-handling: Oils from fingers can leave marks on clay. Wash hands or wear gloves.
- Incorrect keyring placement: If inserted too late (after baking), it won’t stay secure. Always embed before baking.
- Rushing the cooling phase: Sudden temperature changes may cause hidden fractures.
- Skipping sanding: Leaves rough textures that detract from professional appearance.
Checklist: DIY Cat Keychain Success Plan
Keep this checklist handy while crafting to ensure nothing is missed:
- ☐ Gather all materials before starting
- ☐ Condition clay until soft and workable
- ☐ Shape head and attach ears securely
- ☐ Add facial features with precision
- ☐ Insert keyring before baking
- ☐ Bake on parchment at correct temperature
- ☐ Cool completely before sanding
- ☐ Sand edges lightly for smoothness
- ☐ Apply sealant or paint if desired
- ☐ Store finished keychain in a safe, dry place
Frequently Asked Questions
Can I use air-dry clay instead of polymer clay?
Yes, but with caveats. Air-dry clay doesn’t require baking, which makes it convenient, but it’s more brittle and less water-resistant. If using air-dry clay, seal thoroughly and avoid high-moisture environments.
How long do DIY clay keychains last?
With proper sealing and care, polymer clay keychains can last for years without fading or breaking. Avoid dropping on hard surfaces and store them separately to prevent scratches.
Is this project safe for kids?
Absolutely—with supervision. Children can shape the clay and add features, but baking should be done by an adult. Use non-toxic clays and paints labeled safe for young crafters.
Final Thoughts and Creative Encouragement
Making a DIY cat keychain ring is more than just a craft—it’s a celebration of creativity, pet companionship, and handmade joy. What begins as a simple idea transforms into a tangible keepsake, gift, or even a small business opportunity. The process teaches patience, attention to detail, and the satisfaction of creating something uniquely yours.


 浙公网安备
33010002000092号
浙公网安备
33010002000092号 浙B2-20120091-4
Comments
No comments yet. Why don't you start the discussion?