
Protecting your AirPods starts the moment you unbox them. While Apple’s design is sleek and functional, it offers minimal defense against drops, scratches, or everyday wear. That’s where a high-quality silicone protective case comes in. But simply sliding your AirPods into a case isn’t enough—doing it incorrectly can lead to misalignment, trapped debris, or even accidental damage. The right installation method ensures a snug fit, full functionality, and long-term durability.
A well-installed silicone case doesn’t just look clean—it performs better. It preserves charging port access, maintains button responsiveness, and prevents internal abrasion. More importantly, it keeps your AirPods securely housed during commutes, workouts, or travel. This guide walks through the precise steps, common pitfalls, and pro techniques for installing your AirPods correctly and safely every time.
Why Proper Installation Matters
Many users assume that slipping AirPods into a silicone case is a no-brainer. In reality, improper placement can compromise both protection and usability. A poorly aligned case may block the Lightning port, press too hard on the lid hinge, or fail to cushion impact zones effectively.
Silicone cases are designed with precision cutouts and internal contours that match the shape of your specific AirPods model—whether 1st, 2nd, 3rd generation, or AirPods Pro. When installed correctly, these cases absorb shock, resist dust, and allow full access to controls and charging. But if forced or misaligned, they can cause micro-scratches, stress the earbud stems, or create gaps that let moisture seep in.
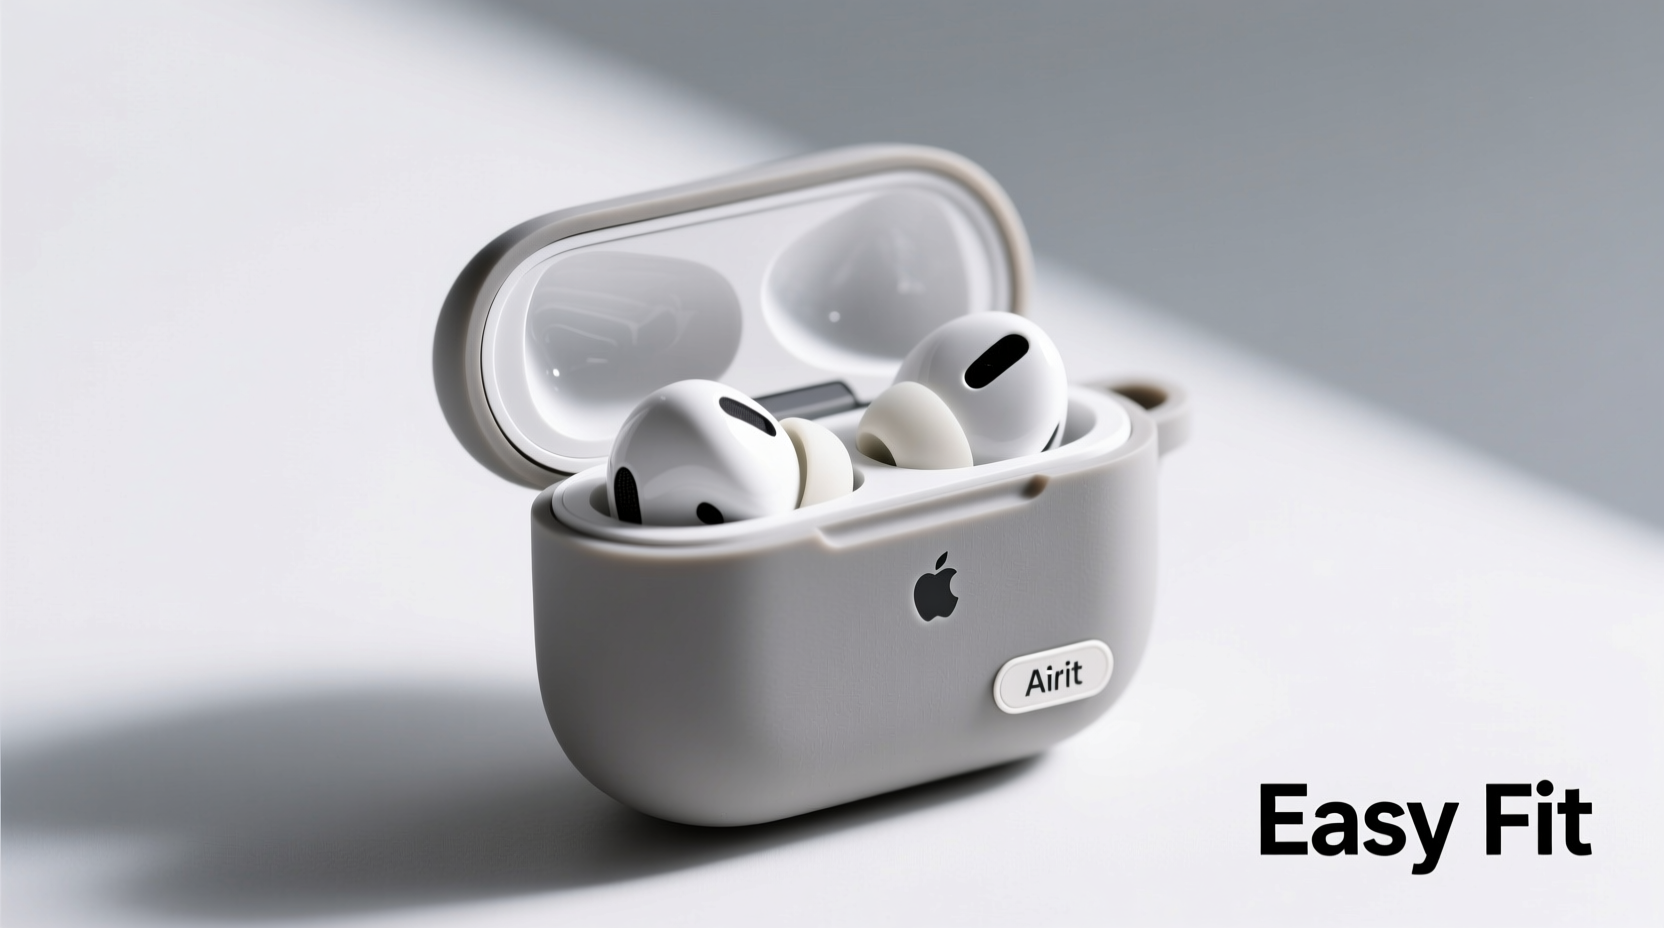
Step-by-Step: Secure Installation Process
- Power down and remove debris: Place your AirPods in the charging case and ensure they’re not actively connected. Use a dry microfiber cloth to wipe the exterior. Gently blow into the speaker mesh and charging contacts to dislodge lint or dust.
- Inspect the silicone case: Hold the case up to light. Check for manufacturing residue, folds, or stretched areas. Ensure all ports and button cutouts are clear and properly shaped.
- Align the charging port first: Position the AirPods so the Lightning port lines up perfectly with the case’s opening. This is the anchor point—everything else depends on this alignment.
- Insert bottom-first, then tilt: Gently place the base of the AirPods case into the silicone sleeve. Once seated, slowly tilt the top portion inward, guiding the lid hinge into place without force.
- Check for flush fit: Run your finger along the edges. There should be no bulging, twisting, or visible gaps. The lid should open and close smoothly without resistance from the silicone.
- Test functionality: Open the case near your iPhone to confirm pairing. Plug in a charging cable to verify port access. Press the setup button to ensure it remains responsive.
This method minimizes stress on delicate components and ensures consistent protection. Rushing or using excessive pressure during insertion is the most common cause of premature case wear or device damage.
Do’s and Don’ts: Silicone Case Handling
| Do’s | Don’ts |
|---|---|
| Wash the silicone case monthly with mild soap and water | Use alcohol-based cleaners—they degrade silicone over time |
| Let the case air-dry completely before reinserting AirPods | Force the lid closed if the silicone feels tight or bunched |
| Rotate between two cases to extend lifespan | Leave the case in direct sunlight or hot cars—heat warps silicone |
| Store the AirPods in the case when not in use | Allow dirt buildup inside the case—this causes internal scratching |
Expert Insight: Material Science and Fit
“Silicone’s flexibility is both its strength and weakness. A case must be soft enough to absorb impact but structured enough to maintain shape. Precision alignment during installation preserves both the material integrity and the device’s longevity.” — Dr. Lena Torres, Materials Engineer & Consumer Electronics Consultant
Silicone is a thermoset elastomer known for its resilience and non-abrasive texture. However, repeated improper insertion—especially stretching or twisting—can cause permanent deformation. Over time, this leads to loose fits, reduced shock absorption, and compromised protection. Ensuring correct initial placement helps the material conform naturally to the AirPods’ shape, enhancing grip and durability.
Real-World Example: Commuter’s Mistake and Fix
Jamal, a daily subway rider in Chicago, bought a third-party silicone case for his AirPods Pro. After two weeks, he noticed the lid wouldn’t stay closed unless pressed firmly. He also saw faint scuff marks on the white finish. Upon inspection, he realized he’d been inserting the AirPods haphazardly—top-first, often while walking. The hinge area was pinched by excess silicone, causing friction each time he opened the case.
After cleaning both the AirPods and the case, Jamal followed the bottom-first insertion method. He aligned the charging port, tilted gently, and ensured a flush fit. The scuffing stopped immediately, and the lid operated smoothly again. By adjusting his routine, he extended the life of both the case and the device.
Essential Checklist Before Installation
- ✅ Confirm compatibility with your AirPods model (e.g., AirPods 3rd gen vs. Pro)
- ✅ Clean both the AirPods case and the silicone sleeve
- ✅ Align the charging port precisely before insertion
- ✅ Insert bottom-first, then tilt the lid into place
- ✅ Verify full access to buttons, ports, and lid movement
- ✅ Test Bluetooth connection and charging function
- ✅ Store in a cool, dry environment away from UV exposure
Frequently Asked Questions
Can I leave my AirPods in the silicone case all the time?
Yes, and it’s recommended. Keeping your AirPods in a properly fitted silicone case shields them from dust, drops, and minor impacts. Just ensure the case itself is clean and dry to prevent moisture buildup.
Why does my silicone case feel sticky after a few months?
This is often due to oil buildup from hands, exposure to heat, or low-quality silicone. Wash it with lukewarm water and a drop of dish soap, then dry thoroughly. For persistent stickiness, a quick wipe with a 10% isopropyl alcohol solution (not exceeding 70%) can help—but rinse and dry afterward to avoid residue.
Will a silicone case interfere with wireless charging?
Most modern silicone cases are thin and flexible enough to allow Qi-compatible charging. However, extremely thick or metallic-infused cases may reduce efficiency. Always test charging performance after installation to confirm compatibility.
Final Thoughts: Small Steps, Lasting Protection
Installing your AirPods in a silicone protective case might seem trivial, but the details matter. Taking an extra 20 seconds to align, insert, and verify fit can prevent months of avoidable wear. It preserves resale value, maintains aesthetics, and ensures your investment stays functional through daily use.
Protection isn’t just about having a case—it’s about using it correctly. Whether you're at home, on a commute, or traveling, a properly installed silicone case acts as your first line of defense. Make thoughtful installation part of your routine, and your AirPods will deliver crisp audio and reliable performance for years.


 浙公网安备
33010002000092号
浙公网安备
33010002000092号 浙B2-20120091-4
Comments
No comments yet. Why don't you start the discussion?