
Decorating sugar cookies is a beloved tradition in many homes, especially during holidays or special celebrations. The secret to stunning, professional-looking results lies not just in your cookie cutter shapes—but in the quality of your icing. A well-prepared icing should be smooth, hold its shape, dry quickly, and taste as good as it looks. This guide walks you through the best royal icing recipe for decorating, complete with practical adjustments, expert insights, and real-world applications that make success accessible—even for beginners.
The Foundation: What Makes Great Decorating Icing?
Royal icing is the gold standard for cookie decorating because it dries hard and glossy, allowing for crisp lines and intricate designs. Unlike buttercream, which stays soft, royal icing acts like edible glue—ideal for piping details, flooding surfaces, and stacking cookies without smudging.
The key components are simple: powdered sugar, meringue powder (or egg whites), and water. When properly mixed, the icing forms a stable protein structure that sets firmly within a few hours. The texture can be adjusted from stiff peaks for outlining to runny consistency for filling in large areas—a technique known as \"flooding.\"
“Royal icing is the backbone of precision cookie decorating. Get the consistency right, and your designs will shine.” — Laura Chenel, Pastry Instructor and Cookie Artist
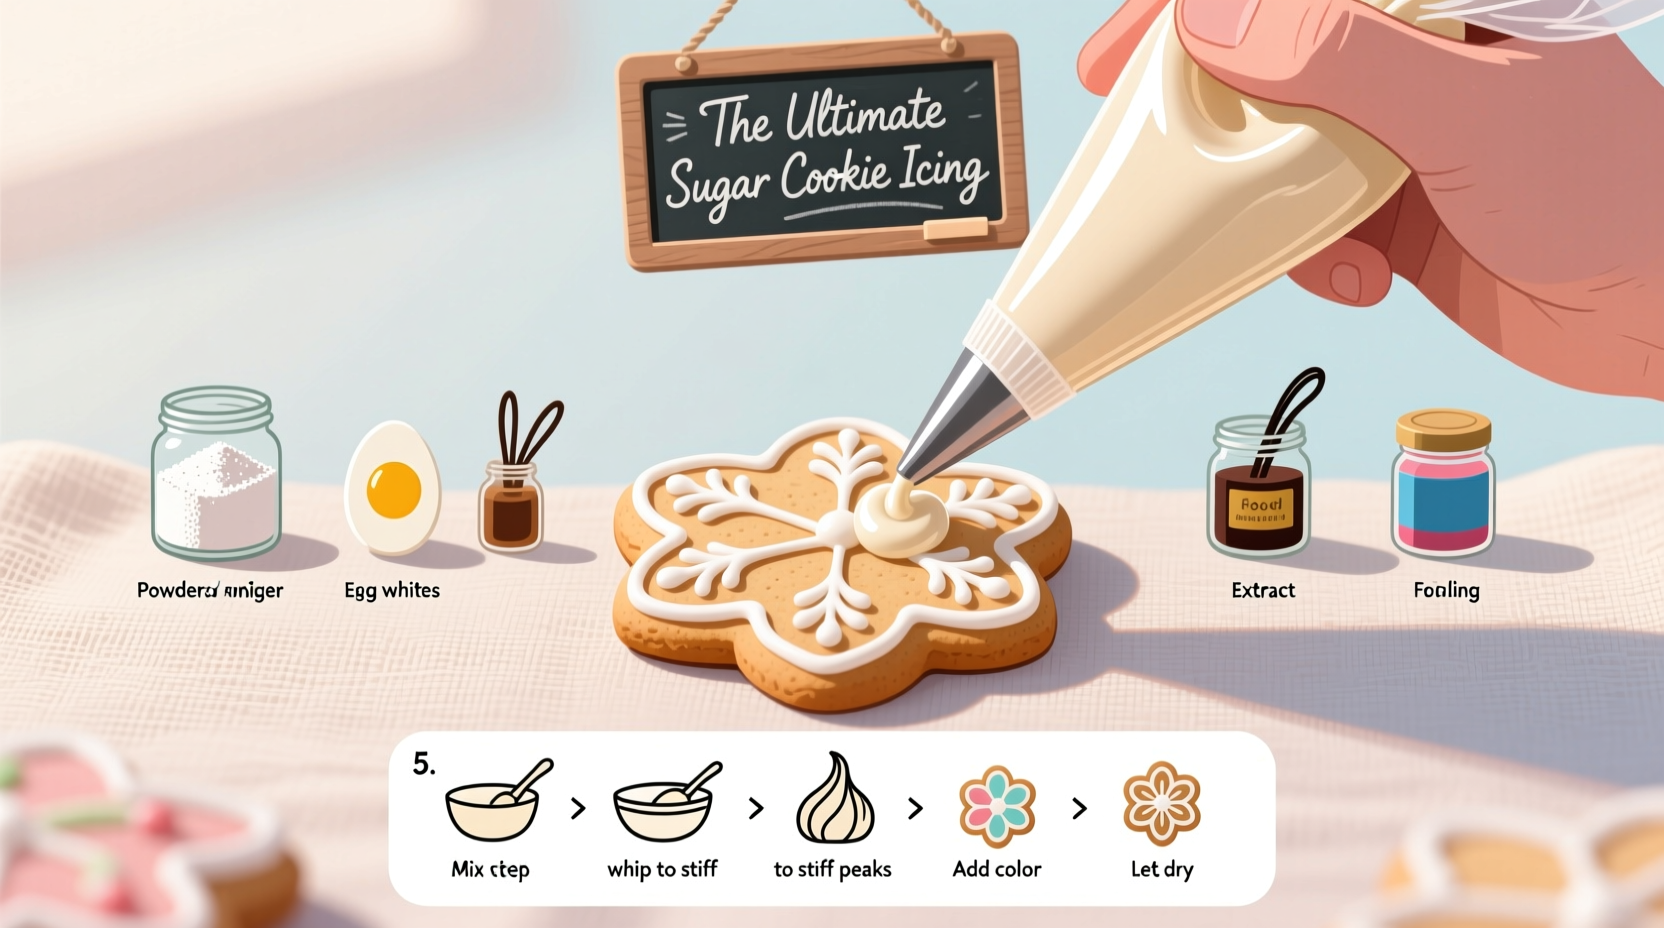
Step-by-Step Guide to the Best Royal Icing Recipe
This tested recipe yields enough icing to decorate 20–30 medium-sized sugar cookies, depending on design complexity. It’s scalable and forgiving, making it ideal for both small batches and holiday prep marathons.
- Gather Your Ingredients:
- 4 cups (480g) powdered sugar, sifted
- 3 tablespoons meringue powder
- 6–8 tablespoons warm water (divided use)
- 1/2 teaspoon vanilla or almond extract (optional, for flavor)
- Mix Dry Ingredients: In a large bowl, combine the sifted powdered sugar and meringue powder. Sifting prevents lumps and ensures a silky finish.
- Add Water Gradually: Begin by adding 6 tablespoons of warm water. Use a hand mixer or stand mixer on low speed to avoid clouding the air.
- Beat Until Smooth: Increase speed to medium and beat for 3–5 minutes until the icing is thick, shiny, and holds stiff peaks.
- Test Consistency: Lift the beater; the peak should stand upright without collapsing. If too thick, add water 1/2 teaspoon at a time. If too thin, add more powdered sugar.
- Add Flavor (Optional): Stir in extract by hand to preserve texture. Avoid liquid food coloring at this stage if possible—gel colors work better later.
Adjusting Consistencies for Different Techniques
One batch of royal icing can serve multiple purposes simply by adjusting water content. Master these three consistencies to unlock full creative potential:
| Consistency | Water Added | Use Case | Test Method |
|---|---|---|---|
| Stiff | None beyond base recipe | Piping borders, 3D details, flowers | Holds sharp peaks when lifted |
| Medium (Outline) | +1–2 tsp water | Outlining cookie shapes | Peak dissolves slowly after 5 seconds |
| Flood | +1–2 tbsp water total | Filling interiors smoothly | Line disappears into surface in 10–15 seconds |
To achieve flood consistency, start with stiff icing and add water gradually. Over-thinning is irreversible, so proceed carefully. Once adjusted, let the icing rest for 5 minutes before using to eliminate air bubbles.
Tips Box: Pro Secrets for Flawless Results
- Color early, mix slow: Add gel food coloring to stiff icing and blend thoroughly before thinning. This ensures even distribution without overworking the mixture.
- Squeeze bottles for flooding: Use reusable plastic bottles with fine tips for precise, mess-free filling. Snip only the tip—too wide a cut leads to overflow.
- Dry time matters: Allow 4–6 hours between layers. Humidity slows drying; use a fan in the room (not blowing directly on cookies) to improve airflow.
- Rotate your wrist, not the cookie: When piping, keep the bag steady and rotate the turntable or baking sheet instead for smoother curves.
Real Example: Holiday Cookie Success Story
Jamie, a home baker from Portland, used to struggle with cracked icing and bleeding colors every Christmas. After switching to this royal icing method and separating her consistencies into labeled bowls covered with damp cloths, she noticed an immediate improvement. By preparing outlines first and letting them crust over for 15–20 minutes before flooding, her stars and snowmen held crisp edges. She even taught her kids to use toothpicks to pop air bubbles gently. That year, her cookie exchange received rave reviews—and several requests for her “secret” recipe.
Her biggest takeaway? Patience with drying times and precision in mixing made all the difference. “I used to rush,” she said. “Now I treat each step like a layer of art.”
Checklist: Perfect Icing Workflow
Follow this checklist before starting any decorating session:
- ✅ Sift powdered sugar to eliminate lumps
- ✅ Measure meringue powder accurately—don’t eyeball it
- ✅ Use warm (not hot) water for optimal blending
- ✅ Mix icing fully before adjusting consistency
- ✅ Cover all bowls immediately with plastic wrap touching the surface
- ✅ Prepare gel colors in advance in small containers
- ✅ Have toothpicks ready for bubble correction
- ✅ Set up a clean, flat drying area away from traffic
Frequently Asked Questions
Can I make royal icing without meringue powder?
Yes, but with caution. Some bakers use fresh pasteurized egg whites for a traditional version. However, meringue powder is safer, shelf-stable, and easier to control. Never use raw, unpasteurized eggs due to salmonella risk.
Why does my icing crack after drying?
Cracking usually occurs when one layer is applied over another that hasn’t fully crusted. Ensure each flooded section dries for at least 4 hours before adding detail. Extremely thick applications can also crack—aim for even coverage.
How long do decorated cookies last?
Properly dried and stored in an airtight container, decorated sugar cookies keep for 2–3 weeks at room temperature. Avoid refrigeration, which introduces moisture and causes color bleed.
Conclusion: Turn Simple Cookies Into Edible Art
With the right recipe and technique, anyone can create beautifully decorated sugar cookies that look like they came from a boutique bakery. The beauty of royal icing lies in its simplicity and versatility—once you master the balance of ingredients and timing, your creativity becomes the only limit. Whether you're crafting heart-shaped treats for Valentine’s Day or festive gingerbread houses in December, this easy guide equips you with everything needed for consistent, dazzling results.


 浙公网安备
33010002000092号
浙公网安备
33010002000092号 浙B2-20120091-4
Comments
No comments yet. Why don't you start the discussion?