
Drawing a mermaid doesn’t require years of art school or natural talent. With the right approach, anyone can create a charming, imaginative mermaid in just a few minutes. This guide breaks down the process into manageable steps, making it accessible even if you’ve never drawn before. Whether you're sketching for fun, teaching a child, or exploring your creative side, this tutorial offers clear instructions and practical tips to help you bring a mythical sea creature to life on paper.
Why Drawing Mermaids Appeals to Beginners
Mermaids occupy a special place in folklore and popular culture—mysterious, graceful, and full of fantasy. Their hybrid nature (human upper body, fish tail) makes them visually interesting but surprisingly easy to stylize. Unlike realistic human anatomy, mermaid drawings allow room for exaggeration, color, and imagination. This freedom reduces pressure on beginners who might feel intimidated by technical accuracy.
Additionally, mermaid drawings often emphasize flow and movement. Wavy hair, swirling tails, and oceanic elements like bubbles or coral are forgiving to sketch and add visual interest without requiring precision. This makes the entire process more enjoyable and less intimidating for first-time artists.
Materials You’ll Need
You don’t need an art studio or expensive supplies. Here’s what works best for a beginner-friendly experience:
- Pencil: A standard #2 HB pencil is ideal for sketching.
- Eraser: A soft vinyl or kneaded eraser helps correct mistakes gently.
- Paper: Any blank printer paper or sketchpad will do.
- Optional: Colored pencils, markers, or crayons for adding vibrant underwater hues after the sketch is complete.
The key is accessibility. Use what you have at home. The focus should be on learning form and proportion, not perfection.
Step-by-Step Guide to Drawing a Simple Mermaid
Follow these seven steps to draw a basic yet expressive mermaid. Take your time, and remember—each line is part of the learning process.
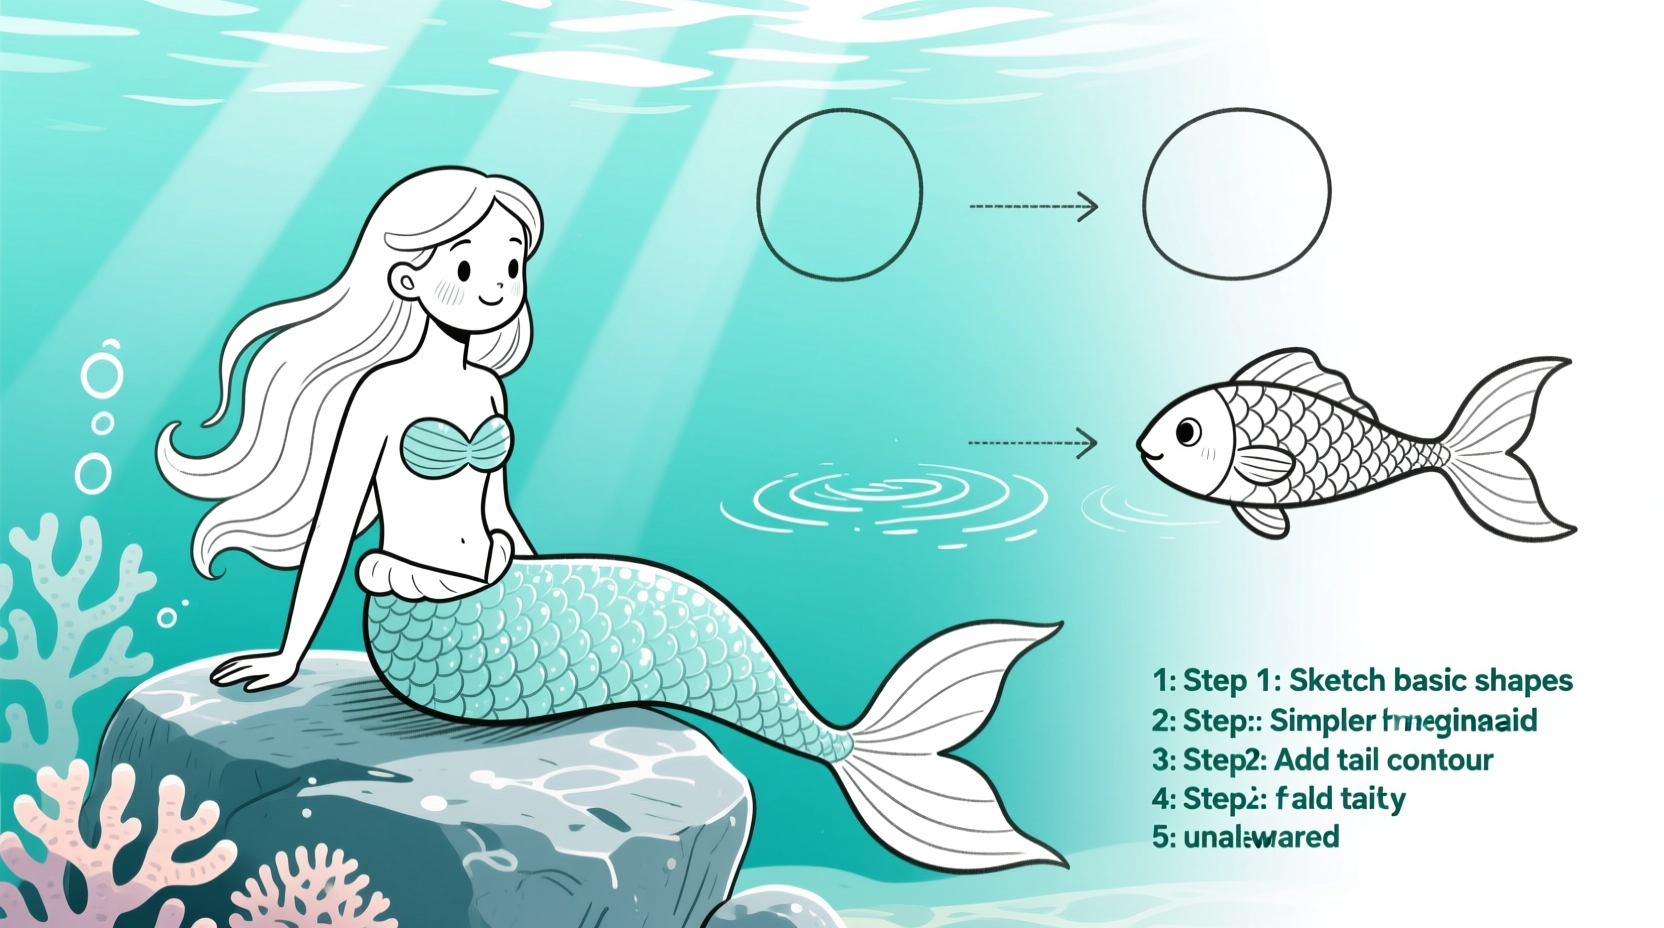
- Draw the head shape: Begin with a small circle for the top of the head. Add a curved line beneath it for the chin, creating an egg-like outline for the face.
- Add facial guidelines: Lightly sketch a vertical centerline and a horizontal crossline across the face. These help position the eyes, nose, and mouth symmetrically.
- Sketch the torso: Extend two slightly curved lines downward from the base of the chin to form the neck and shoulders. Then draw a smooth, elongated oval for the upper body.
- Draw the arms and hands: Add one arm bent at the elbow, hand near the face or flowing beside the body. Keep hands simple—use a mitten shape or a few short lines for fingers.
- Create the tail: From the bottom of the torso, draw two symmetrical, tapering lines that widen slightly mid-way and then curve outward into a fin shape. Think of a dolphin’s tail, but more elegant and flared.
- Add details: Draw simple eyes (ovals with dots for pupils), a small curved smile, and flowing hair that arcs behind the head and down the back. Hair can mimic water currents—wavy and dynamic.
- Finalize and refine: Go over your favorite lines with a darker pencil or pen. Erase unnecessary guidelines and clean up overlapping marks.
Styling Your Mermaid: Creative Touches for Personality
Once the basic structure is in place, personalize your mermaid. This is where creativity shines. Consider these ideas:
- Add seashell accessories or a crown made of coral.
- Give her long, wavy hair with loose strands floating around her.
- Design a patterned tail—stripes, scales, or ombre coloring from green to blue.
- Include background elements like bubbles (small circles with highlights), seaweed (curved lines with leaves), or a sunken treasure chest.
Don’t worry about realism. Stylized features often look more engaging. A big-eyed, smiling mermaid with a glittery tail captures the magic better than anatomical precision ever could.
“Simplicity is powerful in children’s illustration and beginner art. A few well-placed lines can convey emotion and motion better than complex detail.” — Lila Torres, Children's Book Illustrator
Common Mistakes and How to Avoid Them
Even simple drawings come with common pitfalls. Recognizing them early improves results quickly.
| Mistake | Why It Happens | How to Fix It |
|---|---|---|
| Tail looks too stiff or flat | Lines are straight or lack curvature | Add gentle S-curves and flare the fins outward for movement |
| Head is too small for the body | Proportions aren't balanced | Use the head as a unit of measurement—body should be 2–3 heads long |
| Facial features are off-center | No guideline used | Always sketch a centerline and crossline before placing eyes or mouth |
| Overcrowding with details | Trying to make it “perfect” too soon | Focus on structure first, add details last |
Mini Case Study: Sarah’s First Mermaid Drawing
Sarah, a 10-year-old student, had never drawn anything beyond stick figures. During an art class, she followed a simplified mermaid tutorial similar to this one. Her first attempt had a lopsided tail and tiny head, but she didn’t give up. Using the facial guidelines, she repositioned the eyes and redrew the tail with smoother curves. By her third try, she added long hair and a shell necklace. Her teacher displayed her drawing on the classroom wall—not because it was flawless, but because it showed growth, effort, and imagination. Sarah now draws mermaids during free time, experimenting with colors and poses.
This example shows that progress matters more than perfection. Small adjustments build confidence and skill over time.
Checklist: Your Beginner’s Drawing Success Plan
Use this checklist before and after your next drawing session:
- ☐ Gather pencil, paper, and eraser
- ☐ Sketch lightly—no pressing hard on the paper
- ☐ Use basic shapes (circle, oval, curves) to build the figure
- ☐ Apply facial guidelines for symmetry
- ☐ Focus on one section at a time: head → body → tail → details
- ☐ Step back and review proportions before finalizing
- ☐ Add personal flair: accessories, hair, or background touches
- ☐ Celebrate the result—every drawing is progress
Frequently Asked Questions
Can I draw a mermaid if I’ve never drawn before?
Absolutely. This tutorial uses simple shapes and incremental steps designed specifically for beginners. No prior experience is needed—just willingness to try.
How long does it take to draw a simple mermaid?
Most beginners complete a basic sketch in 10 to 20 minutes. With practice, you can draw one in under five minutes. Speed improves with repetition.
What if my mermaid doesn’t look like the examples?
That’s perfectly okay. Art isn’t about copying exactly—it’s about expressing ideas. Your version is unique and valid. Over time, your style will develop naturally.
Keep Swimming Forward
Drawing should be joyful, not stressful. The mermaid you draw today may look different from the one you create next week—and that’s the beauty of learning. Each stroke builds muscle memory, confidence, and creativity. Don’t wait for inspiration to strike. Pick up a pencil, follow the steps, and let your imagination dive into the deep blue.


 浙公网安备
33010002000092号
浙公网安备
33010002000092号 浙B2-20120091-4
Comments
No comments yet. Why don't you start the discussion?