
A well-fitted watch enhances both comfort and style. Unfortunately, many watches come with bracelets sized for an average wrist, which often means they’re too large for smaller or medium wrists. Rather than visiting a jeweler and paying for link removal, you can adjust the fit yourself at home—with care, patience, and the right method. This guide walks you through the entire process, ensuring that you preserve your watch’s integrity while achieving a perfect fit.
Why Adjusting Your Watch Bracelet Matters
A loose watch not only slides around your wrist but also risks damage from daily impacts. On the other hand, a tight bracelet can restrict circulation and cause discomfort during wear. The ideal fit allows one finger to slide comfortably between the bracelet and your wrist. Achieving this requires precise removal of excess links, especially on metal bands made of stainless steel, titanium, or two-tone finishes.
While some modern watches feature micro-adjustable clasps or sizing systems, traditional link-based bracelets still dominate the market. Whether you own a classic Rolex Oyster, a Citizen Eco-Drive, or a budget-friendly Seiko, knowing how to remove links properly is a valuable skill.
Tools You’ll Need
Before beginning, gather the necessary tools. While professional watchmakers use specialized pin presses, most home adjustments can be done with basic equipment:
- Pin pusher tool (jeweler’s punch) – A small, precision screw-driven device designed to push out pins without damaging them.
- Fine-tipped tweezers – For retrieving tiny springs or pins.
- Magnifying glass or loupe – Helps identify pin direction and track small components.
- Soft cloth or watch holder – Protects the case and crystal during work.
- Small container – Keeps screws and pins organized.
- Hammer and nail (alternative method) – Only if no proper tool is available, used with extreme caution.
Many affordable pin pusher kits are available online for under $20. Investing in one ensures better control and reduces the risk of scratching your watch.
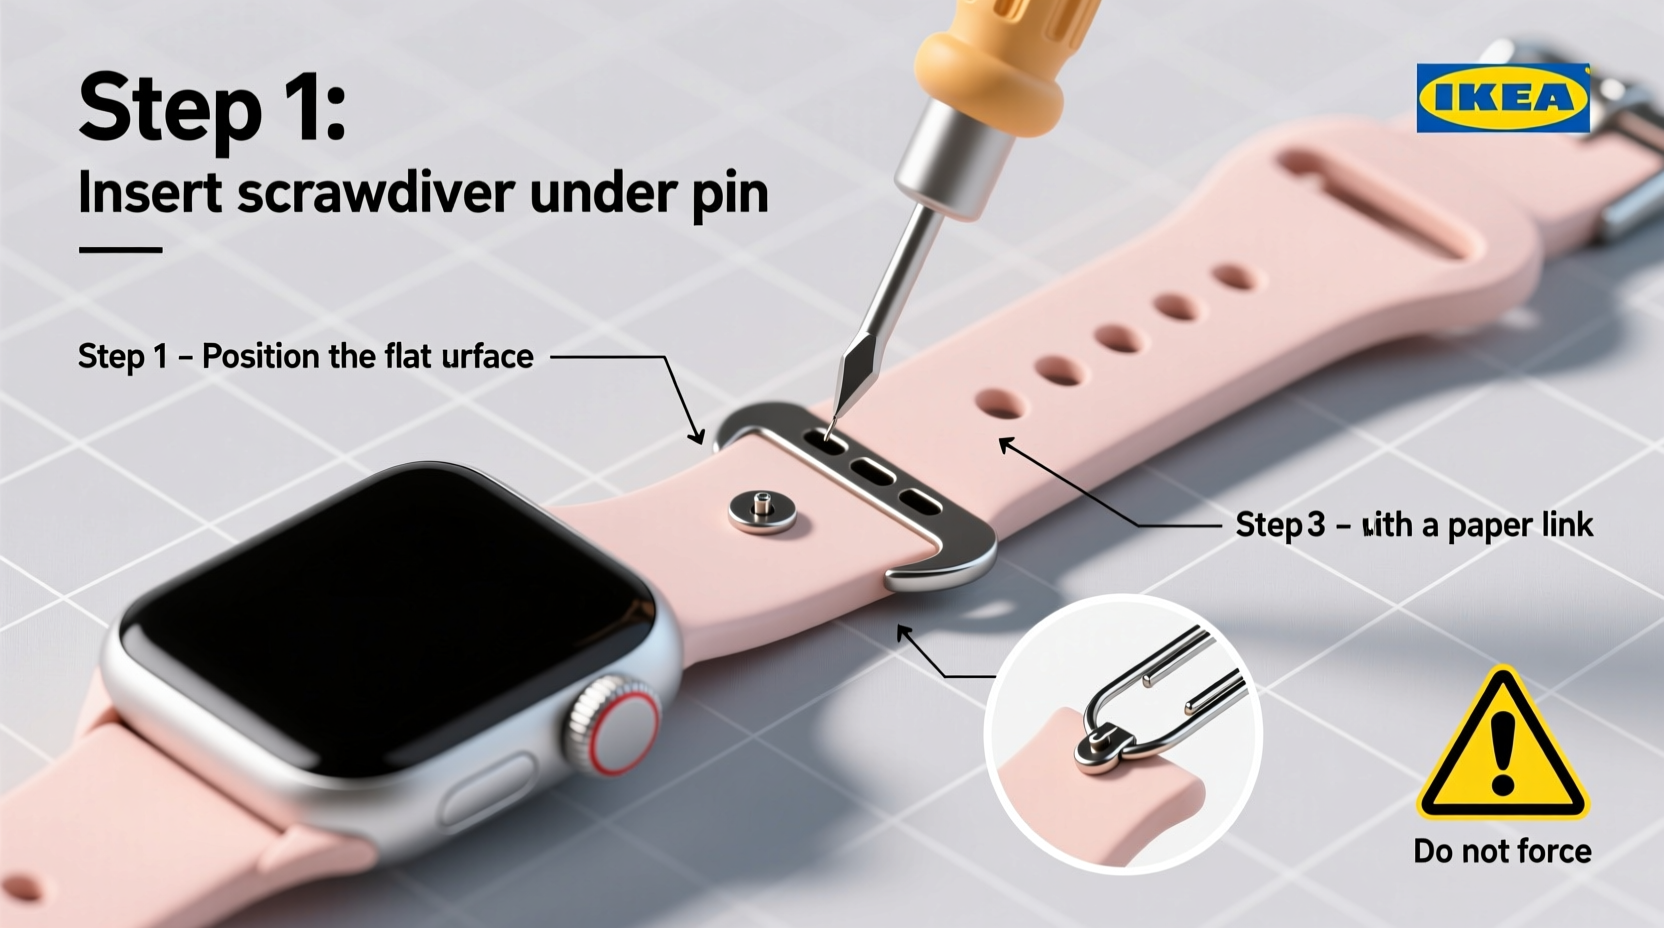
Step-by-Step Guide to Removing Links
- Determine how many links to remove. Wrap the watch around your wrist and note where the clasp sits. Each link typically measures 3–5mm. Most manufacturers recommend removing no more than five links total for structural stability.
- Identify removable links. Examine the back of the bracelet. Some links are marked with arrows indicating the direction the pins should be pushed. These arrows are crucial—they tell you whether to push from left to right or vice versa.
- Remove the bracelet from the watch head (optional). If your model allows it, detach the bracelet ends from the lugs using a spring bar tool. This gives you more space to work and protects the watch face.
- Select the links to remove. Choose links away from the clasp when possible. Remove equal numbers from each side to keep the clasp centered. For example, if removing four links, take two from each side.
- Secure the bracelet. Place it on a soft surface or in a padded vise. Hold it firmly to prevent slipping during pin removal.
- Push out the pins. Align the pin pusher with the hole and slowly turn the screw. Apply steady pressure. If the pin doesn’t move, double-check the arrow direction—some pins only eject one way. Never force it.
- Remove selected links and reassemble. Once pins are out, separate the links. Reconnect the remaining chain by aligning the holes and reinserting the pins. Use the flat end of the pusher to gently tap them back in.
- Reattach to the watch and test fit. Put the bracelet back on your wrist. It should sit snugly without pinching or sliding.
| Tool | Purpose | Alternative |
|---|---|---|
| Pin Pusher Tool | Safely removes and inserts pins | Nail and hammer (not recommended) |
| Tweezers | Handles tiny pins and springs | Toothpick (less reliable) |
| Magnifier | Improves visibility of pin direction | Smartphone zoom function |
| Soft Cloth | Prevents scratches during handling | Microfiber towel |
Common Mistakes to Avoid
Even experienced DIYers make errors when adjusting watch bracelets. Here are frequent pitfalls and how to avoid them:
- Ignoring pin direction: Forcing a pin in the wrong direction can bend or break it. Always follow the engraved arrows.
- Using excessive force: Metal pins are hardened but not indestructible. Over-tightening a pin pusher can strip the screw or damage the tool.
- Removing too many links: Taking out more than five links may compromise the bracelet’s strength and affect resale value.
- Losing small parts: Pins and spring bars are easy to misplace. Work over a tray or container.
- Not cleaning afterward: Fingerprints and oils can accumulate. Wipe the bracelet with a soft, dry cloth once finished.
“Taking time to understand your watch’s construction prevents costly mistakes. A little patience goes a long way in preserving its value.” — Daniel Reyes, Master Watchmaker & Horology Instructor
Real Example: Sarah’s First Home Adjustment
Sarah bought a new Citizen Promaster dive watch but found it slid constantly on her slender wrist. Instead of paying $25 at a jewelry store, she decided to try adjusting it herself. After watching a tutorial and buying a $18 pin pusher kit, she laid out her tools on a clean towel. She counted the needed adjustment—three links total—and removed one from the left, one from the right, and kept the center link for symmetry. Following the arrows on the back, she carefully ejected the pins. One was stubborn, but after checking the direction again, she realized she’d been pushing the wrong side. With corrected alignment, it slid out smoothly. Within 20 minutes, her watch fit perfectly. “I felt so accomplished,” she said. “And I saved money for my next strap upgrade.”
Frequently Asked Questions
Can I remove links without a pin pusher tool?
It’s not recommended. While some people use nails or dental picks, these lack precision and increase the risk of slipping and scratching your watch. A proper pin pusher costs little and provides controlled pressure. If you must improvise, wrap the nail tip in tape to reduce metal-on-metal contact.
What if the pins won’t budge?
First, verify the ejection direction using the arrows on the links. Some pins are press-fit and require firm, consistent pressure. If still stuck, apply a tiny drop of light lubricant (like watch oil) to the joint and wait five minutes before trying again. Avoid WD-40—it can damage internal components.
Will removing links affect my watch’s water resistance?
Generally, no. Water resistance depends on the case, gaskets, and crown seal—not the bracelet. However, if you remove links near the clasp mechanism on certain models (e.g., diver’s extension), ensure the safety lock still functions properly.
Final Checklist Before You Begin
- ✓ Count how many links need removal
- ✓ Check for directional arrows on the links
- ✓ Gather all necessary tools
- ✓ Work in a clean, well-lit area
- ✓ Remove equal links from both sides
- ✓ Keep pins and tools organized
- ✓ Double-check fit before finalizing
Conclusion
Adjusting your watch bracelet at home is a practical, cost-effective way to achieve a custom fit. With attention to detail and the right tools, you can perform this task safely and confidently. Remember: patience is key. Rushing increases the risk of damage, while careful execution preserves your timepiece’s longevity and appearance. Now that you know how to remove links correctly, you’re equipped to maintain your watch like a pro—saving time, money, and hassle in the long run.


 浙公网安备
33010002000092号
浙公网安备
33010002000092号 浙B2-20120091-4
Comments
No comments yet. Why don't you start the discussion?