
Crafting flower bracelets is a delightful way to combine creativity with wearable art. These delicate accessories, often made from polymer clay, paper, fabric, or real pressed flowers, add a touch of nature-inspired elegance to any outfit. While they may look intricate, making them is surprisingly accessible—even for complete beginners. With just a few basic tools and a bit of patience, you can design personalized bracelets that reflect your style. This guide walks you through the entire process, from selecting materials to finishing your first piece.
Gathering Your Materials and Tools
Before beginning, it's essential to assemble everything you’ll need. The beauty of flower bracelet crafting lies in its simplicity—most supplies are affordable and widely available at craft stores or online. Whether you're using air-dry clay, preserved botanicals, or fabric blossoms, having the right foundation ensures smoother results.
Here’s what you'll typically need:
- Air-dry or polymer clay (optional, if making clay flowers)
- Premium clear resin or glue (for sealing real or paper flowers)
- Small artificial or dried flowers (petal size should be under 1 inch)
- Flexible wire or stretchy cord (1mm thickness)
- Beading needle (if using small seed beads)
- Jump rings, clasps, or toggle closures
- Pliers (flat-nose and round-nose)
- Scissors and tweezers
- Clear nail polish or UV resin (for waterproofing)
Choosing the Right Flower Type
The type of flower you use dramatically affects both appearance and durability. Beginners benefit from starting with lightweight, flat flowers that are easy to attach and seal.
| Flower Type | Best For | Pros | Cons |
|---|---|---|---|
| Dried Baby's Breath | Elegant, airy designs | Natural look, very light | Fragile; needs careful sealing |
| Paper Origami Flowers | Beginner projects | Durable, customizable colors | Less realistic texture |
| Polymer Clay Blooms | Long-lasting jewelry | Water-resistant, moldable | Requires baking and shaping skill |
| Pressed Real Flowers | Sentimental gifts | Authentic botanical beauty | Must be fully sealed to last |
For your first project, consider using pre-made mini paper or silk flowers from a craft kit. They’re consistent in size and require no drying time, allowing you to focus on assembly technique.
“Starting with uniform, pre-cut flowers reduces frustration and helps beginners build confidence quickly.” — Lila Montgomery, Handmade Jewelry Instructor
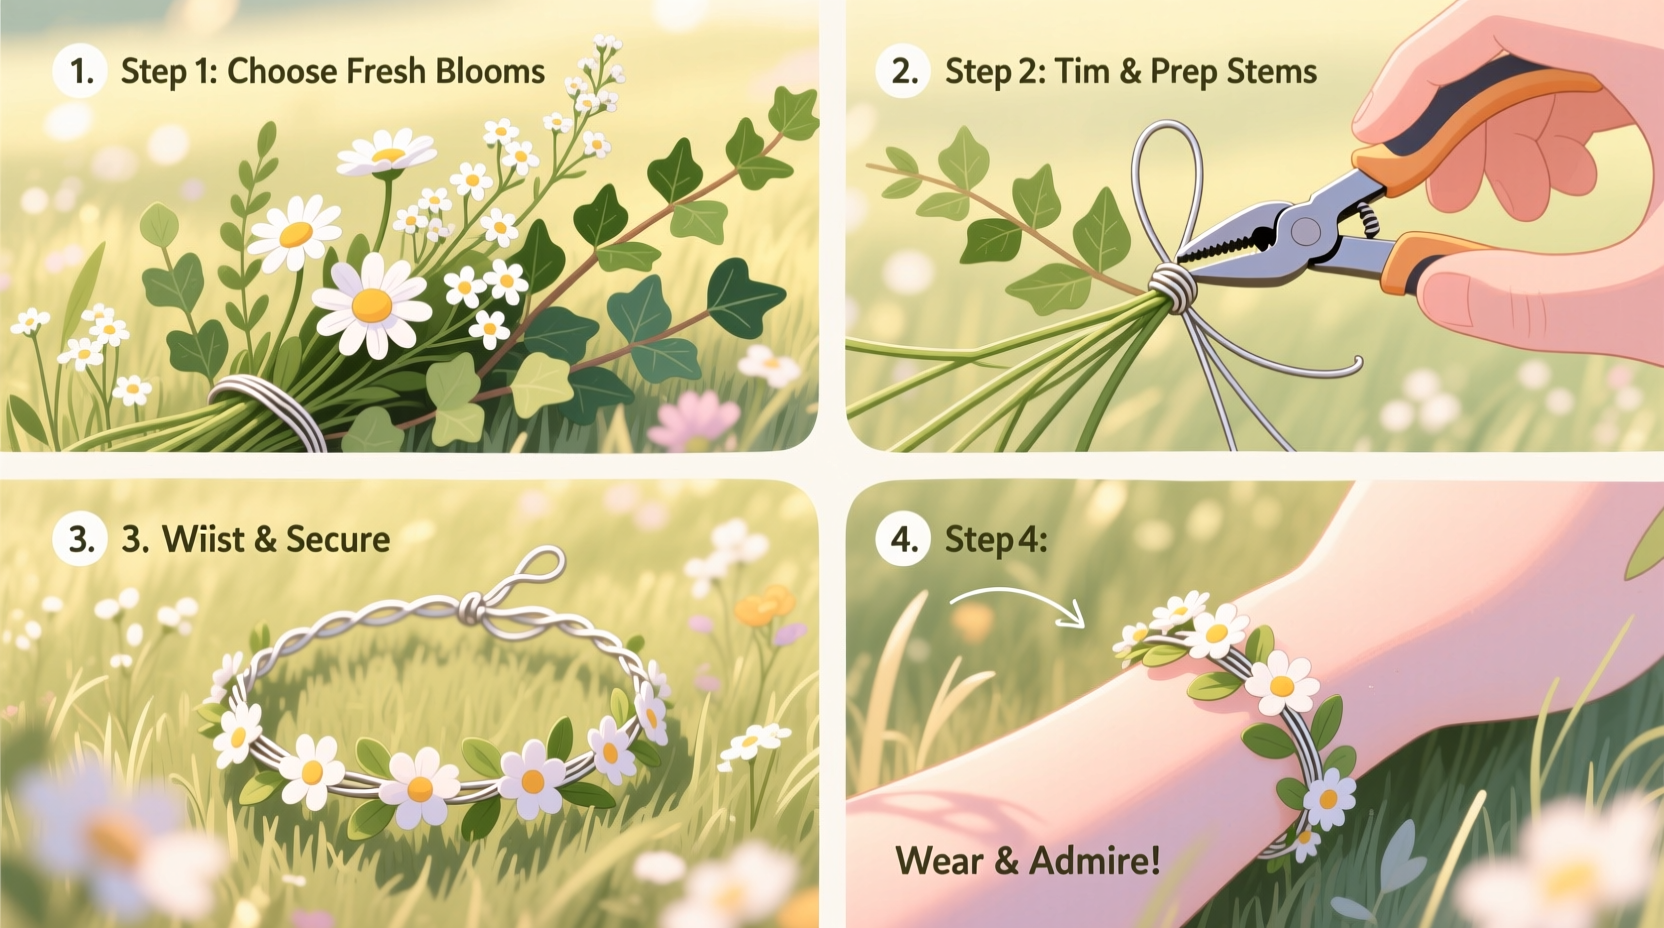
Step-by-Step Guide to Assembling Your First Flower Bracelet
This timeline takes you from concept to completion in six manageable stages. Allow about 2–3 hours total, including drying time.
- Design Your Layout (15 minutes)
Lay out your flowers and spacer beads on a soft surface. Arrange them in a repeating pattern—such as flower-bead-flower—or cluster three small blossoms together between chain segments. Take a photo for reference once satisfied. - Prepare the Flowers (20 minutes)
If using real or paper flowers, apply a thin coat of clear-drying glue or UV resin to each petal. Let dry completely on wax paper. This prevents browning and adds structural strength. - Cut and Prep the Base (10 minutes)
Measure your wrist and add 1 inch for comfort. Cut your stretch cord or wire to this length. If using metal chain, open a jump ring and thread one end through before attaching the clasp. - Attach the Flowers (45 minutes)
For flexible cord: Thread seed beads and flowers alternately, knotting gently between each element to prevent slippage. For wire or chain: Use small gauge wire to wrap-stem each flower directly onto the base or link them via jump rings. - Add Closures (15 minutes)
Finish with a secure clasp. Stretch bracelets work well with elastic knots hidden inside decorative bead caps. Rigid designs suit lobster clasps and jump rings. Test the fit and adjust if needed. - Final Seal and Cure (1 hour drying)
Apply a final layer of clear resin over all floral elements. This protects against moisture and UV fading. Allow to cure overnight on a dust-free surface.
Common Pitfalls and How to Avoid Them
Even experienced crafters encounter hiccups. Recognizing these early helps maintain quality and motivation.
- Flowers turning brown: Caused by moisture exposure before sealing. Always dehydrate real petals or use quick-dry adhesive.
- Weak connections: Knots slipping or wires unwrapping. Double-knot cords and twist wire ends tightly with pliers.
- Uneven spacing: Results in lopsided appearance. Use a ruler or template during layout planning.
- Allergic reactions: Some resins contain allergens. Opt for non-toxic, hypoallergenic formulas labeled for skin contact.
Mini Case Study: Sarah’s First Floral Bracelet
Sarah, a college student with no prior jewelry experience, wanted to make a birthday gift for her grandmother. She chose small dried lavender sprigs mounted on a silver chain with heart-shaped spacers. Initially, she skipped sealing the flowers, only to find them crumbling after two days. After re-making the piece with proper UV resin coating, the bracelet lasted over six months with gentle wear. Her key takeaway? “Sealing isn’t optional—it’s what turns a craft into keepsake-quality jewelry.”
Essential Checklist for Beginners
Follow this checklist before starting your next project to ensure success:
- ☐ Plan your color scheme and pattern
- Choose harmonious tones that match the wearer’s wardrobe.
- ☐ Pre-seal all organic materials
- Apply at least one coat of protective finish before assembly.
- ☐ Test fit the bracelet before final closure
- Ensure it slides comfortably over the hand without stretching.
- ☐ Label and store extras properly
- Keep unused flowers in an airtight container away from sunlight.
- ☐ Document your process
- Take notes or photos to refine future designs.
Frequently Asked Questions
Can I use fresh flowers in my bracelet?
No, fresh flowers contain moisture and will rot within days. Always use dried, pressed, or artificial alternatives. If harvesting your own blooms, allow them to air-dry for 7–10 days in a dark, ventilated space before use.
How long do flower bracelets last?
With proper sealing and care, most last 6 months to 2 years. Avoid prolonged water exposure, perfume, and direct sunlight to extend lifespan. Store flat in a lined box when not worn.
Are flower bracelets suitable for sensitive skin?
Yes, provided you use nickel-free metals and skin-safe adhesives. Avoid latex-based glues and always test resin-coated pieces on a small skin area first.
Bring Beauty to Life—one Bracelet at a Time
Creating flower bracelets is more than a craft—it’s a celebration of detail, patience, and personal expression. What begins as a simple string of blossoms evolves into a meaningful accessory, whether worn yourself or gifted to someone special. Each piece carries the quiet joy of handmade creation, where imperfections become charm and every petal tells a story. Now that you have the tools and knowledge, there’s no better time to begin. Gather your materials, follow the steps, and let your imagination bloom.


 浙公网安备
33010002000092号
浙公网安备
33010002000092号 浙B2-20120091-4
Comments
No comments yet. Why don't you start the discussion?