
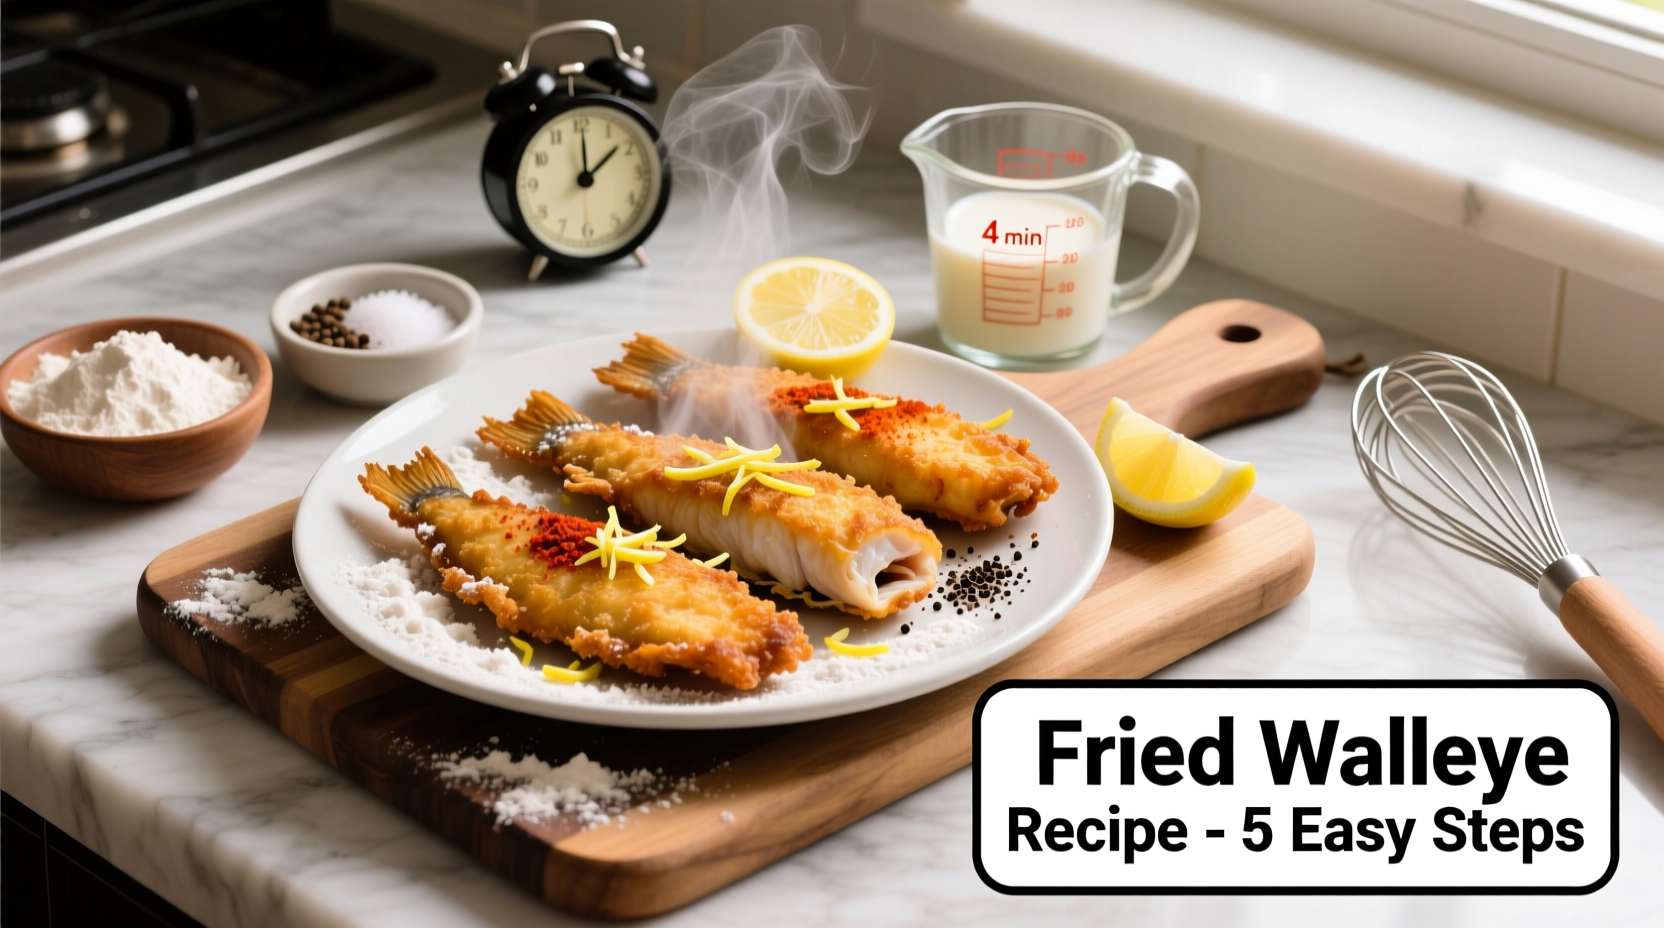
Fried walleye is a beloved staple in Midwestern cuisine and a favorite among anglers and home cooks alike. With its delicate, flaky texture and mild flavor, walleye takes beautifully to frying, especially when prepared with care. This guide delivers a foolproof method for achieving golden, crispy fish without sacrificing moisture or taste. Whether you’ve just returned from a fishing trip or picked up fresh fillets at the market, this recipe ensures restaurant-quality results in your own kitchen.
Why Walleye Stands Out Among Fried Fish
Walleye (Sander vitreus) is prized not only for its rich flavor but also for its firm yet tender flesh that holds up well during cooking. Unlike more fragile white fish like sole or tilapia, walleye doesn’t fall apart easily, making it ideal for pan-frying. Its natural sweetness pairs perfectly with a light breading, allowing the fish itself to shine through.
Chef Marlon Foster, a Great Lakes culinary specialist, notes:
“Walleye has a buttery richness that’s unmatched. When fried properly, it offers a crisp exterior while staying juicy inside—like the perfect balance of texture and taste.” — Chef Marlon Foster, Midwest Seafood Advocate
The key lies in preparation and technique. Overcooking or using too thick a batter can mask the fish’s natural qualities. This guide focuses on simplicity, timing, and temperature control to bring out the best in every fillet.
Essential Ingredients and Tools
To achieve optimal results, gather the following ingredients and equipment before beginning:
- 1.5 to 2 pounds fresh walleye fillets (skinless or skin-on)
- 1 cup all-purpose flour
- 1 teaspoon garlic powder
- 1 teaspoon paprika (smoked or sweet)
- 1/2 teaspoon onion powder
- 1/2 teaspoon cayenne pepper (optional, for heat)
- Salt and freshly ground black pepper to taste
- 2 large eggs
- 2 tablespoons milk or water
- 1 cup panko breadcrumbs or crushed saltine crackers
- Vegetable oil, canola oil, or peanut oil (for frying)
- Lemon wedges and tartar sauce (for serving)
You’ll also need:
- Two wide, shallow bowls (for dredging stations)
- A wire rack or paper towel-lined plate (for draining)
- Tongs or a slotted spatula
- A heavy-bottomed skillet (cast iron preferred)
- Cooking thermometer (ideal for monitoring oil temperature)
Step-by-Step Frying Process
Follow this detailed sequence to ensure consistent, evenly cooked fried walleye:
- Prepare the fish: Pat fillets dry with paper towels. Excess moisture prevents proper browning and causes oil to splatter. Cut into even-sized portions (about 3–4 inches long) so they cook uniformly.
- Set up dredging stations: In the first bowl, mix flour with garlic powder, paprika, onion powder, cayenne, salt, and pepper. In the second bowl, whisk eggs with milk. Place panko or crushed crackers in a third container or tray.
- Dredge each fillet: Coat one side of the fillet in seasoned flour, dip into egg wash, then press into breadcrumbs, ensuring full coverage. Repeat for the other side. Let coated fillets rest for 5 minutes—this helps the coating adhere.
- Heat the oil: Pour 1/2 inch of oil into a cast iron skillet. Heat over medium-high until it reaches 350°F–375°F. Use a thermometer for accuracy; too cool and the fish will be greasy, too hot and the coating burns before the fish cooks through.
- Fry in batches: Gently place 2–3 fillets into the hot oil without crowding. Cook 3–4 minutes per side, depending on thickness, until golden brown and internal temperature reaches 145°F.
- Drain and serve: Transfer cooked fillets to a wire rack set over a baking sheet (preferred over paper towels to prevent sogginess). Sprinkle lightly with sea salt while warm. Serve immediately with lemon wedges and tartar sauce.
Do’s and Don’ts of Frying Walleye
| Do | Don't |
|---|---|
| Pat fillets dry before breading | Use wet or damp fish—it prevents breading adhesion |
| Maintain oil temperature between 350°F–375°F | Overcrowd the pan, which drops oil temp and causes greasiness |
| Let breaded fillets rest 5 minutes before frying | Skip resting—coating may fall off during cooking |
| Use panko or crushed crackers for extra crunch | Use overly thick batter that overwhelms the delicate fish |
| Season every layer—flour, egg, and crumbs | Rely solely on post-fry seasoning |
Real Example: A Family Fishing Weekend Success
Last summer, the Thompson family returned from a weekend on Lake Superior with a cooler full of freshly caught walleye. Though experienced anglers, they’d struggled in the past with soggy or bland fried fish. Using this exact method—especially the three-stage dredging and temperature-controlled frying—they achieved consistently crisp, flavorful results. “It was the best fried fish we’ve ever made at home,” said Mark Thompson. “The kids even asked for seconds, and they usually avoid anything ‘fishy.’” Their success came down to patience and precision, proving that technique matters as much as freshness.
Expert Tips for Consistent Results
- Freezing walleye? Thaw slowly in the refrigerator overnight. Never fry frozen fillets—they release too much moisture.
- For extra flavor: Add a pinch of Old Bay seasoning to the flour mix or use beer instead of milk in the egg wash for a subtle tang.
- Oil reuse: After cooling, strain used oil through cheesecloth and store in a sealed container. Reuse up to 3 times for frying fish or potatoes.
- Testing doneness: The fish should flake easily with a fork and appear opaque throughout. If in doubt, use an instant-read thermometer.
Frequently Asked Questions
Can I bake walleye instead of frying it?
Yes, though the texture will differ. For a baked version, coat fillets as described, place on a greased baking sheet, drizzle with oil, and bake at 400°F for 12–15 minutes until golden and flaky. It won’t be as crunchy, but it’s a healthier alternative.
How do I know if my walleye is fresh?
Fresh fillets should have a clean, ocean-like smell (not fishy), moist flesh, and a translucent appearance. The meat should spring back when gently pressed. Avoid any with yellowing edges or a slimy surface.
What sides pair well with fried walleye?
Classic accompaniments include coleslaw, hush puppies, french fries, mashed potatoes, or a simple green salad. A dill-based tartar sauce or remoulade complements the fish’s mild flavor beautifully.
Final Checklist Before You Start Cooking
- Confirm walleye fillets are thawed and patted dry
- Gather all ingredients and set up dredging stations
- Pre-measure seasonings and prepare breading mixtures
- Have wire rack or paper towels ready for draining
- Check oil level and preheat to 350°F–375°F
- Cut fillets into uniform sizes for even cooking
- Keep cooked fillets warm in a 200°F oven if serving a crowd
Conclusion: Bring Home the Taste of the Lakes
Fried walleye doesn’t require gourmet skills—just attention to detail and respect for quality ingredients. By following this straightforward method, you can recreate the beloved flavors of lakeside diners and fishing cabins right in your kitchen. The result is more than a meal; it’s a celebration of tradition, freshness, and simple pleasures done well.


 浙公网安备
33010002000092号
浙公网安备
33010002000092号 浙B2-20120091-4
Comments
No comments yet. Why don't you start the discussion?