
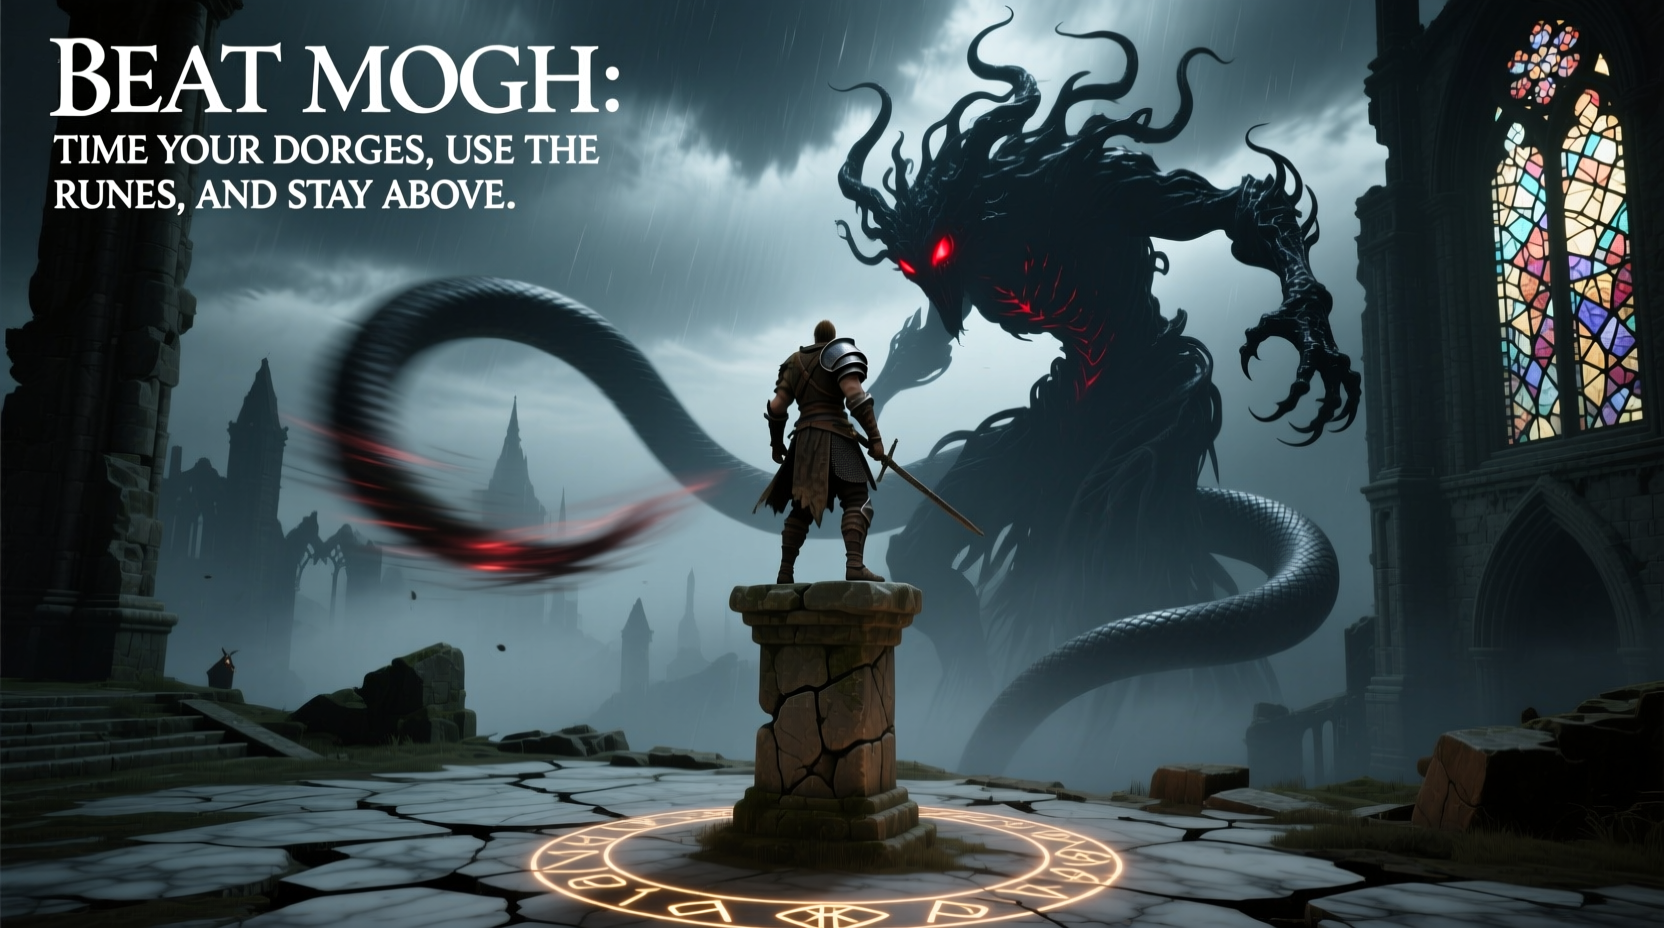
Mohg, Lord of Blood, returns in *Elden Ring: Shadow of the Erdtree* with heightened aggression, new abilities, and a battlefield that favors his grotesque mastery of blood and flesh. Unlike previous encounters, this version of Mohg is faster, more relentless, and capable of chaining devastating attacks across multiple phases. Defeating him isn’t just about gear—it’s about strategy, positioning, and understanding the rhythm of his assault. Whether you're playing a melee bruiser, a spellcaster, or a hybrid build, success hinges on preparation and execution.
Understand Mohg’s Phases and Attack Patterns
Mohg’s fight unfolds in two distinct phases, each escalating in complexity. In Phase 1, he relies on swift claw combos, cursed blood projectiles, and teleports to close distance. His signature grab attack—where he lifts the player into the air and drains HP while dealing bleed buildup—is still present but now triggers more frequently under certain conditions, such as prolonged exposure in melee range without dodging.
Phase 2 begins once Mohg drops below 50% health. He summons a massive blood avatar, gains access to AoE explosions from below the arena, and introduces sweeping scythe attacks. The ground becomes partially flooded with cursed blood, slowing movement speed by up to 30%. This phase also features screen-wide blood flail sweeps and delayed homing orbs that track the player across large distances.
Optimize Your Build for Mobility and Sustain
No single build dominates Mohg universally, but survivability and sustained damage output are critical. Melee builds benefit most from high poise and fast rolling, while casters need sufficient FP management and spell shielding via Arcane Ward or similar effects.
Dexterity-based weapons like Rivers of Blood or Uchigatana (with Bloodbite) remain highly effective due to innate bleed scaling. Faith users can counter Mohg’s dark magic with Golden Vow combined with a bleed-infused weapon blessed through Holy Blade. Sorcery users should prioritize spells like Glintstone Pebble (for mobility) or Comet Azur if they can maintain distance—though line-of-sight interruptions make consistent casting difficult.
“Mobility wins fights in Shadow of the Erdtree. If you can't reposition every 5 seconds, you’ll be overwhelmed.” — Kaelen, Elden Ring Speedrun Record Holder
Essential Preparation Checklist Before Engagement
- Equip Talisman of the Sunflower or Flame of Frenzy for increased skill uptime
- Infuse your weapon with Bleed or use Bloodblade Ash of War
- Bring at least 20 Golden Seeds and Sacred Tears
- Use Crimson Tears to mitigate blood explosion damage in Phase 2
- Wear armor with high scarlet rot resistance (aim for 70+)
- Prepare a Firepot or Thunderbolt charge for interrupting grab attempts
- Buff before entering the arena: Iron Flesh, Blessing of the Erdtree, etc.
Tactical Movement and Positioning Strategy
Positioning is the cornerstone of defeating Mohg. During Phase 1, circle around him counterclockwise (from his perspective), staying just outside claw range. This forces him to turn slowly, creating predictable openings after combo finishes. After every two hits landed, immediately roll backward or diagonally to reset threat and avoid telegraphed grabs.
In Phase 2, the arena transforms. Avoid standing near the center or edges where AoEs spawn. Instead, hug one side of the circular platform and move laterally whenever Mohg raises his arms—a sign of imminent ground burst. When he levitates and charges energy, prepare for a wide scythe sweep; dodge twice in the same direction to avoid the second hit.
| Attack Type | Visual Cue | Evasion Method |
|---|---|---|
| Claw Combo (3-hit) | Leans forward, swipes rapidly | Backward roll after second hit |
| Blood Grab | Hands glow red, lunges forward | Lateral roll + Firepot interruption |
| Ground Eruption (Phase 2) | Cracks appear beneath feet | Roll perpendicular to cracks |
| Scythe Sweep (Phase 2) | Floats upward, pulls scythe back | Double dodge same direction |
| Homing Blood Orbs | Raises hand, releases floating spheres | Stay mobile; don’t stop rolling |
Step-by-Step Guide to Executing Victory
- Pre-fight Setup: Buff with defensive incantations and apply weapon enhancements.
- Phase 1 – Establish Rhythm: Land 2–3 hits, then disengage. Focus on building bleed with every exchange.
- Avoid Grabs: At 75% and 25% HP, Mohg prioritizes grabs. Keep moving laterally even when out of attack range.
- Transition to Phase 2: As soon as the blood avatar appears, consume a Crimson Tear to reduce explosion damage.
- Manage Arena Zones: Stick to one quadrant and shift only when floor cracks form. Never stand still.
- Exploit Wind-down Windows: After major AoEs, Mohg has 3–4 seconds of recovery. Use this to deal heavy damage.
- Finish Strong: Once bleed meter fills (or HP drops below 10%), unleash all remaining skills and potions.
Mini Case Study: How a Level 150 Mage Defeated Mohg Solo
Player \"Lumisara,\" a pure intelligence caster at level 150, struggled with Mohg for over seven hours using standard comet-based strategies. After repeated deaths in Phase 2, she shifted approach: she abandoned high-damage, slow-cast spells entirely. Instead, she used Glintstone Pebble (upgraded with Swift Glintstone) to chip away at Mohg during movement windows, paired with Rock Sling to interrupt grab animations. She summoned Ancestral Follower and pre-buffed with Carian Greatshield.
Her turning point came when she realized that staying airborne via jump-casting disrupted Mohg’s targeting priority. By jumping just before scythe sweeps, she avoided both hits and created micro-openings. She carried 15 Mana Sprigs and used Opaline Bloom rings to regenerate FP mid-combat. On her 12th attempt, she defeated Mohg with 12% HP remaining—proving that unconventional tactics can triumph where brute force fails.
Frequently Asked Questions
Can I parry Mohg’s attacks?
Most of Mohg’s physical strikes are parryable, including his claw combos and scythe swings. However, his grab and magical AoEs cannot be parried. Timing is strict—only recommended for players with high confidence in their reflexes.
Is bleed still the best status effect against Mohg?
Yes. Mohg has lower innate resistance to bleed compared to other endgame bosses. Weapons with high bleed buildup (like Magma Blade or Rivers of Blood) will stagger him faster and open larger damage windows.
Do Spirit Ashes help significantly?
Absolutely. Summoning a tanky spirit like Lone Wolf or a distraction-based one like Spirit Jellyfish reduces pressure dramatically. Even a few seconds of aggro diversion can allow for safe healing or repositioning.
Final Thoughts and Call to Action
Beating Mohg in *Shadow of the Erdtree* isn’t about perfect stats or legendary gear—it’s about adaptability, patience, and reading the flow of battle. The fight punishes greed and rewards discipline. Every roll, every buff, every potion matters. Now that you have the tools, go face him with confidence. Learn from each defeat. Adjust your loadout. Master the timing. And when you finally see that victory message, know that it was earned through persistence and precision.


 浙公网安备
33010002000092号
浙公网安备
33010002000092号 浙B2-20120091-4
Comments
No comments yet. Why don't you start the discussion?