
Press-on nails have revolutionized at-home manicures, offering salon-quality results in minutes. However, improper removal can lead to thinning, peeling, or weakening of the natural nail bed. Many people unknowingly compromise their nail health by rushing the process or using harsh techniques. When done correctly, removing press-ons should leave your natural nails intact, clean, and ready for recovery — not brittle or damaged. This guide outlines proven, gentle methods backed by dermatologists and nail technicians to safely remove press-on nails while preserving nail integrity.
Why Proper Removal Matters
The structure of the natural nail includes the nail plate, cuticle, and matrix — all of which are sensitive to trauma. Aggressive peeling, prying, or excessive soaking can disrupt this delicate system. Over time, repeated misuse during removal leads to conditions like onycholysis (separation of the nail from the bed), ridges, or fungal vulnerability. The adhesive used in press-ons bonds tightly, especially after days of wear, making patience essential. A slow, controlled removal process minimizes stress on the nail surface and prevents micro-tears in the layers beneath.
“Nail damage from press-ons isn’t inevitable — it’s usually a result of incorrect removal. Taking 15 extra minutes to do it right can prevent months of recovery.” — Dr. Lena Torres, Board-Certified Dermatologist
Step-by-Step Guide: Safe Removal Process
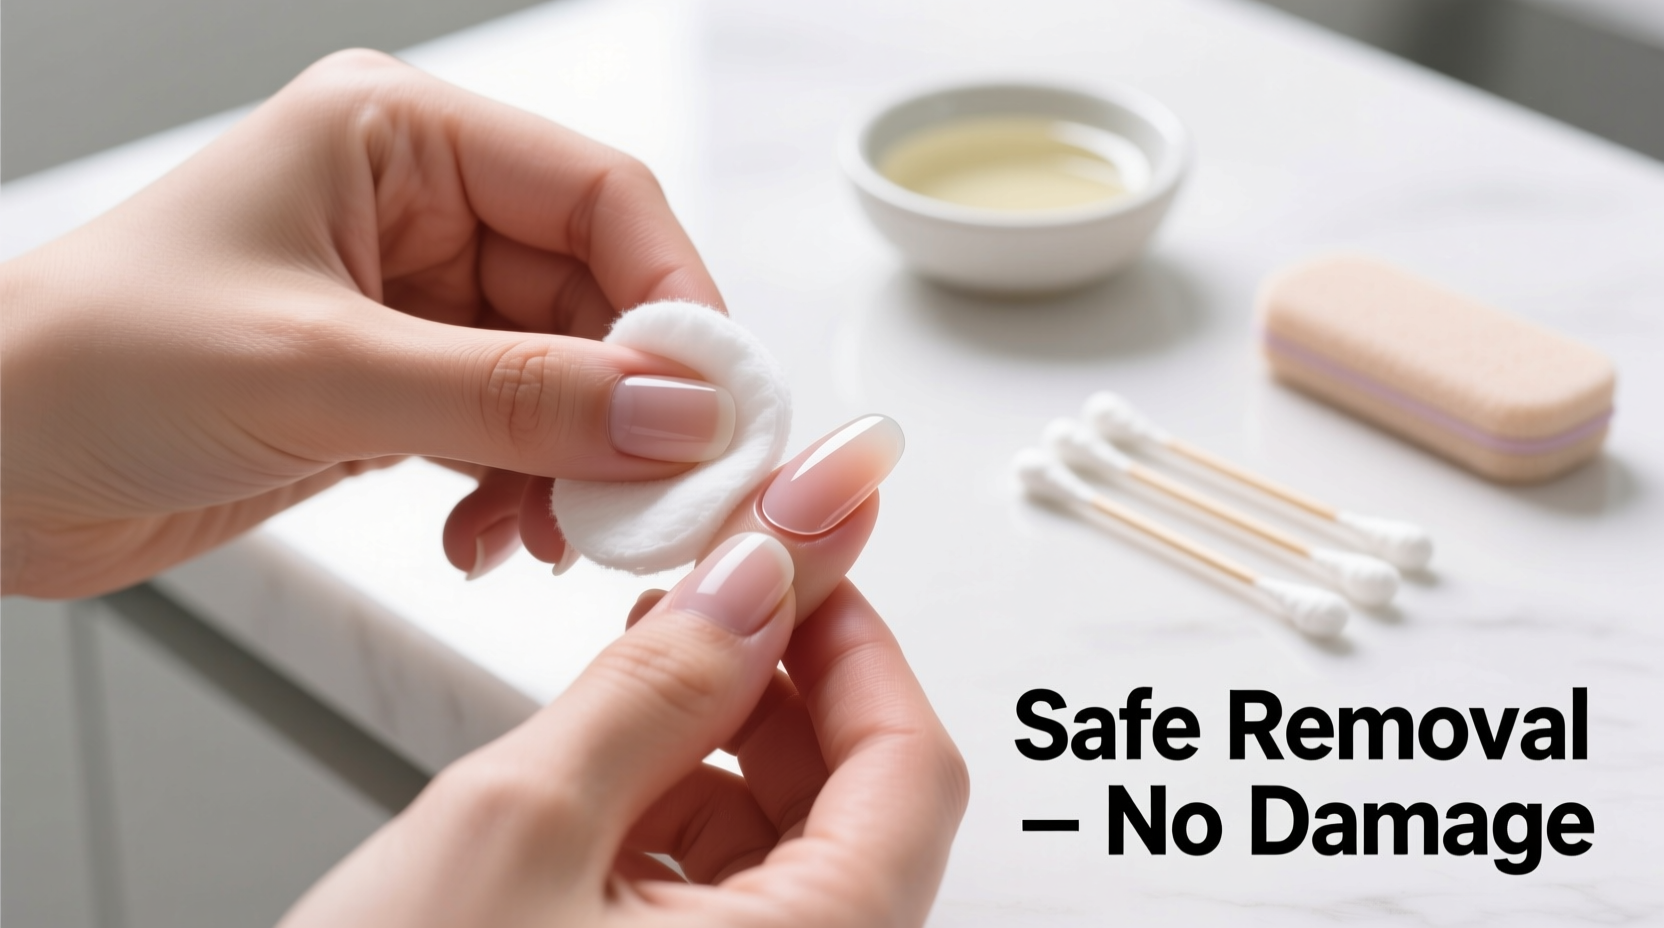
Follow this detailed sequence to remove press-on nails without harming your natural nails. This method prioritizes hydration, controlled softening, and minimal force.
- Clean and Prep Your Hands: Wash your hands thoroughly with soap and water. Dry completely. Remove any surface oils or lotions that might interfere with the soaking process.
- Clip and File Down Press-Ons: Use nail clippers to shorten the press-ons slightly. Then gently file the top surface with a fine-grit file (180 grit). Focus on breaking the glossy seal — this helps the remover penetrate the adhesive faster.
- Soak in Acetone (Optional but Effective): Pour 100% pure acetone into small bowls — one per finger. Soak cotton pads in acetone and place them over each nail. Wrap each fingertip in aluminum foil to hold moisture in. Let sit for 15–20 minutes. Do not exceed 20 minutes to avoid drying out the nail and cuticles.
- Gently Lift Edges: After soaking, use an orangewood stick or cuticle pusher to lightly nudge the edge of the press-on. If it doesn’t lift easily, re-soak for another 5 minutes. Never force or pry aggressively.
- Slide Off Completely: Once loosened, slide the nail off in one smooth motion. Avoid twisting or wiggling, which can peel layers of the natural nail with it.
- Clean Residue Gently: Wipe away leftover glue with a cotton swab dipped in acetone. Do not scrub. For stubborn bits, use a wooden tool with light pressure.
- Moisturize Immediately: Apply a nourishing cuticle oil or hand cream rich in vitamin E, jojoba, or shea butter. Massage into the nail bed and surrounding skin to restore hydration.
Alternative Methods Without Acetone
Not everyone can tolerate acetone due to dryness or sensitivities. Fortunately, there are effective non-chemical alternatives that rely on steam and moisture.
- Warm Water Soak: Soak fingertips in warm, soapy water for 30–40 minutes. Add a few drops of olive oil or baby oil to help loosen the bond. Reapply warmth if water cools. Patience is key — this method takes longer but avoids chemicals entirely.
- Steam Method: Hold hands over a bowl of steaming water (or use a facial steamer) for 10–15 minutes. Cover hands with a towel to trap heat. The moisture softens both adhesive and nail surface, making removal easier.
- Oil-Based Softeners: Apply coconut oil, cuticle oil, or petroleum jelly generously to the edges of each nail. Seal with plastic wrap and wait 20–30 minutes. The oils slowly degrade the adhesive bond over time.
Do’s and Don’ts of Press-On Nail Removal
| Do’s | Don’ts |
|---|---|
| File the surface before soaking to break the seal | Peel or rip off the nails like bandages |
| Use 100% acetone for faster, more effective results | Soak for more than 20 minutes in acetone |
| Wrap fingers in foil to retain heat and moisture | Use metal tools to scrape off glue |
| Moisturize immediately after removal | Remove press-ons immediately before applying new ones |
| Allow nails to breathe for 2–3 days between applications | Skip cleaning residue — leftover glue traps bacteria |
Real Example: Recovering From Nail Damage
Samantha, a remote worker from Austin, wore press-on nails nearly continuously for six months during virtual meetings. She removed them by peeling them off when bored or impatient. Within weeks, her natural nails became thin, layered, and painful to touch. After consulting a dermatologist, she learned that repeated trauma had caused onychoschizia — nail splitting. Following a structured removal protocol and a three-month nail rehab routine involving biotin supplements, nightly oil treatments, and zero enhancements, her nails regained strength and resilience. Her turning point? Learning that “quick” removal wasn’t saving time — it was costing her long-term health.
Nail Recovery Checklist After Removal
To support healing and prepare for future wear, follow this post-removal checklist:
- ✅ Clean nails with mild soap and lukewarm water
- ✅ Buff gently only if needed — avoid aggressive filing
- ✅ Apply cuticle oil twice daily for at least one week
- ✅ Avoid gel polish or dip powder for 5–7 days
- ✅ Wear gloves when doing dishes or cleaning
- ✅ Hydrate internally — drink plenty of water and consider biotin or collagen supplements
- ✅ Monitor for signs of infection: redness, swelling, pain, or discharge
Frequently Asked Questions
Can I reuse press-on nails after removal?
Yes, if they come off intact and the adhesive pad is still usable. Clean the inside with rubbing alcohol, let dry, and reapply with nail glue or double-sided sticker. However, reuse is limited — typically once or twice — as the fit may loosen over time.
How often can I safely wear press-on nails?
Dermatologists recommend limiting continuous wear to 7–10 days, followed by a break of at least 2–3 days. This cycle prevents dehydration and gives the nail bed time to regenerate. Frequent, back-to-back application increases risk of thinning and sensitivity.
What if the glue won’t come off?
Stubborn residue can be softened with a cotton swab soaked in acetone or oil-based remover. Dab (don’t rub) repeatedly until it lifts. Avoid metal scrapers — they scratch the nail surface. If residue persists, see a professional rather than forcing it.
Conclusion: Protect Your Natural Nails
Press-on nails offer convenience and creativity, but their benefits shouldn’t come at the cost of long-term nail health. The safest removal method combines preparation, controlled softening, and gentle handling. Whether you choose acetone or opt for natural oil-based alternatives, the principles remain the same: patience, care, and post-care matter most. By respecting your nails’ biology and avoiding shortcuts, you can enjoy beautiful enhancements without sacrificing strength or appearance. Make mindful removal part of your routine — your future self will thank you when your natural nails stay strong, smooth, and resilient.


 浙公网安备
33010002000092号
浙公网安备
33010002000092号 浙B2-20120091-4
Comments
No comments yet. Why don't you start the discussion?