
Finding a tick on your dog can be unsettling, but prompt and proper removal significantly reduces the risk of disease transmission. Ticks are vectors for serious illnesses such as Lyme disease, anaplasmosis, and ehrlichiosis. While veterinary care is always recommended for persistent infestations or signs of illness, most ticks can be safely removed at home with the right tools and technique. This guide provides practical, vet-approved methods to help you remove ticks effectively while minimizing stress for both you and your pet.
Why Proper Tick Removal Matters
Improper removal techniques—like squeezing, twisting, or using heat—can cause the tick to regurgitate its stomach contents into your dog’s bloodstream, increasing the chance of infection. Additionally, leaving behind the tick’s head or mouthparts can lead to localized irritation, swelling, or secondary infection. The goal is clean, complete extraction without trauma to the skin.
According to the American Veterinary Medical Association (AVMA), early detection and correct removal within 24–48 hours of attachment greatly reduce the likelihood of pathogen transmission. Not all ticks carry disease, but because it’s impossible to tell just by looking, every tick should be treated as a potential threat.
“Timely and precise tick removal is one of the most effective ways to protect your dog from vector-borne diseases.” — Dr. Laura Bennett, DVM, Small Animal Infectious Disease Specialist
Step-by-Step Guide to Safe Tick Removal
Follow this detailed process to ensure safe and thorough tick removal:
- Stay calm and restrain your dog gently. If your dog is anxious, enlist help to hold them still. Use treats or calming words to keep them relaxed.
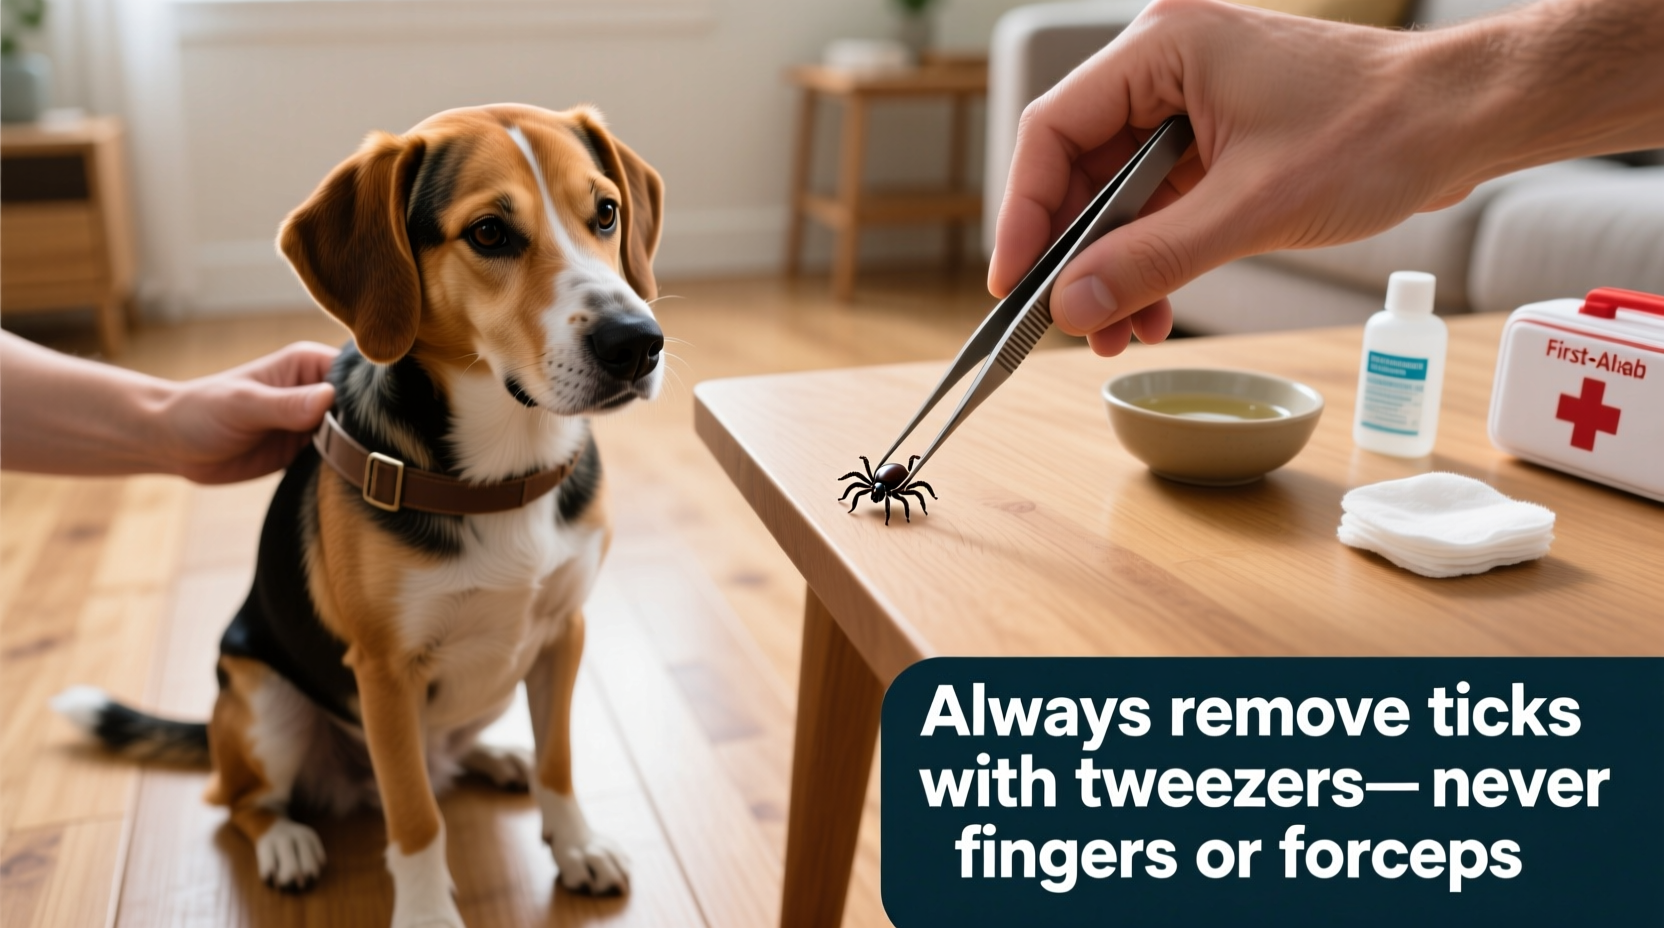
- Gather your supplies: fine-tipped tweezers or a tick removal tool (such as a Tick Twister or Lasso), antiseptic wipes, gloves, and a sealed container for disposal.
- Part the fur around the bite area to clearly see the tick’s body and point of attachment.
- Grasp the tick as close to the skin as possible using tweezers or a dedicated tool. Focus on the head or mouthparts, not the body.
- Pull upward with steady, even pressure. Do not jerk or twist, as this may break off the head and leave it embedded.
- Place the live tick into a sealed container with alcohol to kill it. Label it with the date and location found if monitoring for symptoms later.
- Clean the bite site with antiseptic and monitor daily for redness, swelling, or discharge.
- Wash your hands thoroughly after handling the tick.
Tick Removal Tools: What Works Best?
While fine-tipped tweezers are widely accessible and effective, specialized tick removers offer advantages in grip and control. Below is a comparison of common tools:
| Tool | Effectiveness | Pros | Cons |
|---|---|---|---|
| Fine-tipped tweezers | High (with proper technique) | Inexpensive, readily available | Requires precision; slippage risk |
| Tick Twister / Hook | Very High | Lifts tick smoothly without squeezing | Slight learning curve |
| Nit comb | Moderate | Useful for detecting small ticks | Not suitable for removal |
| Loop lasso tools | High | Secure grip on larger ticks | Less effective on flat, embedded ticks |
Experts recommend keeping a tick removal kit in your pet first-aid box, especially if you live in or frequently visit wooded or grassy areas where ticks are prevalent.
Common Mistakes to Avoid
- Squeezing or crushing the tick’s body – can force pathogens into the wound.
- Using heat (e.g., matches or hot embers) – causes distress and may burn your dog’s skin.
- Applying substances like alcohol or oil before removal – may trigger regurgitation.
- Leaving the tick in the trash or environment – preserves no record and risks reattachment or spread.
- Ignoring the bite site afterward – infection or allergic reaction can develop days later.
Mini Case Study: A Preventable Infection
Sarah, a dog owner in upstate New York, noticed a small bump on her Labrador’s shoulder two weeks after hiking. She recalled removing a tick herself using tweezers but thought little of it. When the bump grew and her dog became lethargic and feverish, she visited the vet. Blood tests confirmed Lyme disease. Upon review, the vet noted that part of the tick’s head remained under the skin, likely due to improper pulling angle. With antibiotics, the dog recovered fully—but Sarah now keeps a tick log and uses a removal tool for better results.
This case illustrates how minor errors during removal can have significant health consequences. Accuracy matters more than speed.
Aftercare and Monitoring Your Dog
Once the tick is removed, continued vigilance is crucial. Monitor the bite site for 7–10 days. Mild redness is normal, but expanding inflammation, pus, or hair loss warrants a vet visit.
Watch for systemic symptoms over the next few weeks, including:
- Lethargy or decreased appetite
- Lameness or joint stiffness (especially shifting leg lameness)
- Fever
- Swollen lymph nodes
If any of these occur, contact your veterinarian. Early treatment of tick-borne diseases improves outcomes dramatically. Some vets may recommend submitting the tick for testing through labs like TickReport or Cornell University’s Diagnostic Lab, which can identify pathogens present.
Prevention: Reducing Future Risk
Removal is reactive—prevention is proactive. Consider these strategies:
- Use monthly tick preventatives (topical, oral, or collar-based) recommended by your vet.
- Check your dog thoroughly after every outdoor activity, focusing on ears, between toes, under legs, and around the neck.
- Keep your yard mowed and clear of leaf litter and tall grass.
- Avoid known tick-heavy trails during peak seasons (spring and fall).
Discuss regional risks with your veterinarian. In high-prevalence areas, vaccines for Lyme disease may also be advised for at-risk dogs.
FAQ
What should I do if the tick’s head stays in my dog’s skin?
If only the head remains, avoid digging into the skin. Clean the area and monitor closely. In most cases, the body will expel the fragment naturally. If redness, swelling, or discomfort persists beyond a few days, consult your vet.
Can I get sick from handling a tick?
While direct transmission from tick to human via touch is rare, pathogens can enter through cuts or mucous membranes. Always wear gloves and wash hands after removal. Dispose of ticks safely—never flush or crush with bare fingers.
How long does a tick need to be attached to transmit disease?
Most studies indicate that a tick must be attached for at least 24–48 hours to transmit Lyme disease and other common pathogens. This window underscores the importance of daily checks, especially after hikes or outdoor play.
Conclusion
Removing a tick from your dog at home is a simple yet critical skill for responsible pet ownership. With the right tools, technique, and follow-up care, you can safeguard your dog’s health and peace of mind. Remember: slow, steady removal beats fast and forceful. Combine this knowledge with consistent prevention and regular check-ups to keep your dog protected year-round.


 浙公网安备
33010002000092号
浙公网安备
33010002000092号 浙B2-20120091-4
Comments
No comments yet. Why don't you start the discussion?