
A splinter in the foot is more than just a minor annoyance—it can be painful, limit mobility, and potentially lead to infection if not treated properly. Whether it's a tiny wood shard, glass fragment, or thorn, removing it safely at home is often possible with the right approach. While some cases require medical attention, many can be resolved with careful, informed techniques. Understanding how to identify, extract, and care for a splinter wound ensures faster healing and reduces complications.
When It’s Safe to Remove a Splinter at Home
Not every splinter should be handled independently. The decision to treat at home depends on several factors: depth, material, visibility, and signs of infection. Superficial splinters—those visible beneath the skin and not embedded deeply—are generally safe to remove at home. However, deep, broken, or blackened splinters may require professional help.
Certain materials also pose higher risks. Metal, glass, or rusty objects increase the chance of infection or tetanus, especially if the last tetanus shot was over ten years ago. Organic materials like wood or thorns can swell and break down under the skin, making timely removal important.
Essential Tools and Preparation
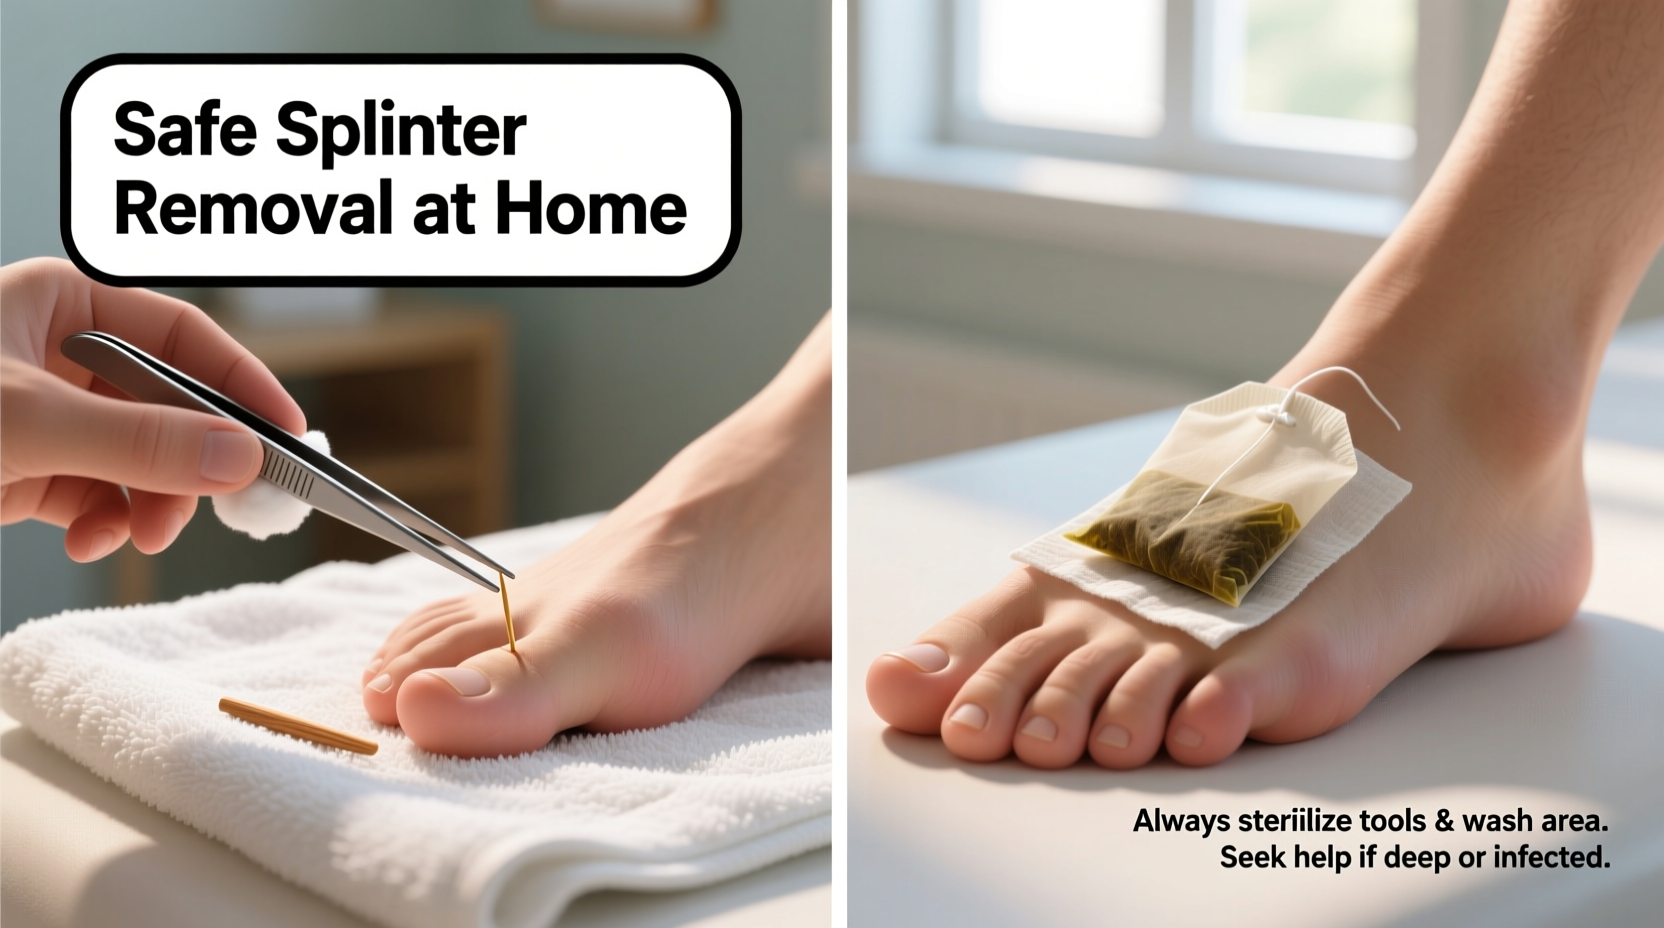
Before attempting removal, gather clean tools and prepare the area to minimize infection risk. Sterilization is critical. Wash your hands thoroughly with soap and water, then clean the affected foot with antiseptic solution or mild soap.
You’ll need:
- Clean tweezers (preferably fine-tipped)
- Sterile needle or pin
- Antiseptic (e.g., hydrogen peroxide, rubbing alcohol, or iodine)
- Cotton balls or swabs
- Bandage or adhesive strip
- Magnifying glass (optional, for better visibility)
Disinfect tweezers and needles by wiping them with alcohol or holding them in a flame for 10 seconds, then allow them to cool. Never use unsterilized tools, as this increases the risk of introducing bacteria into the wound.
Step-by-Step Guide to Removing a Splinter
Follow this logical sequence for safe and effective splinter removal:
- Soak the Foot: Immerse the foot in warm, soapy water for 10–15 minutes. This softens the skin and may help bring the splinter closer to the surface.
- Locate the Splinter: Dry the foot and examine the area under good lighting. Use a magnifying glass if needed.
- Lift One End (if necessary): If the splinter is partially embedded but not exposed, gently use a sterilized needle to lift the edge of the skin above it.
- Grasp and Pull: With sterilized tweezers, firmly grip the exposed end and pull slowly in the direction the splinter entered. Avoid snapping it.
- Clean the Wound: After removal, wash the area again and apply antiseptic.
- Bandage the Area: Cover with a sterile bandage to protect it during healing.
If the splinter breaks during removal, stop immediately. Allow the area to heal slightly, then try again in a day or two when the fragment may rise closer to the surface.
Alternative Methods for Stubborn Splinters
Some splinters are too small or deep to grasp with tweezers. In these cases, non-invasive techniques can encourage natural expulsion or easier access.
| Method | How It Works | Effectiveness |
|---|---|---|
| Baking Soda Paste | Mix baking soda with water, apply to the area, cover with a bandage for 24 hours. Draws splinter toward surface. | Moderate – best for shallow, invisible splinters |
| Tape Method | Place adhesive tape over the area and peel off gently. Works for tiny surface fragments. | Low to moderate – suitable only for very superficial splinters |
| Epsom Salt Soak | Soak foot in warm water with Epsom salt for 15 minutes daily. Reduces swelling and promotes drainage. | High – helps soften tissue and encourage natural ejection |
| Potato Slice | Place thin raw potato slice over splinter, cover overnight. Enzymes may help push it out. | Anecdotal – limited scientific backing but widely reported as effective |
These methods are best used when traditional tweezing isn’t possible. They require patience—results may take 1–3 days.
Real-Life Example: A Gardener’s Thorn Injury
Martha, an avid gardener, stepped on a rose thorn while working barefoot. The thorn broke off beneath the skin of her heel, leaving a small black dot and persistent discomfort. She tried pulling it out immediately but couldn’t grasp it. Instead, she soaked her foot in Epsom salt daily and applied a baking soda paste at night. By the third day, the thorn had risen enough to be gripped with tweezers. After removal, she cleaned the site and monitored it for infection. Full recovery took five days with no complications.
This case illustrates the value of patience and combining methods when direct extraction fails.
Common Mistakes to Avoid
Improper handling can worsen the injury or cause infection. Be mindful of these frequent errors:
- Using dirty or unsterilized tools
- Pulling at an angle instead of straight out
- Squeezing the skin aggressively, which can push the splinter deeper
- Leaving a fragment behind because it wasn’t fully removed
- Ignoring signs of infection such as redness, pus, or increasing pain
“Attempting to dig out a deep splinter without proper tools or technique can do more harm than good. When in doubt, seek medical help.” — Dr. Alan Reyes, Family Practice Physician
Post-Removal Care and Infection Prevention
After successful removal, proper aftercare is essential. Keep the wound clean and dry for the first 24 hours. Reapply antiseptic twice daily and change the bandage regularly, especially if it gets wet or dirty.
Monitor the area for 3–5 days. Signs of infection include:
- Increasing redness or warmth around the site
- Swelling or throbbing pain
- Yellow or green discharge
- Red streaks extending from the wound
If any of these occur, contact a healthcare provider. Oral antibiotics or minor surgical intervention may be required.
Frequently Asked Questions
Can I leave a splinter in if it’s not bothering me?
No. Even asymptomatic splinters can harbor bacteria or degrade under the skin, leading to delayed inflammation or infection. The body may eventually expel it, but proactive removal is safer.
What if the splinter is under my toenail?
Splinters under the nail are difficult to reach and prone to infection. Soak the foot and gently lift the nail edge with a sterilized tool. If unsuccessful or painful, see a podiatrist—do not force it.
How long does it take for a splinter to come out on its own?
It varies. Small, shallow splinters may surface within a few days. Deeper ones can remain for weeks or trigger chronic irritation. Using soaking and drawing methods can speed up the process.
Final Checklist for Safe Splinter Removal
- Wash hands and clean the foot thoroughly
- Gather sterilized tools: tweezers, needle, antiseptic
- Soak the foot to soften the skin
- Use proper lighting and magnification if needed
- Remove the splinter in the direction it entered
- Clean the wound and apply antiseptic
- Bandage and monitor for infection
- Seek medical help if removal fails or infection develops
Conclusion
Removing a splinter from your foot at home is often straightforward when done correctly. With the right tools, hygiene practices, and patience, most minor cases can be managed without a trip to the clinic. The key is acting promptly, avoiding common mistakes, and knowing when to seek professional help. Your feet carry you through life—treat even small injuries with care to keep them healthy and pain-free.


 浙公网安备
33010002000092号
浙公网安备
33010002000092号 浙B2-20120091-4
Comments
No comments yet. Why don't you start the discussion?