
Calluses on the feet are a common concern, especially for those who spend long hours on their feet, wear ill-fitting shoes, or engage in repetitive activities that create friction. While calluses form as a protective response to pressure and rubbing, they can become thick, uncomfortable, and unsightly over time. The good news is that most mild to moderate calluses can be managed effectively at home using safe, non-invasive techniques. This guide explores proven, dermatologist-approved methods to soften, exfoliate, and prevent foot calluses—without risking cuts, infections, or skin damage.
Understanding Foot Calluses: What They Are and Why They Form
A callus is a thickened area of skin that develops in response to repeated pressure or friction. Unlike corns, which are usually smaller and have a defined center, calluses tend to be broader, flatter, and less painful—though they can become tender if they grow too thick. Common areas include the heels, balls of the feet, and sides of the big toes.
The primary causes of calluses include:
- Wearing tight, narrow, or high-heeled shoes
- Walking barefoot frequently
- Abnormal gait or foot structure (e.g., flat feet or bunions)
- Standing for prolonged periods
- Not wearing socks with shoes
While generally harmless, untreated calluses may crack, leading to pain or infection. Therefore, early and consistent care is essential—not just for comfort, but for overall foot health.
Safe and Effective Home Removal Methods
Removing calluses safely requires patience and consistency. Aggressive scraping or cutting can lead to injury, especially for individuals with diabetes or poor circulation. The following methods are gentle, accessible, and effective when used correctly.
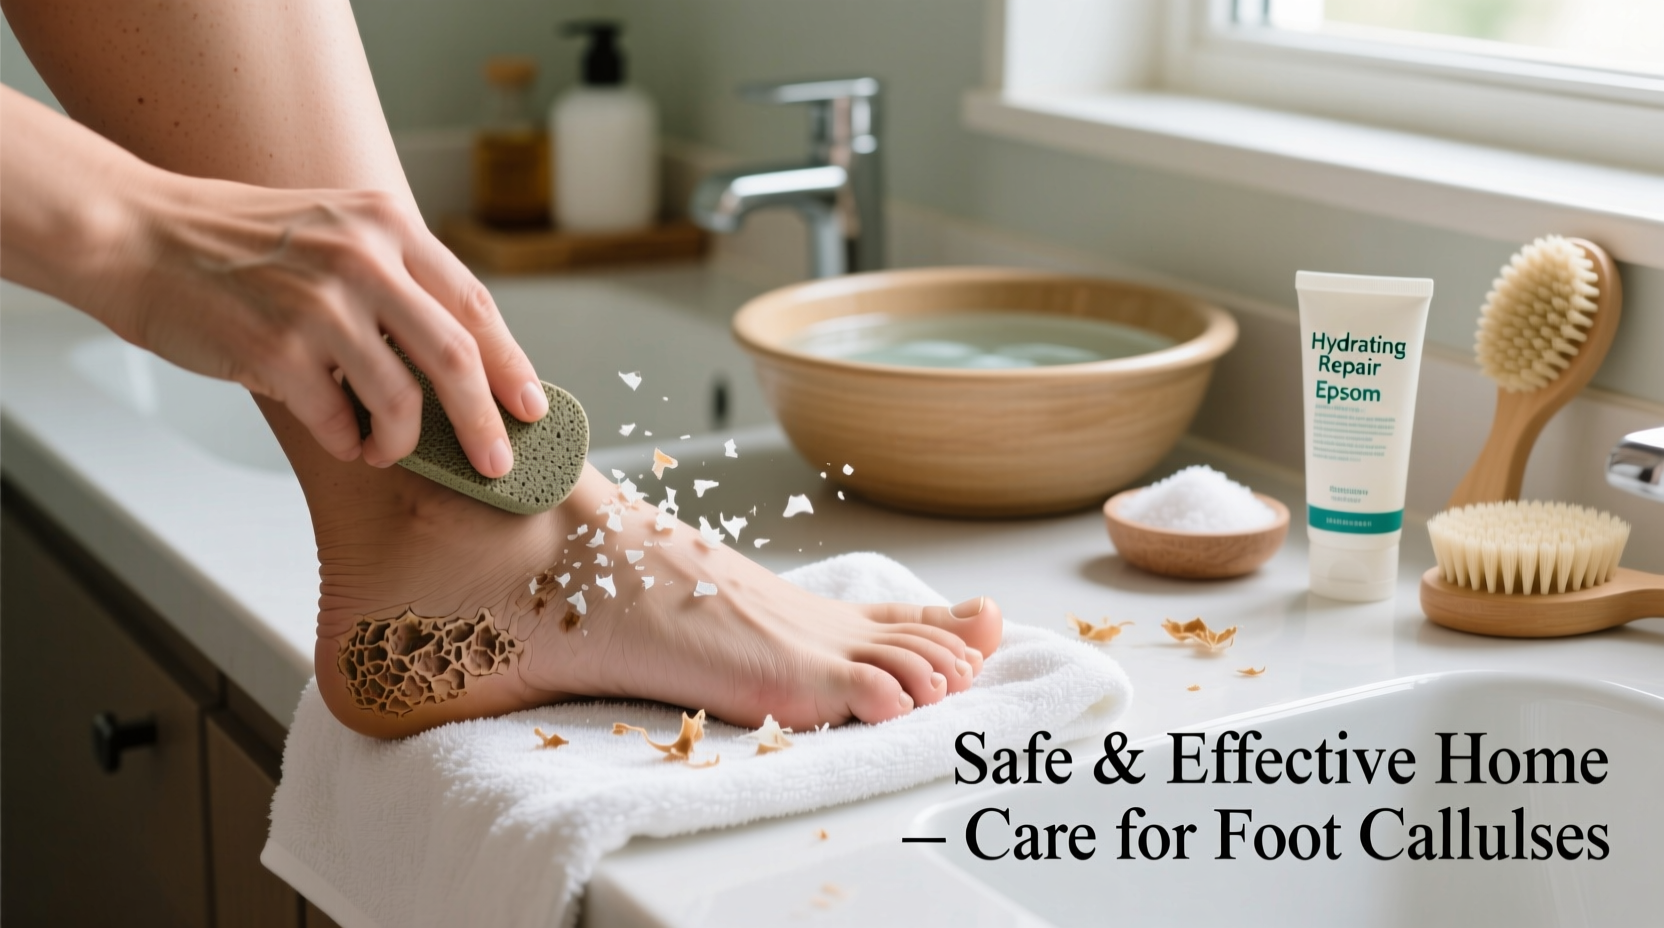
1. Soak and Soften
Begin by soaking your feet in warm, soapy water for 15–20 minutes. Adding Epsom salt (about ½ cup) helps soften the skin and reduce inflammation. After soaking, gently pat your feet dry—do not rub, as this can irritate the skin.
2. Exfoliate with a Pumice Stone or Foot File
Once the skin is softened, use a pumice stone, foot rasp, or fine-grit foot file to gently buff away dead layers. Move in circular or back-and-forth motions with light pressure. Avoid aggressive scrubbing, which can cause micro-tears.
“Gentle, consistent exfoliation is more effective—and safer—than trying to remove a callus in one session.” — Dr. Lena Torres, Podiatrist
3. Use Keratolytic Agents
Products containing salicylic acid (typically 5–17%) help break down keratin, the protein that makes up thickened skin. Apply these creams, pads, or liquids directly to the callus after bathing, then cover with a sock or bandage to enhance absorption. Always follow label instructions and avoid use on broken skin.
4. Moisturize Daily
Dry skin worsens callus formation. Apply a thick moisturizer containing urea (10–20%), lactic acid, or glycerin daily—especially before bed. Urea is particularly effective because it both hydrates and gently dissolves excess keratin.
5. Use Silicone Pads or Cushions
To reduce ongoing pressure, apply silicone toe sleeves or heel cushions inside your shoes. These redistribute weight and minimize friction, allowing the callus to heal without constant irritation.
Step-by-Step Weekly Care Routine
Consistency is key. Follow this seven-day plan to gradually reduce callus thickness while protecting foot health:
- Day 1: Soak feet in warm water with Epsom salt for 15 minutes. Gently exfoliate with a pumice stone.
- Day 2: Apply a urea-based foot cream before bed. Wear cotton socks overnight.
- Day 3: Repeat moisturizing. Avoid exfoliating to allow skin recovery.
- Day 4: Reassess the callus. If softened, lightly file again. Do not force removal.
- Day 5: Use a salicylic acid pad if recommended. Cover with a bandage.
- Day 6: Rest the area. Continue moisturizing and wear cushioned footwear.
- Day 7: Evaluate progress. Repeat the cycle as needed until desired results are achieved.
Do’s and Don’ts of Callus Removal
| Do’s | Don’ts |
|---|---|
| Soak feet before exfoliating | Use sharp razors or blades on calluses |
| Apply moisturizer daily | Ignore pain or bleeding during treatment |
| Wear properly fitted shoes | Overuse salicylic acid products beyond directed duration |
| Inspect feet regularly | Walk barefoot on hard surfaces frequently |
| Replace worn-out footwear | Scratch or pick at calluses aggressively |
Real Example: How Maria Reduced Her Heel Calluses in Three Weeks
Maria, a retail worker from Austin, spent 8–10 hours daily on her feet. Over months, she developed thick, cracked calluses on both heels. Initially, she tried peeling them off manually, which caused discomfort and minor bleeding. After visiting a podiatrist, she was advised to stop aggressive treatments and adopt a gentle routine.
She began soaking her feet every evening, using a pumice stone twice a week, and applying a 20% urea cream nightly. She also invested in supportive shoes with gel insoles. Within three weeks, her heels were noticeably smoother, and the cracks had closed. “I didn’t need surgery or harsh treatments,” she said. “Just consistency and the right products.”
Frequently Asked Questions
Can I cut off a callus with scissors or a blade?
No. Cutting or shaving calluses at home is dangerous and increases the risk of infection, cuts, and nerve damage. This should only be done by a licensed podiatrist using sterile tools.
How long does it take to remove a callus at home?
With consistent care, most mild to moderate calluses improve within 2–4 weeks. Thick or long-standing calluses may take several weeks longer. Patience and daily maintenance are crucial.
Are callus removers safe for people with diabetes?
Generally, no. Individuals with diabetes should avoid over-the-counter callus removers containing salicylic acid and never self-treat foot lesions. Nerve damage and poor circulation increase the risk of complications. Always consult a healthcare provider before attempting any foot treatment.
Prevention: Keeping Calluses from Returning
Once a callus is removed, preventing recurrence is equally important. Focus on reducing friction and maintaining skin health:
- Wear well-fitted shoes with adequate cushioning and wide toe boxes.
- Choose moisture-wicking socks made of cotton or wool blends.
- Use orthotic inserts if you have biomechanical issues like overpronation.
- Trim toenails regularly to avoid altered gait patterns.
- Rotate footwear to prevent consistent pressure on the same spots.
“Footwear is the number one factor in callus development. A shoe that fits well today might not support your feet under daily stress.” — Dr. Arjun Mehta, Podiatric Biomechanics Specialist
Conclusion: Take Gentle, Consistent Action for Healthier Feet
Removing foot calluses at home doesn’t require extreme measures. With a combination of soaking, gentle exfoliation, targeted moisturizers, and preventive strategies, most people can achieve softer, healthier feet safely. The goal isn’t instant removal, but sustainable improvement—without compromising skin integrity.
Start today by assessing your footwear, gathering basic foot care tools, and committing to a simple weekly routine. Your feet carry you through life; give them the care they deserve.


 浙公网安备
33010002000092号
浙公网安备
33010002000092号 浙B2-20120091-4
Comments
No comments yet. Why don't you start the discussion?