
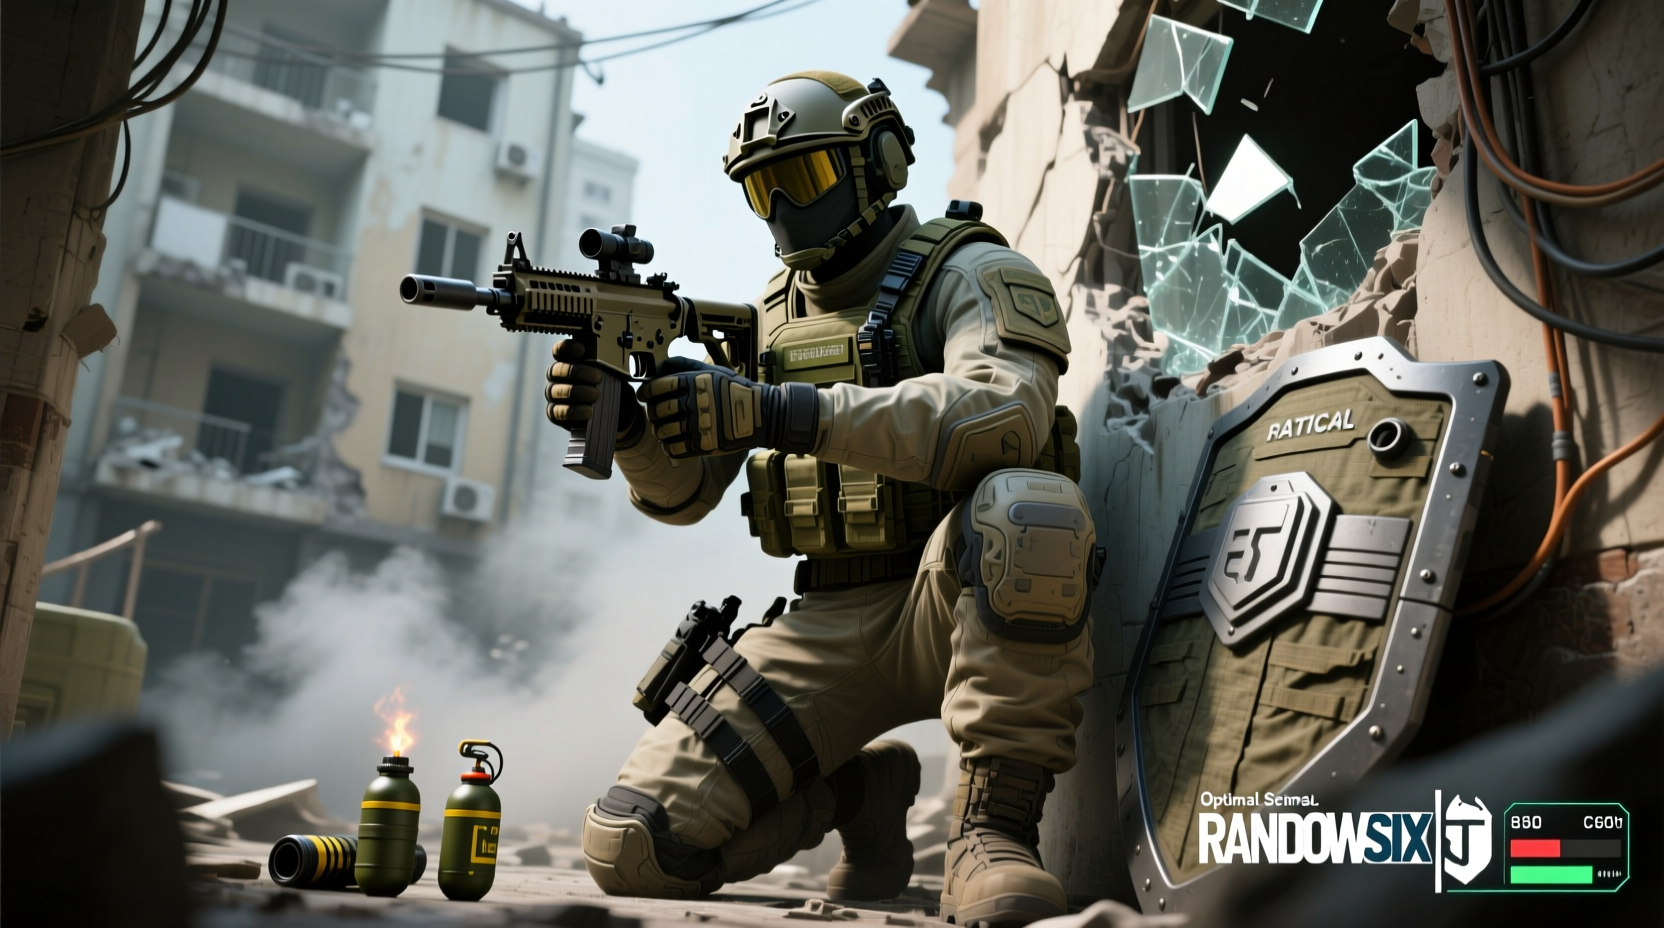
Osa, the Polish defender in Rainbow Six Siege, brings a unique blend of mobility, intelligence denial, and area control to any defensive lineup. Her signature gadget, the Talon-8 Clear Shield, allows her to create temporary bulletproof barriers on reinforced walls and hatches—offering unparalleled flexibility in both static holds and roaming setups. However, maximizing Osa’s potential hinges on more than just mastering her gadget; it requires thoughtful selection of weapons, attachments, and complementary gear that align with your playstyle and team strategy.
This guide breaks down the optimal gear choices for Osa, balancing versatility, effectiveness, and adaptability across maps and game modes. Whether you're anchoring a site or rotating aggressively, these configurations ensure you remain a constant threat while maintaining defensive integrity.
Understanding Osa’s Role and Strengths
Osa excels in dynamic defense. Unlike traditional anchors who rely on static fortifications, Osa can reposition her shields mid-round, react to attacker movements, and deny line-of-sight (LOS) where it matters most. This makes her ideal for:
- Denying aggressive pushes through soft walls or hatches
- Creating unpredictable anchor points
- Supporting roamers by blocking flanking routes
- Disrupting drone recon with shield placement
Her ability to deploy up to five Talon-8 panels per round gives defenders a tactical edge in controlling space without permanent structural changes. But this advantage only shines when paired with the right weapon loadout and team coordination.
Primary Weapon Options and Attachments
Osa has access to two primary weapons: the Mx4 Storm submachine gun and the SPAS-15 shotgun. Each serves a distinct role depending on engagement distance and positioning.
Mx4 Storm – Balanced Mid-to-Close Range Dominance
The Mx4 Storm is Osa’s most versatile firearm. With a high rate of fire (850 RPM), manageable recoil, and compatibility with full-auto and burst modes, it performs well in close-quarters combat and medium-range exchanges.
Recommended Attachments:
| Attachment | Why It Matters |
|---|---|
| Suppressor | Reduces muzzle flash and sound, making it harder for attackers to pinpoint your location—critical for a mobile defender. |
| Reflex Sight (e.g., 1.0x) | Improves target acquisition speed without sacrificing peripheral vision. |
| Vertical Grip | Enhances vertical recoil control, especially during prolonged bursts. |
| 30-Round Magazine | Increases sustained firepower during multi-engagement rotations. |
For players prioritizing stealth and precision, pairing the Mx4 with a suppressor and compact sight maximizes its utility in ambush scenarios.
SPAS-15 – Aggressive Close-Quarters Power
The SPAS-15 is a semi-automatic shotgun ideal for holding tight angles or defending objectives at very close range. Its high per-shot damage ensures one-hit kills within 7 meters, but limited range and slow reload make it situational.
Best Used When:
- Holding flush sites with minimal exposure
- Playing as an anchor in small rooms (e.g., server rooms, basements)
- Countering fast-capable operators like Sledge or Ace
Attach a flashlight and reflex sight for faster target acquisition in dark zones. Avoid overextending—this weapon rewards patience, not aggression.
“Osa’s real value isn’t in her kill count—it’s in how she shapes the battlefield. A single well-placed shield can redirect an entire attack.” — Viktor Len, Pro Analyst, ESL R6 League
Secondary Weapons and Utility Synergy
Osa’s secondary options include the P9 pistol and the SMG-11. While both are viable, their roles differ significantly.
- P9: High magazine capacity (15+1 rounds), accurate at medium range, ideal for conserving primary ammo during long holds.
- SMG-11: Extremely high fire rate (1200 RPM), excellent for last-resort CQB, but poor accuracy beyond 10 meters.
If you plan to rotate frequently or expect multiple engagements, the SMG-11 offers better stopping power. For disciplined, position-based play, the P9 provides reliability and control.
Complement your loadout with one frag grenade or impact grenade. The frag is superior for clearing drones or flushing out campers, while the impact excels in disrupting breaching lines.
Step-by-Step: Building Your Optimal Osa Loadout
Follow this sequence to tailor your gear for maximum effectiveness:
- Choose your primary based on site layout: Use the Mx4 Storm for open or multi-level sites; opt for SPAS-15 in compact, choke-point-heavy locations.
- Select attachments for stealth and control: Suppressor + vertical grip + reflex sight form a strong baseline.
- Pick a secondary that complements your confidence level: SMG-11 if you’re comfortable in CQB, P9 for conservative play.
- Add utility: One frag grenade is generally more flexible than impact unless facing heavy breacher lineups.
- Plan shield deployment: Pre-place at least two shields in common breach paths or intel-vulnerable walls.
- Communicate placements: Inform teammates so they can adjust crossfires accordingly.
Real-World Scenario: Holding Café Corner on Clubhouse
In a ranked match on Clubhouse, attackers frequently push Café corner via the hallway hatch or reinforce the outer wall. As Osa, you’re assigned to hold backsite.
You pre-deploy one Talon-8 shield over the hatch window and another on the adjacent reinforced wall. When Thermite signals a breaching charge on the main wall, you remove the hatch shield and reposition it to block LOS from the newly created hole.
Attackers enter expecting a clear line into the room—but your repositioned shield denies their angle. One player advances blind and is eliminated by your Mx4 Storm burst. The second retreats, wasting time and exposing themselves to your teammate’s crossfire from upstairs.
This example illustrates Osa’s core strength: adaptive denial. By using her gadget dynamically, she turned a predictable defense into a trap.
Checklist: Optimizing Your Osa Gameplay
Use this checklist before each match to ensure readiness:
- ✅ Confirm primary weapon and attachments are set
- ✅ Equip at least one frag grenade
- ✅ Review map layout and identify key shield positions
- ✅ Coordinate with team on expected push directions
- ✅ Practice quick shield redeployment in training mode
- ✅ Monitor remaining shield charges during rounds
- ✅ Prioritize LOS denial over direct confrontation
Frequently Asked Questions
Can Osa’s shields stop melee attacks?
No. While the Talon-8 panels are bulletproof, they do not block melee attacks. Attackers can still knife through them if they reach the other side.
How many times can I move a single shield?
You cannot “move” a deployed shield. Once placed, it remains fixed until destroyed or the round ends. However, you can carry up to five panels and choose where to deploy them throughout the round.
Is Osa good against Thatcher and pulse?
Yes. Her shields block Thatcher’s EMP grenades from disabling hard breaches and disrupt Pulse’s heartbeat sensor by covering wall entry points. Properly placed, they severely limit electronic intel tools.
Conclusion: Master the Battlefield, Not Just the Gun
The best Osa loadout isn’t defined solely by attachments or weapon stats—it’s shaped by awareness, timing, and spatial control. Choosing the Mx4 Storm with a suppressor and reflex sight gives you the flexibility to engage at various ranges, while smart use of the Talon-8 shield transforms passive defense into active disruption.
Whether you're anchoring a site or supporting a roaming duo, remember: Osa’s true power lies in unpredictability. A shield in an unexpected spot forces hesitation, wastes breaching tools, and creates opportunities for your team. That’s the hallmark of elite defense—not just surviving, but controlling the flow of battle.


 浙公网安备
33010002000092号
浙公网安备
33010002000092号 浙B2-20120091-4
Comments
No comments yet. Why don't you start the discussion?