
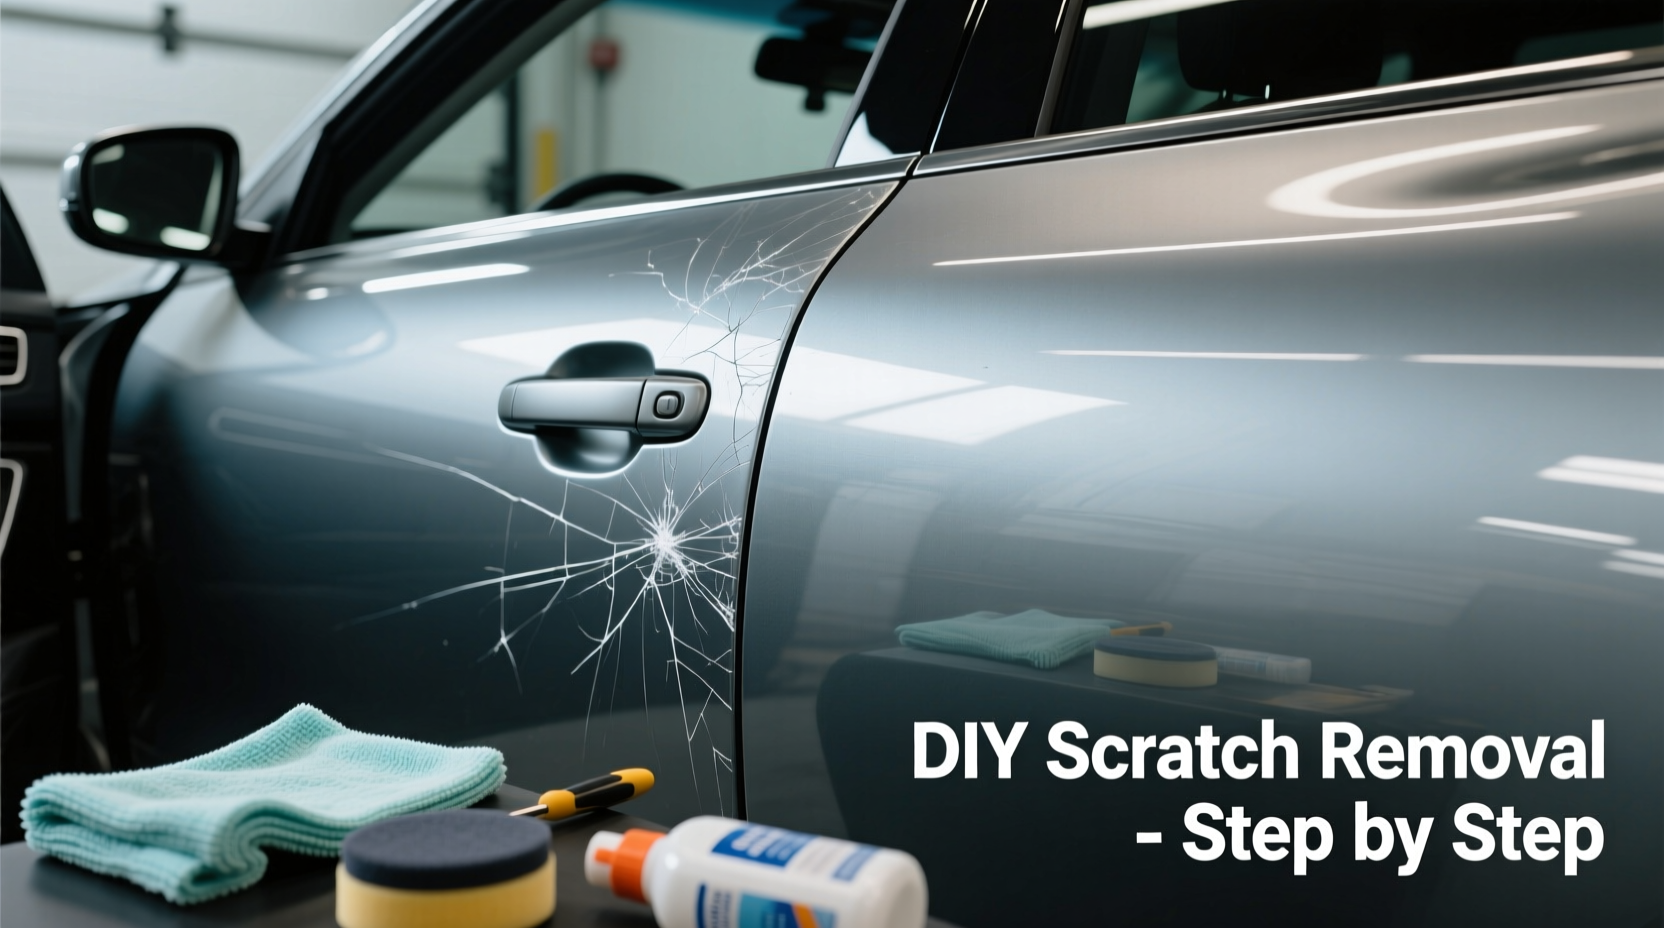
A small scratch on your car’s paint can be more than an eyesore—it can lead to rust, deeper damage, and reduced resale value if left untreated. While deep gouges require professional attention, most surface-level or light scratches only affect the clear coat and can be safely repaired at home. With the right tools, materials, and technique, you can restore your vehicle’s glossy finish without spending hundreds at a body shop.
This guide walks through practical, cost-effective DIY approaches that deliver real results. Whether it’s a key mark, tree branch swipe, or shopping cart scrape, these methods focus on clarity, safety, and long-term protection of your car’s paintwork.
Understanding Scratch Types: Know What You're Dealing With
Not all scratches are the same. Before reaching for polish or compound, identify the depth of the damage:
- Surface Scratches (Clear Coat Only): These appear as faint white or silver marks. They don’t catch your fingernail and are typically caused by light abrasion like wiping dust with a rough cloth.
- Moderate Scratches (Into Base Paint): More visible and often colored (matching the car’s paint). Your nail catches slightly when swiped across. These may expose pigment but not metal.
- Deep Scratches (Through to Metal or Primer): Expose bare metal or grey primer, often accompanied by chipping. These require touch-up paint and possibly professional sealing to prevent corrosion.
The methods covered here are designed specifically for surface and minor moderate scratches—those confined to the clear coat or just penetrating the top layer of paint.
Essential Tools and Materials for DIY Scratch Removal
Successful scratch correction starts with the right supplies. Most items are affordable and reusable across multiple vehicles or future repairs.
| Tool/Material | Purpose | Recommended Type |
|---|---|---|
| Clean Microfiber Towels | Application and buffing without scratching | Lint-free, dual-sided (waffle weave) |
| Clay Bar | Removes embedded contaminants before polishing | Synthetic detailing clay with lubricant |
| Cutting Compound or Polishing Paste | Levels minor imperfections in clear coat | Mild abrasive formula (e.g., Meguiar’s Ultimate Compound) |
| Carnauba Wax or Synthetic Sealant | Protects and enhances shine post-repair | Car wax with UV protection |
| Fine-Grit Sandpaper (2000–3000 grit) | For smoothing edges around deeper scratches | Wet/dry sandpaper only |
| Polishing Pad & Dual-Action Polisher (Optional) | Speeds up process and improves consistency | DA polisher with foam pad |
If working by hand, patience is essential. A machine delivers faster, more even results but isn't mandatory for small areas.
Step-by-Step Guide: Removing Light Scratches at Home
Follow this systematic approach to correct light scratches safely and effectively.
- Wash the Affected Area
Use pH-neutral car shampoo and a soft sponge to clean the scratched panel. Dirt and grime can interfere with polishing and cause micro-scratches. Rinse thoroughly and dry with a clean microfiber towel. - Use a Clay Bar Treatment
Spray a clay lubricant (or diluted soapy water) onto the area. Gently glide the clay bar back and forth across the surface. This removes bonded contaminants like brake dust, tree sap, or industrial fallout that could dull the finish after polishing. - Test the Scratch Response
Apply a small amount of polishing compound to a microfiber applicator. Rub in circular motions over one end of the scratch using light to medium pressure. Wipe away residue after 20 seconds. Check if the scratch has faded. If yes, proceed. If not, assess whether the damage is too deep for DIY repair. - Apply Compound Evenly
For larger areas, work in 2x2 foot sections. Apply compound sparingly and use either a foam applicator pad or dual-action polisher set to low-medium speed. Work in overlapping circles until the entire section is treated. Avoid excessive pressure, especially on curved panels. - Refine with Finishing Polish (Optional)
After using a cutting compound, follow with a finer finishing polish to eliminate any haze and bring out maximum gloss. Buff with a clean microfiber cloth. - Inspect and Repeat if Necessary
View the area under direct sunlight or bright LED light. If the scratch remains faintly visible, repeat the process once more. Do not over-polish—excessive removal of clear coat weakens protection. - Seal with Wax or Sealant
Once satisfied with the result, apply a high-quality wax or synthetic sealant. This protects the newly smoothed surface from oxidation, UV rays, and environmental damage.
Alternative Methods for Quick Fixes
When time or tools are limited, these alternatives offer temporary improvements:
- Toothpaste (Non-Gel Formula): Contains mild abrasives similar to polishing compounds. Dampen a cloth, apply toothpaste, and rub over the scratch in straight lines (not circles) for 60 seconds. Wipe clean. Best for very fine swirls.
- Scratch Repair Pens: Designed for minor scuffs, these fill shallow scratches with colored resin. Choose one that matches your car’s paint code. Clean the area first, apply thinly, and wipe excess immediately.
- Touch-Up Paint + Clear Coat Pen: For scratches into base color, apply manufacturer-matched paint with a fine brush. Let dry 20 minutes, then apply a clear coat pen to level and protect. Avoid thick layers.
“Many people underestimate how much a well-executed DIY polish can do. With proper technique, 80% of light scratches disappear completely.” — Jason Reed, Auto Detailing Specialist with 15 years in collision repair
Mini Case Study: Fixing a Parking Lot Scratch
Mark, a commuter in Portland, returned to his silver sedan to find a 6-inch scratch along the rear door—likely from a shopping cart. The mark was visible but didn’t catch his nail. He followed the DIY steps outlined above:
- Washed the door with chemical-free car soap
- Used a clay bar to prep the surface
- Applied Meguiar’s Ultimate Compound by hand with a foam pad
- Buffed with a microfiber cloth and sealed with Turtle Wax Hybrid Solution
After two applications spaced 48 hours apart, the scratch became nearly invisible under normal lighting. Mark saved over $180 compared to a local detailer’s quoted price and gained confidence in maintaining his vehicle’s appearance.
Common Mistakes to Avoid
Even experienced DIYers make errors that compromise results or harm paint. Steer clear of these pitfalls:
| Mistake | Why It’s Harmful | How to Avoid |
|---|---|---|
| Using household cleaners (e.g., Windex) | Strips wax, dries out clear coat, may etch paint | Stick to automotive-specific products |
| Over-applying compound | Creates heat, swirl marks, and uneven finish | Use pea-sized amounts per section |
| Polishing in direct sunlight | Causes premature drying and poor adhesion | Work in shade or garage |
| Ignoring surrounding areas | Repaired spot may look shinier than rest of panel | Blend edges carefully; consider full-panel treatment |
| Skipping wax/sealant after repair | Leaves polished area vulnerable to contamination | Always finish with protective coating |
FAQ: Your Top Questions Answered
Can I really remove scratches without a buffer?
Yes. While a dual-action polisher speeds up the job and delivers more consistent results, hand application works well for small or scattered scratches. Expect to spend 10–15 minutes per affected zone with firm, steady pressure.
Will these methods work on black or dark-colored cars?
Dark paints show scratches more prominently, but they also respond well to polishing because the contrast fades as surface texture evens out. However, deep swirls may require multiple sessions. Be extra cautious—over-polishing thin black paint can lead to “buffer trails” or holograms.
How long will the repair last?
A properly sealed repair lasts as long as the surrounding paint—typically several months to a year depending on exposure. Regular washing and bi-monthly waxing extend durability. Avoid automatic car washes with brushes, which accelerate wear.
Checklist: DIY Scratch Repair Success Plan
- ✅ Wash and dry the scratched area thoroughly
- ✅ Perform a clay bar treatment to decontaminate
- ✅ Identify scratch depth using fingernail test
- ✅ Select appropriate compound or polish
- ✅ Work in shaded, cool conditions
- ✅ Apply product in small sections with even pressure
- ✅ Inspect progress under natural light
- ✅ Finish with quality wax or sealant
- ✅ Monitor area weekly for signs of recurrence
Conclusion: Take Control of Your Car’s Appearance
Light scratches don’t have to mean a trip to the auto shop or living with blemishes. With basic knowledge and accessible products, you can maintain a showroom-quality finish from your driveway. The key lies in accurate assessment, careful execution, and consistent protection.
Every scratch repaired is a step toward greater confidence in caring for your vehicle. These skills not only save money but also preserve your car’s value and pride of ownership. Start small—one door, one scratch—and build experience over time.


 浙公网安备
33010002000092号
浙公网安备
33010002000092号 浙B2-20120091-4
Comments
No comments yet. Why don't you start the discussion?