
Window screens are essential for keeping insects out while allowing fresh air to circulate through your home. Over time, wear and tear—whether from pets, weather, or accidental impacts—can lead to tears, sagging, or even complete detachment of the screen material. Rather than replacing entire screens, which can be costly and unnecessary, most common issues can be effectively repaired using simple DIY methods. With the right tools and a bit of patience, you can restore your screens to full function and significantly extend their usable life.
Understanding Common Window Screen Damage
Before attempting any repair, it's important to assess the type and extent of damage. Most screen problems fall into one of several categories: small punctures, large tears, bent frames, loose spline, or warped corners. Minor damage, such as pinholes or small rips, can often be patched without removing the screen. Larger tears or frame warping usually require more involved repairs, including re-screening or structural reinforcement.
Screens made from fiberglass are more prone to tearing but resist corrosion, while aluminum screens are stronger but can dent or corrode in coastal areas. Knowing your screen’s material helps determine the best repair approach and replacement materials if needed.
Step-by-Step Guide to Repairing Small Tears and Holes
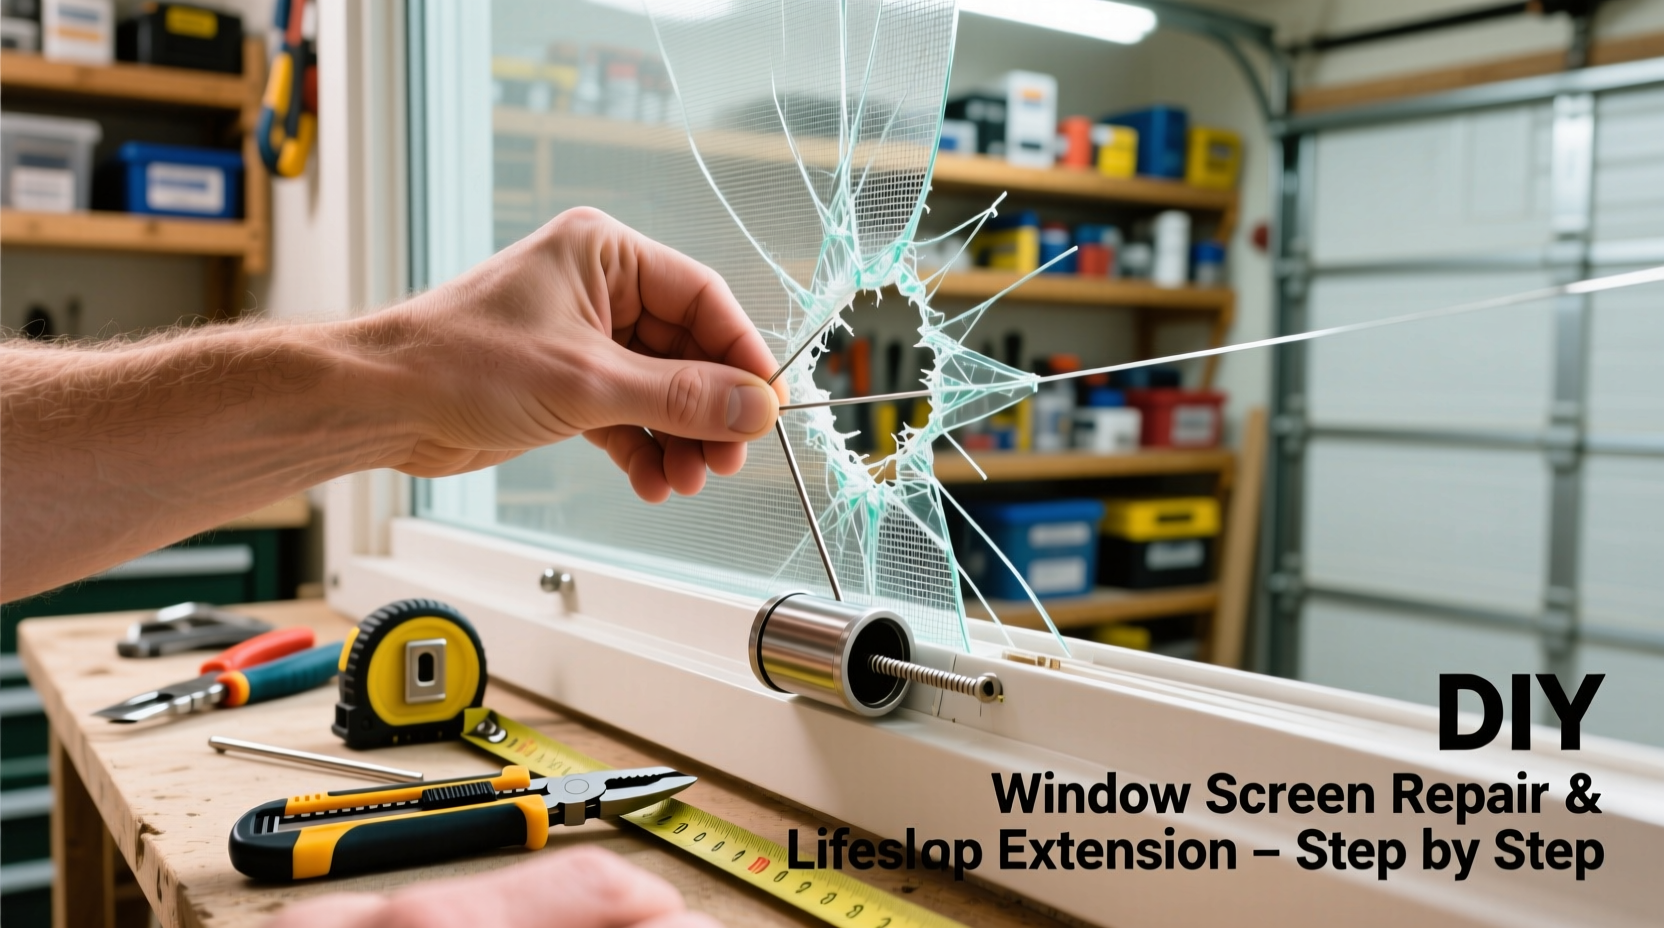
Small holes caused by fingernails, pet claws, or twigs don’t require full re-screening. A quick patch can restore integrity and insect protection.
- Clean the area around the tear with a damp cloth to remove dust and debris.
- Cut a patch from matching screen material, making it about 1 inch larger than the damaged area on all sides.
- Apply a small amount of clear outdoor-rated adhesive (such as silicone sealant) to the back edges of the patch.
- Press the patch firmly over the hole, ensuring it lies flat and covers the entire tear.
- Allow the adhesive to cure fully—typically 24 hours—before reinstalling the screen.
This method works best when the surrounding screen is still taut and undamaged. Avoid using tape or glue alone without a reinforcing patch, as these solutions tend to fail under UV exposure and temperature changes.
Replacing Damaged Screen Mesh: A Complete Re-Screening Process
When a screen has multiple tears, widespread sagging, or missing sections, replacing the mesh entirely is the most durable solution. This process requires a few basic tools: a spline removal tool (or flathead screwdriver), utility knife, screen rolling tool (or J-roller), cutting surface, and new screen material matching the original size and weave.
Re-Screening Steps:
- Remove the screen frame from the window carefully to avoid further bending.
- Lay the frame on a flat surface and use the spline tool to lift and remove the old rubber spline from the groove.
- Peel out the damaged screen fabric and discard it.
- Cut a new piece of screen slightly larger than the frame opening—about 2 inches extra on each side.
- Align the new screen over the frame, ensuring even overlap on all sides.
- Starting at the center of one side, press the screen into the groove using the roller tool, then insert the new spline to lock it in place.
- Work your way around the frame, pulling gently to maintain tension without stretching.
- Once all four sides are secured, trim excess screen with a utility knife guided along the outer edge of the spline.
- Reinstall the screen into the window track and test for fit and stability.
Proper tension is critical. Too loose, and the screen will sag; too tight, and you risk warping the frame or tearing the mesh.
“Most screen failures start at the corners where tension is highest. Ensuring even pressure during re-screwing prevents premature wear.” — Carlos Mendez, Home Maintenance Technician with 18 years of experience
Preventative Maintenance Checklist
Extending the lifespan of your window screens isn’t just about fixing damage—it’s about preventing it. Regular care reduces stress on materials and maintains performance over time.
- ✅ Clean screens every 3–6 months with mild soap and water to prevent grime buildup.
- ✅ Trim nearby tree branches or vines that may rub against or push into screens.
- ✅ Install child or pet guards behind vulnerable screens to absorb impact.
- ✅ Lubricate sliding tracks annually to reduce strain when opening and closing.
- ✅ Store removable screens flat and off the ground during off-seasons to avoid warping.
- ✅ Check spline condition regularly; replace cracked or brittle spline promptly.
Do’s and Don’ts of Screen Repair and Care
| Do’s | Don’ts |
|---|---|
| Use matching screen material for consistent airflow and visibility | Don’t mix different mesh types (e.g., solar vs. standard) in the same home |
| Replace both spline and screen if either shows signs of fatigue | Don’t reuse old, compressed spline—it won’t hold securely |
| Work in a shaded area to avoid heat-related expansion during installation | Don’t install screens in direct sunlight; materials expand and contract unevenly |
| Label removed screens by window location for easy reinstallation | Don’t stack screens vertically—they can warp under pressure |
Real Example: Reviving a Decades-Old Screen in a Historic Home
In a 1920s bungalow in Portland, Oregon, homeowner Lisa T. faced deteriorating screens on her original casement windows. The aluminum frames were intact but had lost tension due to dried-out spline and corroded corners. Instead of costly replacements, she opted for a DIY restoration.
She began by removing each screen and replacing the brittle spline with UV-resistant vinyl. She upgraded the mesh to a finer fiberglass weave for better insect protection while preserving airflow. To reinforce weak corners, she applied epoxy filler and clamped them until set. After re-screening all eight units, the screens looked nearly new and performed better than the previous ones. The total cost was under $75, compared to an estimated $400 for professional replacements.
This case highlights how thoughtful repairs can preserve historic charm while improving functionality.
Frequently Asked Questions
Can I use household items instead of a screen rolling tool?
Yes, in a pinch, the rounded back of a butter knife or a plastic putty knife can help press the spline into the groove. However, a proper J-roller ensures even pressure and reduces the risk of damaging the frame or screen.
How long should a properly repaired screen last?
A well-executed repair using quality materials can extend a screen’s life by 5 to 7 years, depending on climate and usage. In harsh sun or salty coastal environments, expect 3–5 years before needing another check.
Is it worth repairing a heavily rusted metal screen?
If the rust is superficial and the frame remains rigid, cleaning with a vinegar solution and applying a rust-inhibiting primer can make it viable for re-screening. However, if the metal is flaking or structurally compromised, replacement is safer and more cost-effective.
Conclusion: Take Control of Your Home’s Comfort and Efficiency
Repairing window screens is one of the most accessible and impactful DIY projects homeowners can undertake. Not only does it save money, but it also enhances indoor comfort, improves ventilation, and protects against pests. By mastering a few fundamental techniques—patching, re-screening, and preventative care—you gain greater control over your living environment and reduce reliance on expensive contractors.
Every screen you repair extends the life of your home’s components and contributes to sustainable living. Whether you’re maintaining a modern apartment or restoring a vintage property, these skills pay dividends in durability and peace of mind.


 浙公网安备
33010002000092号
浙公网安备
33010002000092号 浙B2-20120091-4
Comments
No comments yet. Why don't you start the discussion?