
Reusable press on nails have transformed the way people approach at-home manicures. Offering a balance between convenience, affordability, and style, they’re a favorite among beauty enthusiasts who want salon-quality results without the damage or time commitment of permanent enhancements. However, their longevity depends heavily on proper care. Without consistent cleaning and thoughtful maintenance, reusable press ons can lose their shine, adhesive strength, and structural integrity in just a few uses. With the right routine, it’s possible to reuse a single set 5–10 times or more while keeping them looking fresh and professional.
Why Proper Care Matters
Unlike disposable press on nails, reusable versions are designed with thicker, more durable materials—typically made from ABS plastic, gel-infused polymers, or flexible acrylics. These materials resist chipping and bending better than standard tips, but they still accumulate oils, residue, and bacteria over time. When improperly cleaned or stored, buildup under the nail bed can weaken adhesion, cause discoloration, or even lead to fungal contamination. More than hygiene, neglect affects aesthetics: dull surfaces, uneven edges, and weakened tabs make reapplication difficult and unattractive.
Proper maintenance not only extends wear life but also ensures comfort and safety. A well-maintained press on nail adheres smoothly, feels natural, and avoids lifting or snagging—critical for daily activities like typing, cooking, or exercising.
Step-by-Step Guide to Cleaning Reusable Press On Nails
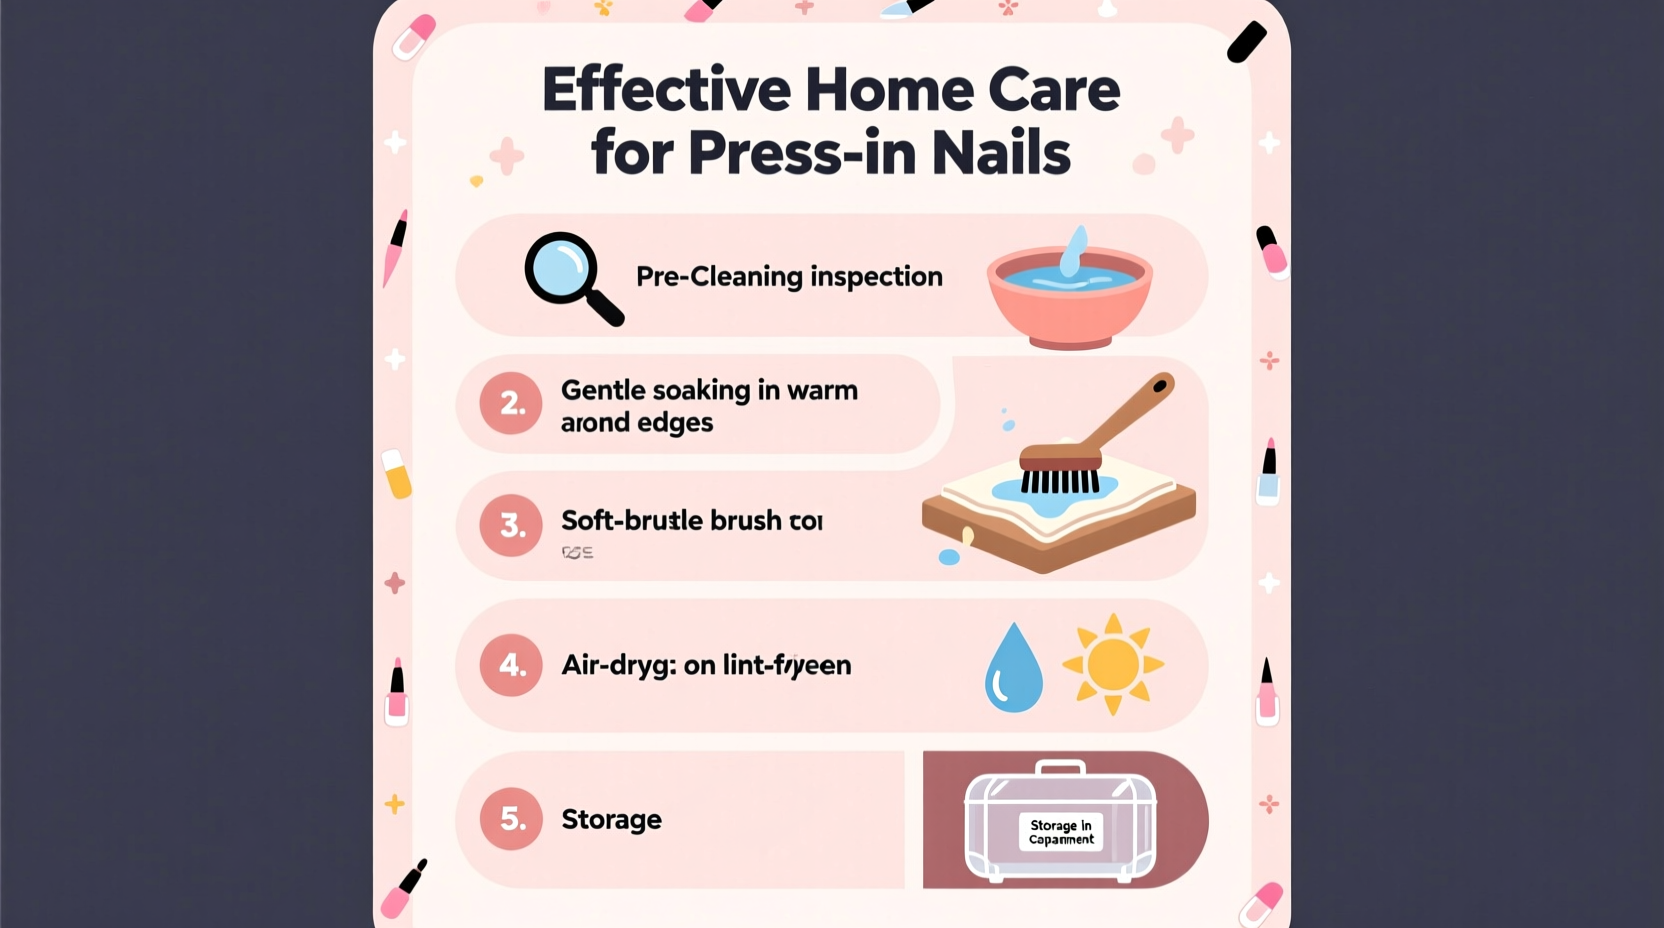
Cleaning should begin immediately after removal. The longer residue sits, the harder it is to remove without damaging the nail surface. Follow this detailed process for optimal results:
- Remove gently using a wooden cuticle stick or orangewood tool. Avoid metal tools that can scratch or warp the nail. Slide the tool under the edge and slowly lift—do not pry aggressively.
- Soak in warm, soapy water for 3–5 minutes. Use a small bowl with lukewarm water and a drop of mild dish soap. This loosens adhesive and breaks down oils.
- Clean the underside with a soft toothbrush. Gently scrub the inside of the nail where adhesive remains. Focus on corners and edges where glue tends to collect.
- Dab dry with a lint-free cloth. Do not air-dry completely, as moisture can get trapped. Pat thoroughly to prevent warping.
- Sanitize with 70% isopropyl alcohol. Dip a cotton swab in alcohol and wipe both the interior and exterior surfaces. This kills bacteria and removes any oily film.
- Buff lightly if needed. If the surface appears cloudy, use a fine-grit buffer (180/240) in one direction to restore shine—never sand aggressively.
This method preserves the nail’s shape and finish while ensuring it’s safe for future application.
Do’s and Don’ts of Maintenance
| Do’s | Don’ts |
|---|---|
| Store in a sealed container away from sunlight | Leave nails exposed on open surfaces |
| Use pH-balanced nail prep wipes before reapplying | Apply directly over dirty or oily natural nails |
| Reapply adhesive tabs or use nail-safe glue sparingly | Overuse glue, which can seep and degrade the nail base |
| Inspect each nail for cracks or warping before reuse | Force a warped nail to fit—it may break during wear |
| Label individual sets by size or design for easy access | Mix different sets together; they can scratch each other |
Expert Insight on Longevity and Hygiene
Nail health professionals emphasize that hygiene is non-negotiable when reusing artificial nails. Dr. Lena Torres, a licensed esthetician and nail technician with over 12 years of experience, explains:
“Many clients don’t realize that leftover adhesive and skin cells create a breeding ground for microbes. Sanitizing isn’t optional—it’s essential. I recommend treating reusable press ons like makeup brushes: clean after every use, store properly, and retire them when they show signs of wear.” — Dr. Lena Torres, Certified Nail Technician & Educator
She also advises against sharing press on nails, even among family members, due to the risk of transferring fungi or bacteria. Personal use only significantly reduces infection risks.
Real-Life Example: Sarah’s 8-Time Reuse Routine
Sarah, a graphic designer from Austin, TX, wanted to reduce her monthly beauty spending without sacrificing style. She invested in three high-quality magnetic press on sets totaling $90 and committed to a strict maintenance plan. After each wear (typically lasting 7–10 days), she followed the cleaning steps outlined above. She stored each set in its original case lined with silica gel packets to absorb moisture. Before reapplying, she used a nail dehydrator and applied new adhesive tabs.
After six months, two of her sets had been reused eight times with minimal wear. One showed slight yellowing and was retired. “I saved over $200 in salon visits,” Sarah said. “And honestly, no one could tell they weren’t real extensions.” Her success underscores how consistency in care multiplies value.
Checklist for Ongoing Maintenance
- ✔ Remove nails carefully without force
- ✔ Soak briefly in warm soapy water
- ✔ Scrub underside with soft brush
- ✔ Dry completely with microfiber cloth
- ✔ Disinfect with isopropyl alcohol
- ✔ Inspect for damage or warping
- ✔ Store in labeled, ventilated case
- ✔ Replace adhesive tabs before each use
- ✔ Avoid acetone-based removers on the nail surface
- ✔ Retire any nail with deep scratches or lifting layers
Frequently Asked Questions
Can I use nail polish remover to clean reusable press on nails?
Only if it’s acetone-free. Acetone breaks down the polymer structure of most reusable nails, causing brittleness and cloudiness. For surface polish removal, use an acetone-free formula and wipe gently with a cotton pad.
How long can I reuse a single set?
With proper care, most high-quality sets last between 5 and 15 applications. Factors include frequency of use, exposure to water, and how well they’re cleaned and stored. Signs it’s time to retire a set include persistent stickiness, visible thinning, or difficulty adhering even with fresh tabs.
Is it safe to reshape reusable press ons?
Limited reshaping is acceptable. You can lightly file the sides or tip with a 180-grit file to adjust fit, but avoid reducing thickness or shortening the nail excessively. Over-filing compromises durability and increases the chance of cracking.
Final Thoughts and Call to Action
Reusable press on nails offer a sustainable, stylish alternative to traditional manicures—but only if treated with care. The difference between a set that lasts twice and one that lasts ten times comes down to routine: consistent cleaning, smart storage, and mindful handling. By integrating simple habits like sanitizing after removal and replacing adhesive tabs, you protect your investment and maintain flawless results.
Start today by gathering your tools and organizing your collection. Label sets, discard damaged ones, and commit to a post-removal cleaning ritual. Share your own tips or favorite products in the comments below—your insight could help others achieve healthier, longer-lasting nail beauty at home.


 浙公网安备
33010002000092号
浙公网安备
33010002000092号 浙B2-20120091-4
Comments
No comments yet. Why don't you start the discussion?