
A properly functioning radiator is essential for maintaining a comfortable indoor temperature during colder months. When radiators fail to heat evenly, make unusual noises, or develop leaks, it not only reduces heating efficiency but can also lead to higher energy bills and potential water damage. While some issues require professional intervention, many common radiator problems can be diagnosed and repaired at home with basic tools and a bit of know-how. This guide walks through the most frequent radiator issues, how to identify them, and practical steps to resolve them safely and effectively.
Understanding How Radiators Work
Most homes use hydronic (hot water) radiator systems, where a boiler heats water that circulates through pipes into radiators. As the hot water flows through the radiator, it releases heat into the room before returning to the boiler to be reheated. Air trapped in the system, sediment buildup, valve malfunctions, or corrosion can all disrupt this process. Recognizing the symptoms early allows homeowners to address minor faults before they escalate into costly repairs.
It's important to distinguish between different types of radiators—such as panel, column, or baseboard models—as their maintenance needs vary slightly. However, the core principles of diagnosis and repair remain consistent across most residential systems.
Common Radiator Problems and How to Diagnose Them
Before attempting any repair, accurate diagnosis is crucial. The following are the five most frequent radiator issues encountered in homes:
- Cold spots on the radiator – Often caused by trapped air preventing hot water from circulating fully.
- No heat at all – May indicate a closed valve, system blockage, or thermostat issue.
- Gurgling or banging noises – Usually due to air pockets or water pressure imbalances.
- Leaking from valves or joints – Can result from worn seals, loose connections, or corrosion.
- One radiator hotter than others – Suggests an imbalance in the system’s flow regulation.
Step-by-Step Diagnosis Process
- Check if the radiator’s control valve is fully open by turning it counterclockwise.
- Feel the radiator surface: if the top is cold but the bottom is warm, air is likely trapped.
- Listen for sounds: hissing indicates air release; knocking may suggest sludge buildup.
- Inspect for visible leaks around valves, joints, or the radiator body.
- Compare temperatures across multiple radiators—if one is significantly cooler, balancing may be needed.
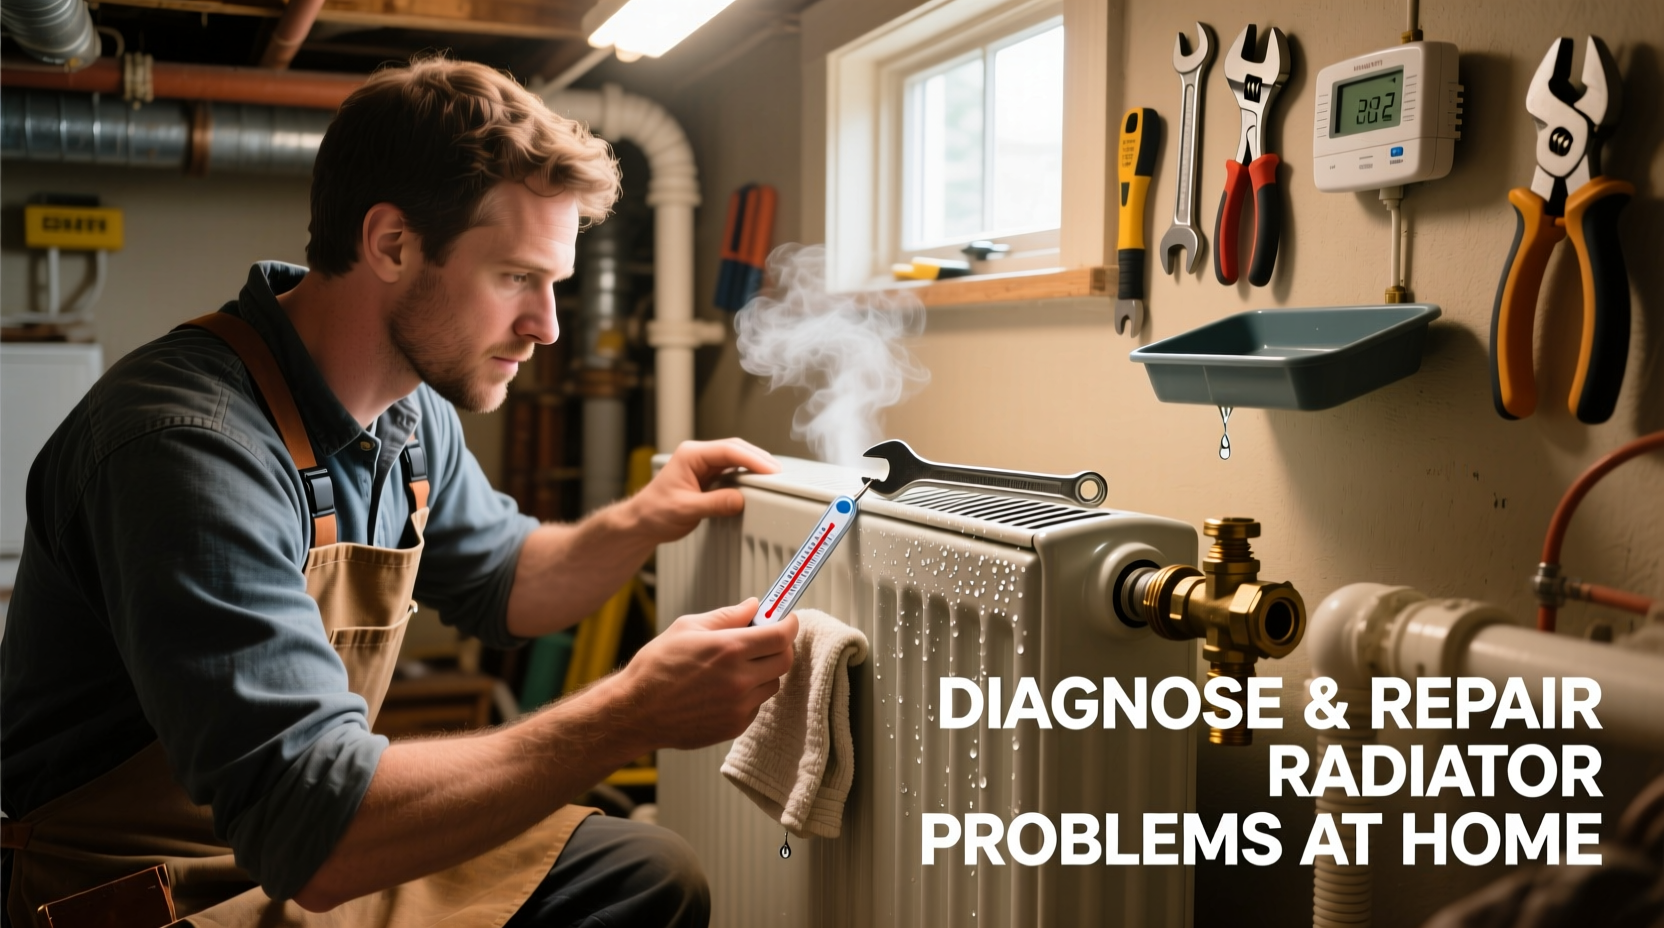
Bleeding Radiators to Remove Trapped Air
One of the most effective and frequently required maintenance tasks is bleeding radiators. Over time, air accumulates at the top of the unit, creating cold spots and reducing efficiency. Bleeding releases this trapped air and restores full heating performance.
What You’ll Need:
- Radiator bleed key (available at hardware stores)
- Towel or cloth
- Small container to catch drips
Procedure:
- Turn off the central heating system and wait until the radiators are cool.
- Locate the bleed valve at the top corner of the radiator.
- Place the towel underneath to absorb any escaping water.
- Insert the bleed key and slowly turn it counterclockwise. A hissing sound means air is escaping.
- Once water starts to drip steadily, close the valve by turning it clockwise.
- Repeat for all radiators showing cold tops.
- After bleeding all units, check and adjust the boiler pressure if necessary (ideal range: 1–1.5 bar).
“Bleeding radiators twice a year—before winter and after spring—can prevent up to 70% of common heating inefficiencies.” — David Langley, HVAC Technician with 18 years of field experience
Fixing Leaks and Loose Connections
Minor leaks often originate from the valve gland nut—the hexagonal fitting just below the control knob. These can usually be tightened without replacement.
Tightening a Gland Nut:
- Shut off the radiator using the lockshield and control valves.
- Place a wrench on the square spindle beneath the valve head.
- Use another wrench to gently tighten the gland nut by a quarter to half-turn.
- Reopen the valves and check for dripping.
If tightening doesn’t stop the leak, the internal packing may be worn and require replacement. In such cases, consider replacing the entire valve or calling a qualified plumber, especially if soldered joints are involved.
System Balancing for Even Heat Distribution
When some radiators heat faster or hotter than others, the system is unbalanced. This wastes energy and creates discomfort. Balancing ensures each radiator receives the appropriate flow of hot water based on its size and location.
| Step | Action | Tool Required |
|---|---|---|
| 1 | Turn off the heating system | None |
| 2 | Close all radiator lockshield valves | Adjustable spanner |
| 3 | Open control valves fully on all radiators | Hand or small wrench |
| 4 | Start heating; open lockshields starting from the radiator farthest from the boiler | Spanner |
| 5 | Adjust each lockshield until all radiators heat within 5–7 minutes of each other | Timer, thermometer (optional) |
This process may take a few adjustments over several heating cycles to perfect. Once balanced, mark the final positions of the lockshield valves with paint or tape for future reference.
Maintenance Checklist for Radiator Health
Regular upkeep prevents most common issues. Follow this seasonal checklist to keep your system running smoothly:
- ✅ Bleed all radiators before the heating season begins
- ✅ Inspect valves and joints for signs of dampness or corrosion
- ✅ Clean dust and debris from radiator fins using a brush or vacuum
- ✅ Check boiler pressure and top up if below 1 bar
- ✅ Test thermostatic radiator valves (TRVs) for proper response
- ✅ Balance the system if some rooms heat unevenly
- ✅ Flush the system every 5–6 years to remove sludge buildup
Frequently Asked Questions
Why is my radiator hot at the bottom but cold at the top?
This is a classic sign of trapped air. The air rises and blocks hot water from reaching the upper section. Bleeding the radiator should resolve the issue immediately.
Can I repair a leaking radiator myself?
Small leaks from valves can often be fixed by tightening the gland nut. However, leaks from the radiator body itself usually mean corrosion has compromised the metal, requiring replacement. Temporary sealants are not recommended for long-term fixes.
How often should I bleed my radiators?
Bleed radiators at least once a year, preferably before winter starts. Homes with older systems or frequent heating cycles may benefit from biannual bleeding.
Real-World Example: Resolving Uneven Heating in a Two-Story Home
Sarah, a homeowner in Manchester, noticed her upstairs bedrooms were always colder than the living areas downstairs, despite having similar-sized radiators. After checking valves and bleeding all units, she realized the downstairs radiators heated much faster, starving the upstairs ones of hot water. Using the balancing method described above, she adjusted the lockshield valves, starting with the closest radiator to the boiler and working outward. Within two heating cycles, temperatures evened out across all rooms. Her gas bill dropped by 12% the following month due to improved system efficiency.
Final Thoughts and Next Steps
Diagnosing and repairing common radiator problems doesn’t require advanced technical skills, but it does demand attention to detail and a methodical approach. From bleeding trapped air to balancing flow and addressing minor leaks, most tasks can be completed in under an hour with basic tools. Regular maintenance not only improves comfort but extends the life of your entire heating system.


 浙公网安备
33010002000092号
浙公网安备
33010002000092号 浙B2-20120091-4
Comments
No comments yet. Why don't you start the discussion?