
For responsible pet owners, a council-issued dog tag is both a legal requirement and a vital safety tool. These tags help reunite lost pets with their families and ensure compliance with local regulations. However, there are times when removal becomes necessary—whether due to relocation, renewal, replacement, or transitioning to a new collar. Removing the tag improperly can damage the tag, ruin the collar, or even compromise your pet’s identification. The key lies in using precise, non-destructive techniques tailored to the type of attachment and materials involved.
This guide provides detailed, field-tested methods for safely detaching council dog tags from collars without causing harm. Whether you're dealing with a split ring, welded loop, or riveted fastener, these strategies ensure your pet’s ID remains intact and functional while preserving the collar's integrity.
Understanding Council Dog Tag Attachments
Council dog tags are typically attached using one of several common mechanisms, each requiring a slightly different approach for removal. Knowing which type you’re working with is the first step toward a safe and successful process.
- Split Ring (Double Loop): The most common method. A small metal ring with a gap that opens under pressure, similar to a keyring.
- Solid Jump Ring: A closed metal loop soldered or welded shut. Requires cutting to open.
- Riveted Tag: Permanently fixed with a metal rivet through the collar fabric. Found on some durable or specialty collars.
- Clip-On Fasteners: Less common but growing in popularity; designed for easy attachment and removal.
Attempting to force open a solid ring or yank a riveted tag can warp the tag’s surface, break the collar stitching, or scratch critical information like registration numbers. Always assess the attachment type before proceeding.
Step-by-Step Guide to Safe Removal
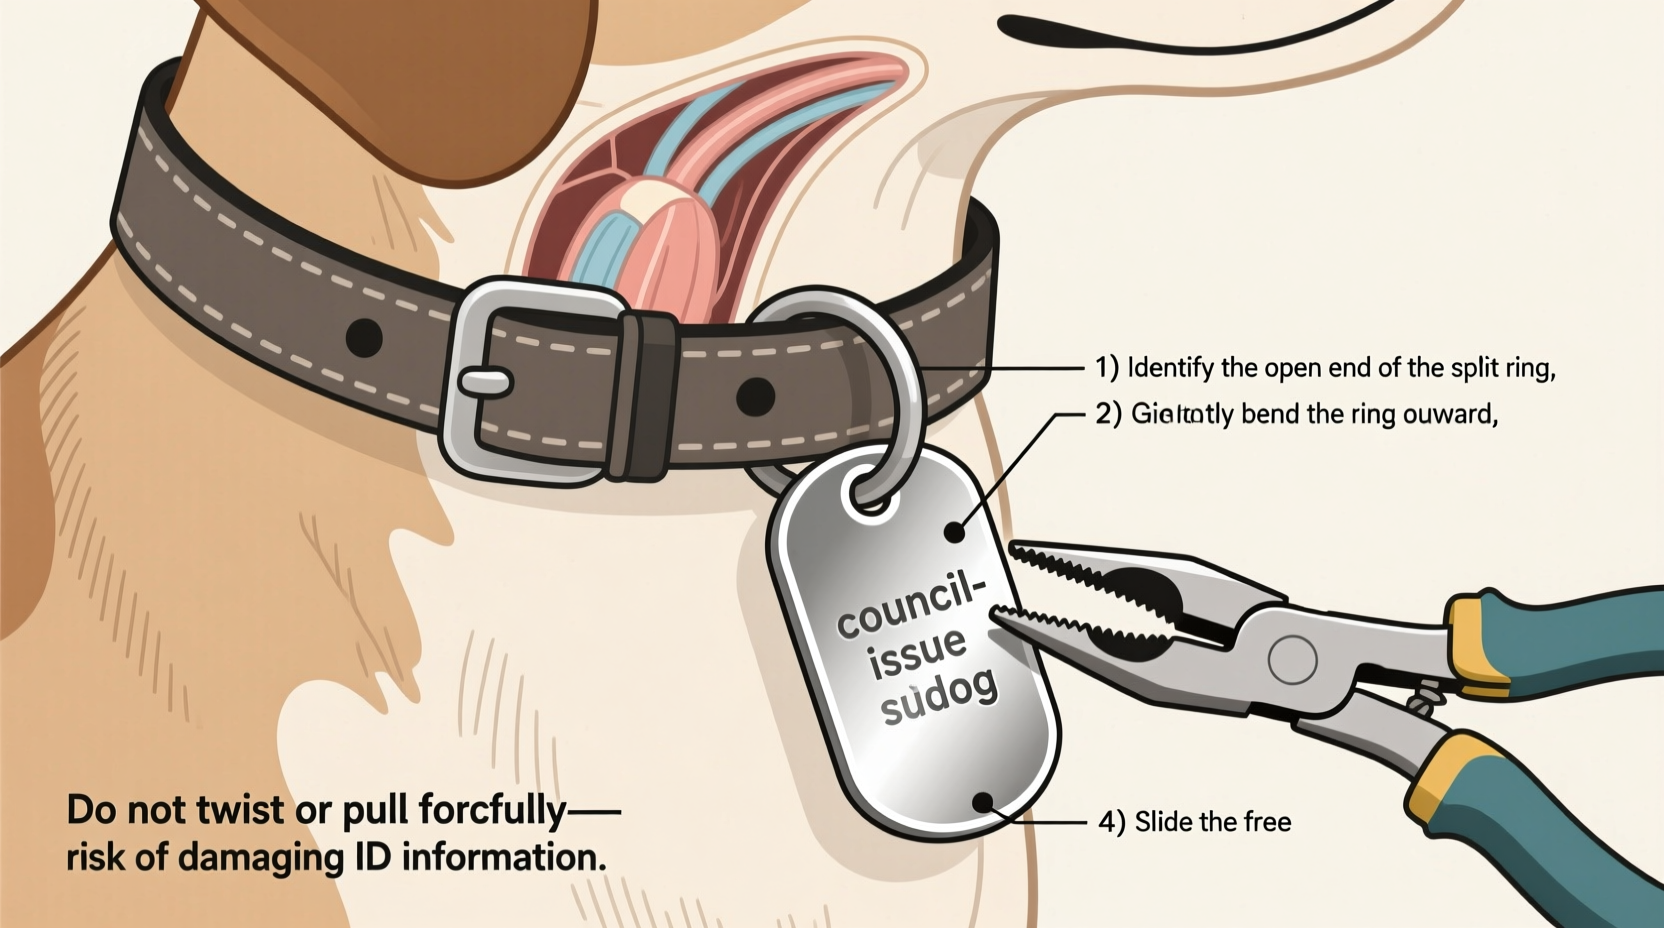
The following procedure applies primarily to split-ring attachments, the most widely used system. Follow these steps carefully to avoid damage:
- Gather Tools: Needle-nose pliers, a small flathead screwdriver, and a soft cloth to protect surfaces.
- Stabilize the Collar: Lay the collar flat on a non-slip surface or hold it securely in one hand.
- Locate the Split: Identify the tiny gap in the ring. It may be hidden under grime—clean gently with a dry cloth if needed.
- Widen the Gap: Insert the tip of the flathead screwdriver into the split. Gently twist to create a small opening.
- Slide Off the Tag: While holding the gap open with the screwdriver, use needle-nose pliers to grip the tag and slide it off the ring.
- Inspect for Damage: Check the tag for scratches and the collar for frayed threads or punctures.
If the ring is corroded or stuck, apply a single drop of penetrating oil (like WD-40) to the split and wait 3–5 minutes before attempting again. Wipe thoroughly afterward to prevent residue buildup.
Do’s and Don’ts When Removing Dog Tags
| Action | Do | Don't |
|---|---|---|
| Tool Use | Use precision tools like jewelry pliers or micro screwdrivers | Use excessive force or household wrenches not designed for fine work |
| Cleaning Before Removal | Wipe dirt away to see the attachment clearly | Soak the tag in liquid, which may corrode metal or weaken adhesives |
| Tag Handling | Hold by edges to avoid scratching engraved details | Finger-rub engraved areas, which can wear down numbers over time |
| Post-Removal Care | Store tag in a labeled pouch with other ID items | Leave it loose in a drawer where it can get scratched or lost |
Real Example: Replacing a Tag After Relocation
Sarah moved from Bristol to Manchester and needed to update her terrier Max’s council tag. The old tag was attached via a split ring embedded in the collar’s D-ring. Initially, she tried pulling it off with her fingers, which only bent the metal and damaged the paint on the tag. After researching proper methods, she used needle-nose pliers and a jeweler’s screwdriver to gently pry the ring open. Within two minutes, the tag came off cleanly. She reused the same split ring to attach the new Manchester-issued tag, ensuring continuity of secure attachment without buying a new collar.
This case highlights how improper technique leads to unnecessary damage—and how simple tools and patience preserve both functionality and appearance.
Expert Insight on Pet Identification Integrity
“Pet owners often underestimate how much stress daily wear places on ID tags. Forcing removal accelerates fatigue in both the tag and collar material. A controlled, gentle approach preserves the entire identification system.” — Dr. Helen Reeves, Veterinary Preventive Care Specialist
Dr. Reeves emphasizes that damaged tags can become illegible, defeating their primary purpose. She advises annual inspection of all attachment points and recommends replacing worn rings proactively rather than waiting for failure.
Alternative Methods for Challenging Attachments
When dealing with solid jump rings or riveted systems, standard prying won’t work. Here are alternative solutions:
- For Solid Jump Rings: Use wire cutters or ring-opening pliers to cleanly snip the ring. Choose flush-cutting pliers to minimize protrusion after re-closing. Once removed, replace with a new split ring for easier future access.
- For Riveted Tags: Removal is generally not recommended unless replacing the entire collar. If absolutely necessary, use a rotary tool with a fine grinding bit to carefully file down the rivet head. This should only be attempted by experienced users, as it risks damaging the collar webbing.
- Adhesive-Backed Tags: Some modern councils issue peel-and-stick tags. Warm the area gently with a hairdryer for 10–15 seconds, then lift a corner with tweezers and slowly peel back at a 45-degree angle.
Checklist: Safe Dog Tag Removal Preparation
- Identify the attachment type (split ring, solid, rivet, clip)
- Gather appropriate tools (pliers, screwdriver, cutters)
- Clean the tag and connection point gently
- Work in a well-lit, stable environment
- Protect the tag surface from scratches during handling
- Have a storage solution ready for the removed tag
- Verify legibility of the tag post-removal
Frequently Asked Questions
Can I reuse the same split ring after removal?
Yes, in most cases. If the ring hasn’t been overstretched or cracked during removal, it can be reused. However, frequent opening and closing weakens metal over time. Replace it every 2–3 uses for optimal security.
What if the tag is stuck due to rust or corrosion?
Apply a minimal amount of penetrating oil to the joint and wait 5–10 minutes. Avoid soaking. Use a soft brush (like an old toothbrush) to dislodge debris. Never heat the tag, as this may damage printed information or melt plastic components.
Is it legal to remove a council dog tag temporarily?
While removal for maintenance or replacement is acceptable, your dog must wear a valid, up-to-date tag whenever in public. In the UK, under the Control of Dogs Order 1992, any dog in a public place must wear a collar with the owner’s name and address. Failure to comply can result in fines. Ensure a replacement is ready before removing the original.
Final Recommendations and Call to Action
Safely removing a council dog tag isn’t just about preserving aesthetics—it’s about maintaining reliable identification for your pet. Using the correct tools and techniques prevents unnecessary damage and extends the life of both the tag and collar. Whether you're upgrading, relocating, or simply organizing your pet’s gear, taking a careful, informed approach ensures everything stays functional and compliant.
Start by inspecting your dog’s current tag attachment tonight. If it shows signs of wear or stiffness, consider proactive maintenance. Share your own tips or experiences in the comments below—your insight could help another pet owner avoid a costly mistake.


 浙公网安备
33010002000092号
浙公网安备
33010002000092号 浙B2-20120091-4
Comments
No comments yet. Why don't you start the discussion?