
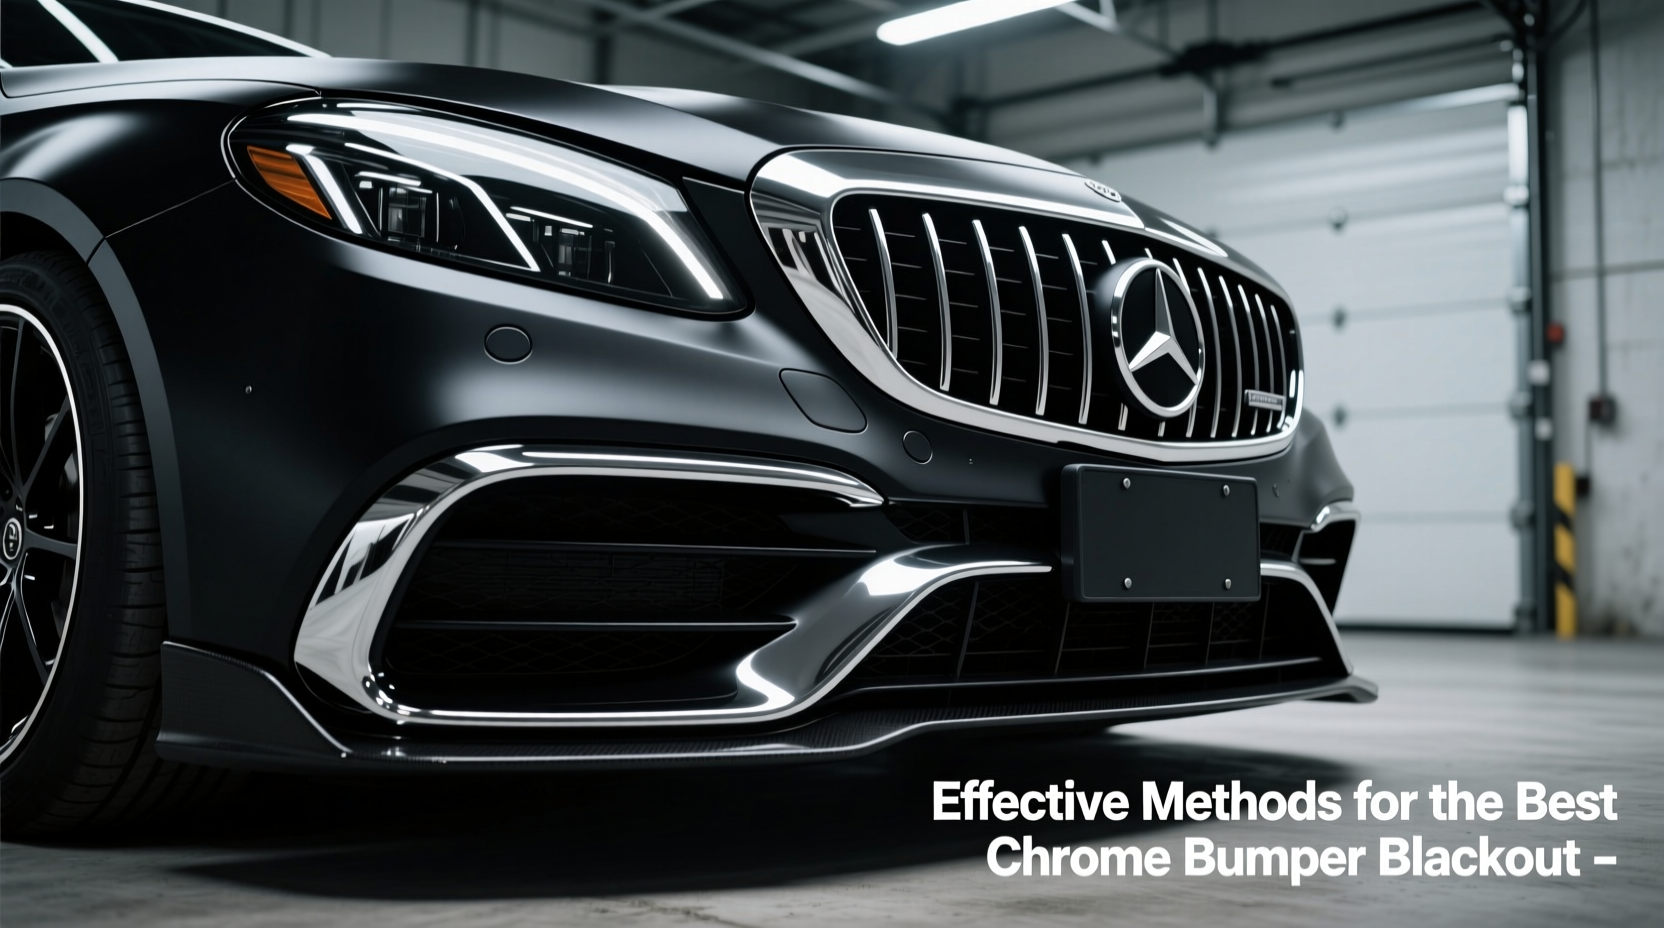
Chrome bumpers have long been associated with a polished, factory-fresh look on vehicles. However, modern automotive styling trends increasingly favor a stealthy, aggressive aesthetic—leading many car owners and enthusiasts to seek ways to \"black out\" their chrome bumpers. Achieving a durable, high-quality black finish requires more than just slapping on paint or vinyl. The right method balances longevity, appearance, and cost-effectiveness while preserving the integrity of the bumper’s surface.
Whether you're customizing a daily driver or prepping a show car, understanding the available options—and their trade-offs—is essential. From temporary wraps to permanent coatings, this guide breaks down proven techniques used by professionals and experienced DIYers alike.
Understanding Chrome Bumper Surfaces
Before applying any blackout treatment, it's crucial to understand what you're working with. Most factory-installed chrome bumpers are not solid chrome but instead consist of plastic substrates plated with a thin layer of chrome through electroplating. This plating gives the reflective shine but is vulnerable to chipping, peeling, and corrosion if improperly treated.
The adhesion of any blackout material—be it paint, wrap, or coating—depends heavily on proper surface preparation. Skipping steps like cleaning, sanding, or de-greasing often leads to premature failure, bubbling, or peeling. Additionally, environmental exposure such as UV rays, road salt, and car washes accelerates wear on poorly applied finishes.
“Many people ruin good chrome by rushing prep work. A flawless blackout starts with patience in stripping, cleaning, and priming.” — Derek Langston, Automotive Finish Specialist with 18 years in custom detailing
Top 5 Methods for Blacking Out Chrome Bumpers
There is no one-size-fits-all solution when it comes to blacking out chrome bumpers. Each method has its strengths depending on budget, skill level, and desired permanence. Below is a detailed comparison of the most effective approaches currently used.
| Method | Cost Range | Lifespan | DIY-Friendly? | Removability |
|---|---|---|---|---|
| Spray Paint (with primer) | $30–$70 | 6–18 months | Moderate | No (permanent) |
| Chrome Wrap / Vinyl Film | $80–$200 | 2–5 years | High | Yes |
| Plastic Dip (Rubberized Coating) | $50–$100 | 1–3 years | Moderate | Limited |
| Powder Coating | $150–$400 | 5+ years | No (requires shop) | No |
| Paint Correction + Ceramic Coating | $200–$600 | 3–7 years | Low | No |
Spray Painting: Affordable but High-Risk
Spray painting chrome bumpers is the most accessible option for beginners. It involves using adhesive-promoting primer, followed by multiple thin coats of matte black spray paint. While inexpensive, this method demands meticulous prep: sanding the chrome lightly with 400–600 grit paper, degreasing with isopropyl alcohol, and applying a metal-bonding primer.
Even with careful execution, painted chrome can crack or flake over time due to thermal expansion and vibration. It’s best suited for short-term projects or non-structural trim pieces.
Vinyl Wrapping: The Smart Middle Ground
Chrome-wrapping film—specifically formulated to adhere to smooth, non-porous surfaces—has become the go-to choice for reversible customization. These films use air-release technology and conformable polymers to cling tightly to curved bumpers without bubbling.
Installation requires precision: clean the surface thoroughly, apply soapy water for slip, then squeegee out moisture. Heat from a hairdryer helps the wrap conform around edges and contours. High-quality brands like 3M, Avery Dennison, and Oracal offer matte black finishes that resist UV fading and light abrasion.
Powder Coating: Permanent Professional Finish
For those seeking maximum durability, powder coating is unmatched. The process involves removing the bumper, sandblasting the chrome layer, applying electrostatically charged polymer powder, and curing it in an oven at high temperatures. The result is a rock-hard, uniform finish resistant to chipping, chemicals, and weather.
While highly effective, powder coating is not a DIY-friendly option. It requires specialized equipment and expertise. However, the investment pays off in longevity and OEM-level quality.
Step-by-Step Guide: Applying Matte Black Vinyl Wrap
This method offers excellent results with moderate effort. Follow these steps for a professional-looking blackout:
- Remove the bumper (optional but recommended for better access and edge wrapping).
- Clean thoroughly with isopropyl alcohol (70% or higher) to remove wax, grease, and contaminants.
- Cut the wrap slightly oversized to allow for trimming after application.
- Mist the surface with soapy water solution (a few drops of dish soap per quart of water).
- Peel backing slowly and position the wrap, starting from the center and working outward.
- Use a felt-edged squeegee to press out water and air, moving toward the edges.
- Apply heat with a heat gun or hairdryer along curves and corners to stretch and seal the film.
- Trim excess with a sharp hobby knife using a metal straightedge for clean lines.
- Allow 48 hours to cure before reinstalling or exposing to rain.
Common Mistakes to Avoid
- Skipping surface prep – Any residue prevents adhesion and causes lifting.
- Stretching wrap too aggressively – Overheating or pulling too hard creates thin spots or tears.
- Using low-grade vinyl – Cheap wraps yellow quickly and lack UV inhibitors.
- Wrapping in cold temperatures – Ideal application temperature is between 60°F and 80°F (15–27°C).
- Ignoring panel gaps – Ensure the wrap tucks into seams properly to prevent moisture ingress.
Real-World Example: Transforming a Classic Truck Front End
Mike R., a restoration enthusiast from Colorado, wanted to modernize his 1998 Ford F-150 without losing its rugged identity. He chose to blackout the front and rear chrome bumpers using a matte black 3M vinyl wrap. After removing both bumpers, he spent two full days prepping surfaces, including repairing minor dents and sanding high spots.
He applied the wrap in a garage kept at 72°F, using a combination of squeegees and a heat gun for precise contouring. The final result mimicked a factory-black OEM look. Three years later, the wrap remains intact with only minor edge wear near the wheel wells—far exceeding his expectations.
“I thought I’d need to repaint or coat them,” Mike said. “But the wrap gave me the bold look I wanted, and I can change it anytime.”
Expert Tips for Longevity and Appearance
Frequently Asked Questions
Can I wrap chrome without removing the bumper?
Yes, but it’s significantly harder. Removing the bumper allows full access to edges and mounting points, resulting in a cleaner, longer-lasting application.
Will blacking out my chrome bumper affect resale value?
It depends on the market. In performance and off-road communities, blacked-out trim is desirable. For classic car purists or stock-condition buyers, it may reduce appeal. Consider reversibility when choosing your method.
Is it legal to modify chrome bumpers?
In most regions, cosmetic modifications like blacking out bumpers are legal as long as they don’t interfere with safety features, reflectivity requirements, or obstruct lights. Always check local regulations, especially for older vehicles with mandated bumper standards.
Conclusion: Choose the Right Method for Your Goals
Blacking out chrome bumpers is more than a trend—it’s a statement of personalization and style evolution. Whether you opt for the flexibility of vinyl, the toughness of powder coating, or the accessibility of paint, success lies in preparation, material quality, and attention to detail.
Each method offers unique advantages. Temporary solutions let you experiment risk-free, while permanent finishes deliver unmatched resilience. By understanding your vehicle’s use case, climate conditions, and long-term plans, you can select the best approach for lasting satisfaction.


 浙公网安备
33010002000092号
浙公网安备
33010002000092号 浙B2-20120091-4
Comments
No comments yet. Why don't you start the discussion?