
Calcium buildup on pool tile is a common issue for pool owners, especially in areas with hard water. Over time, minerals like calcium carbonate deposit along the waterline, creating a chalky, rough residue that not only looks unappealing but can also harbor bacteria and make surfaces slippery. While it may seem stubborn, removing and preventing calcium deposits is entirely manageable with the right techniques and tools. This guide outlines proven cleaning strategies, safety considerations, and long-term maintenance practices to keep your pool tiles looking pristine year-round.
Understanding Calcium Buildup: Causes and Identification
Calcium buildup occurs when dissolved minerals in pool water—primarily calcium hardness—precipitate out and adhere to tile surfaces. This process accelerates under certain conditions:
- High pH levels (above 7.8) encourage mineral precipitation.
- Elevated total alkalinity contributes to scale formation.
- Warm water temperatures increase evaporation, concentrating minerals at the waterline.
- Low chlorine levels allow biofilm development, which traps minerals.
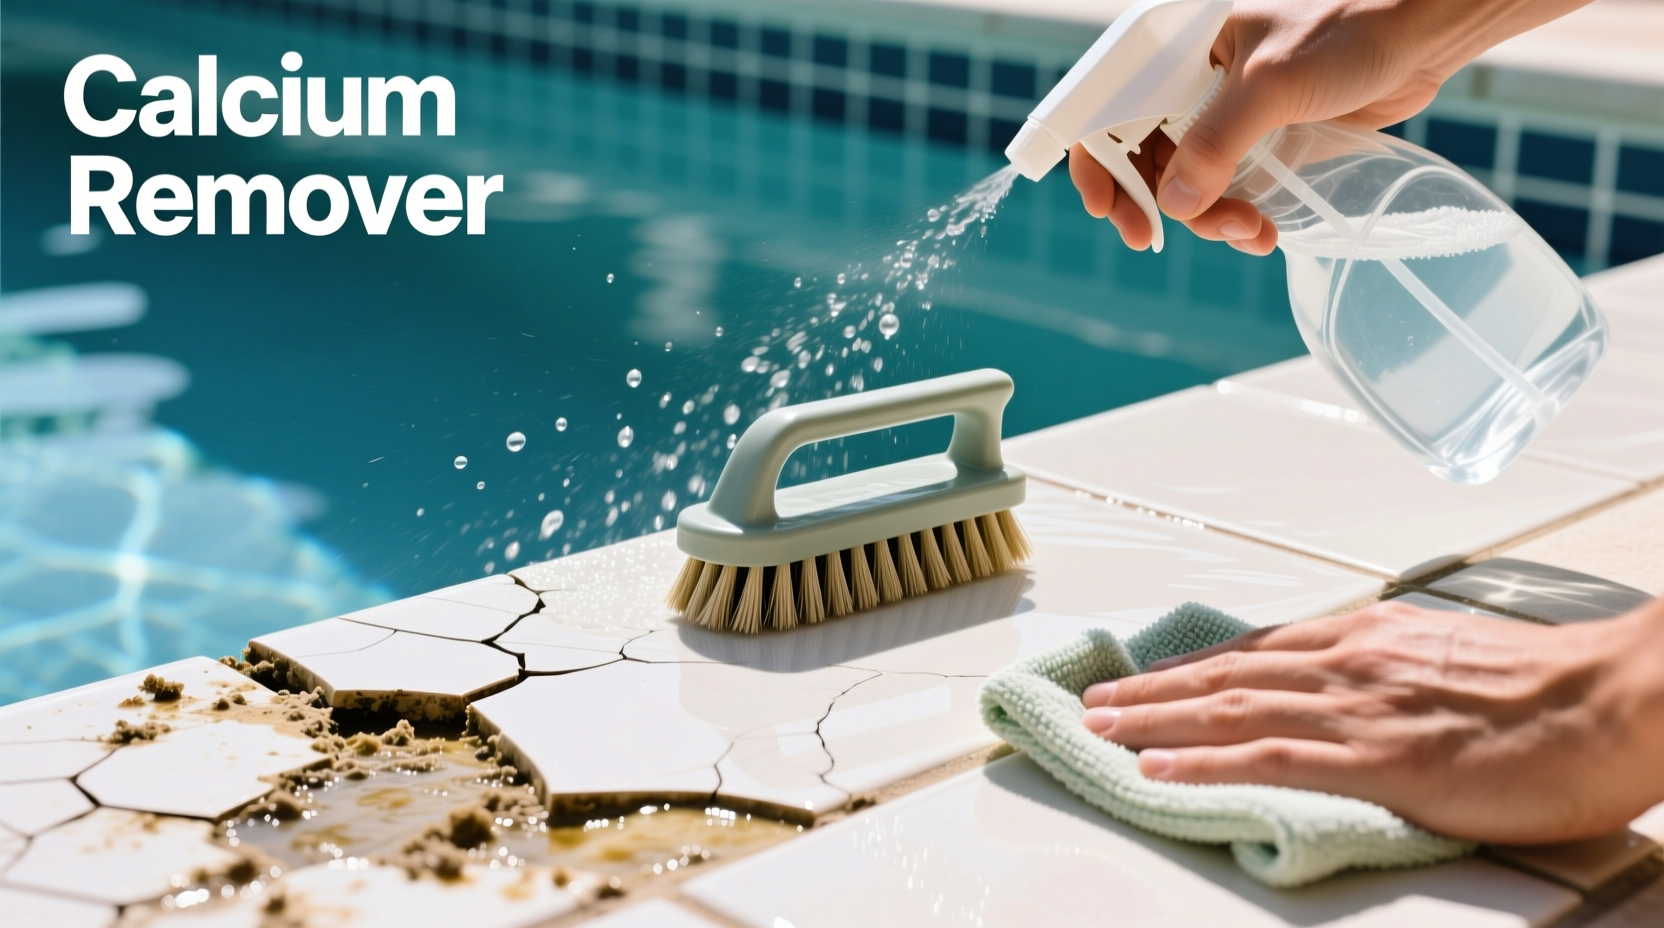
The most visible sign of calcium buildup is a white or grayish crust along the waterline. It often feels gritty or sandy to the touch and resists standard scrubbing. In severe cases, deposits can spread below the waterline and even affect grout lines, leading to discoloration and deterioration over time.
Step-by-Step Guide to Removing Calcium Deposits
Effective removal requires a methodical approach tailored to the severity of buildup and tile type. Follow this timeline for consistent results:
- Drain the pool slightly so the affected tiles are above water. Never leave tiles dry for more than 24 hours to avoid structural stress.
- Choose the appropriate cleaner based on tile material and deposit thickness (see table below).
- Apply the solution using a sponge, spray bottle, or low-pressure sprayer. Avoid direct application on plaster or vinyl surfaces.
- Allow dwell time as instructed by the product label—typically 5 to 15 minutes. Do not let acidic cleaners dry on the surface.
- Scrub gently with a non-abrasive pad or soft nylon brush. For tough deposits, use a plastic scraper at a shallow angle.
- Rinse thoroughly with fresh water to neutralize any remaining acid and prevent etching.
- Refill and rebalance the pool chemistry after cleaning.
Safety First: Handling Acidic Cleaners
Muriatic acid (diluted hydrochloric acid) is highly effective but must be used with caution. Always wear gloves, goggles, and protective clothing. Work in a well-ventilated area and never mix acid with chlorine-based products—this creates toxic fumes. Store chemicals securely away from children and pets.
Comparison of Cleaning Methods and Products
| Method | Best For | Pros | Cons |
|---|---|---|---|
| Vinegar (white) | Light deposits, eco-conscious users | Non-toxic, inexpensive, readily available | Requires repeated applications; slow-acting |
| Lemon juice + baking soda paste | Mild buildup, small areas | Natural ingredients, safe around kids/pets | Not suitable for large-scale jobs |
| CLR (Calcium, Lime & Rust Remover) | Moderate scaling on ceramic/glass tile | Fast results, no scrubbing needed in many cases | Can damage some sealants; avoid on natural stone |
| Diluted muriatic acid (1:10 with water) | Heavy, crusty deposits | Powerful, immediate effect | Hazardous if mishandled; can etch surfaces if misused |
| Pumice stone or eraser | Thin layers without chemical use | Chemical-free, precise control | Risks scratching glazed tiles if used aggressively |
Expert Insight: Industry-Recommended Practices
“Prevention is far more effective than treatment when it comes to calcium scaling. Maintaining balanced water chemistry reduces scaling potential by over 80%. When cleaning is necessary, always start with the gentlest method and escalate only if needed.” — Dr. Alan Reynolds, Pool Chemistry Specialist, National Swimming Pool Foundation
Professional pool technicians emphasize proactive water management. Regular brushing of the tile line once a week with a soft brush prevents mineral adhesion before it becomes visible. Additionally, installing a saltwater chlorination system can reduce scaling tendencies compared to traditional chlorine tablets, which often raise pH over time.
Mini Case Study: Reviving a Neglected Backyard Pool
A homeowner in Phoenix, Arizona, returned from a six-month absence to find their fiberglass pool surrounded by thick, chalky calcium deposits along the tile line. Initial testing revealed a pH of 8.2 and calcium hardness of 520 ppm. Rather than immediately resorting to muriatic acid, the pool service team first lowered the pH gradually using dry acid (sodium bisulfate) and performed a partial water replacement to reduce mineral concentration.
They then applied a commercial lime remover (phosphoric acid-based) to the affected tiles, allowing a 10-minute dwell time before gentle scrubbing. After two applications spaced one week apart, the tiles were restored without damage. The owner was advised to install an automatic pool cover to minimize evaporation and schedule quarterly professional inspections. Within three months, no new buildup appeared.
Checklist for Effective Calcium Buildup Prevention and Removal
- ✅ Test pool water weekly for pH, alkalinity, and calcium hardness
- ✅ Brush tile line weekly with a non-abrasive nylon brush
- ✅ Maintain calcium hardness between 200–400 ppm
- ✅ Keep pH between 7.2 and 7.6
- ✅ Use a dedicated tile cleaner every 3–6 months as preventive maintenance
- ✅ Rinse tiles with fresh water after chemical treatments
- ✅ Consider a reverse osmosis filtration system for chronic hard water issues
Frequently Asked Questions
Can I use household vinegar to remove calcium from pool tiles?
Yes, white distilled vinegar can effectively remove light calcium deposits. Soak a cloth in vinegar and lay it over the affected area for 30–60 minutes before scrubbing. However, multiple applications may be needed for thicker buildup, and vinegar is less effective in high-mineral environments.
Will a pumice stone scratch my pool tiles?
High-quality pumice stones designed for pools are safe for ceramic, porcelain, and glass tiles when used correctly. Always wet the stone and tile before use, and apply light pressure in circular motions. Avoid using regular construction-grade pumice, which can be too abrasive.
How often should I deep-clean my pool tiles?
Most residential pools benefit from a thorough tile cleaning every 6 to 12 months. Pools in hard water areas or those exposed to frequent evaporation may require cleaning every 3–4 months. Regular brushing and balanced water chemistry extend the interval between deep cleanings.
Conclusion: Take Action for a Cleaner, Healthier Pool
Calcium buildup doesn’t have to be a persistent eyesore or maintenance headache. With routine monitoring, proper water balance, and timely intervention using safe, effective methods, you can keep your pool tiles spotless and functional for years. Whether you opt for natural solutions like vinegar or rely on professional-grade removers, consistency is key. Start implementing these strategies today—not just to improve aesthetics, but to protect your investment and ensure a hygienic swimming environment.


 浙公网安备
33010002000092号
浙公网安备
33010002000092号 浙B2-20120091-4
Comments
No comments yet. Why don't you start the discussion?