
Compact discs (CDs) remain a resilient medium for music, software, and archival data, even in an age dominated by digital streaming and cloud storage. However, over time, fingerprints, dust, smudges, and environmental exposure can degrade performance, leading to skipping, read errors, or complete playback failure. Cleaning a CD properly is essential to restore functionality—but doing it incorrectly can cause irreversible damage. Unlike vinyl records or magnetic tapes, CDs store data beneath a thin protective layer, making them vulnerable to scratches and chemical corrosion. This guide outlines proven, safe cleaning techniques that preserve both the integrity of the disc and the longevity of your collection.
Understanding CD Structure and Vulnerabilities
A standard CD consists of several layers: a polycarbonate plastic substrate, a reflective metal layer (usually aluminum), and a protective lacquer coating. Data is encoded in microscopic pits on the reflective layer, which a laser reads from the bottom side of the disc. Because the laser reads through the clear plastic base, surface scratches on the label side are far more dangerous than those on the shiny underside—contrary to popular belief. Even minor abrasions on the top can disrupt the laser’s ability to interpret data accurately.
Common contaminants include:
- Fingerprints and oils from handling
- Dust and pet hair
- Smudges from improper storage
- Mold or mildew in humid environments
The key to safe cleaning lies in minimizing physical contact with the data surface and avoiding abrasive materials or harsh chemicals that can compromise the lacquer or reflective layer.
Step-by-Step Guide: Safe CD Cleaning Process
Cleaning a CD should be a deliberate, gentle process. Rushing or using improper tools increases the risk of permanent damage. Follow this sequence to maximize effectiveness while preserving the disc.
- Inspect the disc under bright light to identify the location and severity of contamination. Look for visible smudges, haze, or fine scratches.
- Blow off loose debris using compressed air or a soft camel-hair brush. Never use clothing or paper towels at this stage—they can grind particles into the surface.
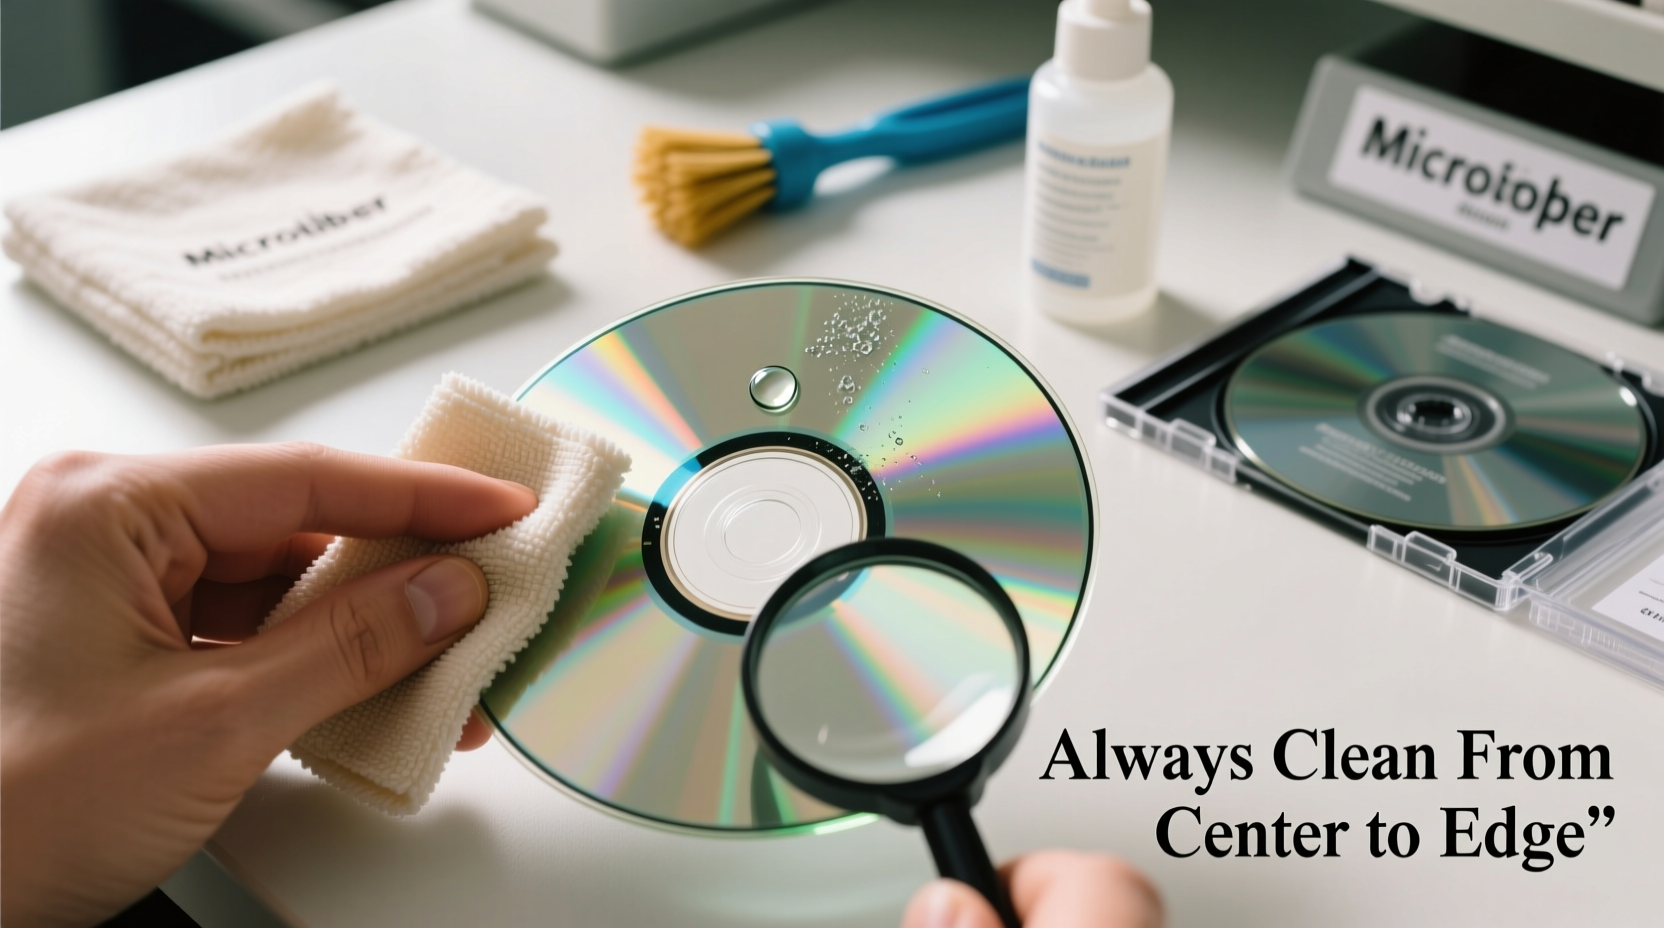
- Wash with distilled water: Moisten a lint-free cloth (microfiber recommended) with distilled water. Gently wipe from the center outward in straight lines—never in circles, as spiral motions can align with data tracks and worsen existing scratches.
- For stubborn residue, apply one drop of isopropyl alcohol (70% or higher) mixed with distilled water (1:5 ratio) to the cloth—not directly onto the disc. Wipe lightly once in a radial direction.
- Rinse and dry: Dampen a second clean microfiber cloth with distilled water to remove any residue. Then, allow the disc to air-dry vertically in a dust-free area for 3–5 minutes.
- Test playback after drying. If issues persist, repeat the process only if necessary.
This method minimizes friction and chemical exposure while effectively removing organic and particulate contaminants.
Do’s and Don’ts of CD Maintenance
| Do’s | Don’ts |
|---|---|
| Use microfiber cloths for wiping | Use paper towels, tissues, or clothing |
| Store discs vertically in jewel cases | Lay discs flat in stacks or expose to direct sunlight |
| Clean in straight, radial motions | Wipe in circular motions |
| Label discs with water-based markers | Use solvent-based pens or stick labels on data side |
| Handle by edges or center hub | Touch the shiny surface with bare fingers |
Real Example: Reviving a Vintage Software CD
A graphic designer in Portland recovered a 1998 Adobe Photoshop 5.5 installation CD that had become unresponsive due to years of storage in a non-climate-controlled attic. The disc was visibly hazy with fingerprint buildup and fine web-like scratches. Following the radial cleaning method with a 70% isopropyl solution, then allowing 10 minutes of air-drying time, the disc booted successfully on the first attempt in over five years. “I assumed it was dead,” he said. “But after cleaning it properly, the laser read it perfectly. It saved me hours of hunting for a replacement.” This case underscores how proper cleaning can rescue irreplaceable software or media assets.
“Many people think a scratched CD is junk, but 80% of ‘failed’ discs just need a careful cleaning. The data layer is often intact—it’s the surface interference that blocks the laser.” — Dr. Alan Reeves, Optical Media Archivist, National Digital Preservation Lab
Alternative Methods and When to Use Them
While water and isopropyl alcohol are the gold standard, other approaches exist—some more controversial than others.
- Commercial CD cleaners: Formulated specifically for optical media, these solutions are pH-balanced and free of abrasives. They’re reliable but often overpriced compared to DIY alternatives.
- Distilled white vinegar: A diluted mix (1 part vinegar to 3 parts water) can cut through grease, but must be used sparingly and rinsed thoroughly to prevent residue buildup.
- CD repair machines: Available at some libraries or electronics stores, these devices polish minor scratches. However, over-polishing removes material and can destroy data. Use only for deep, unreadable scratches—and never on valuable or original discs.
Home remedies like toothpaste or banana peels are strongly discouraged. While anecdotal reports suggest temporary improvement, abrasive pastes can create micro-scratches that scatter laser light, worsening readability over time.
FAQ: Common Questions About Cleaning CDs
Can I use Windex or glass cleaner on a CD?
No. Most household glass cleaners contain ammonia or alcohol concentrations that can degrade the protective lacquer over time. Stick to distilled water or isopropyl alcohol diluted to 70% or less.
What if my CD still skips after cleaning?
If cleaning doesn’t resolve playback issues, the problem may be deeper scratches or data layer oxidation. Try the disc on multiple players—sometimes one device’s laser can compensate where another fails. If all attempts fail, the disc may require professional resurfacing or digital recovery services.
How often should I clean my CDs?
Only when necessary. Regular inspection every 6–12 months is sufficient for stored discs. Frequent users may clean every few months depending on handling conditions. Over-cleaning increases the risk of wear.
Conclusion: Preserve Your Discs with Care and Consistency
Proper CD maintenance isn’t about frequent intervention—it’s about smart, minimal care that prevents damage before it occurs. By understanding the fragility of the data layer and respecting the physics of laser reading, you can extend the life of your discs for decades. Whether you’re preserving family photos on burned CDs, maintaining legacy software, or curating a vintage music collection, the right cleaning method makes all the difference. Start applying these techniques today: handle with care, clean with precision, and store with intention.


 浙公网安备
33010002000092号
浙公网安备
33010002000092号 浙B2-20120091-4
Comments
No comments yet. Why don't you start the discussion?